vue-router模块化开发的步骤:
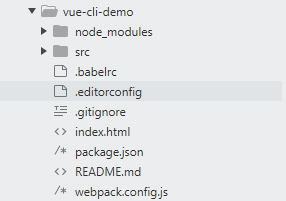
以vue-cli-demo为例(该项目使用的是webpack-simple模板)
1、安装vue-router模块
进入项目vue-cli-demo路径, 运行 cnpm install vue-router -S (安装vue-router生产依赖)
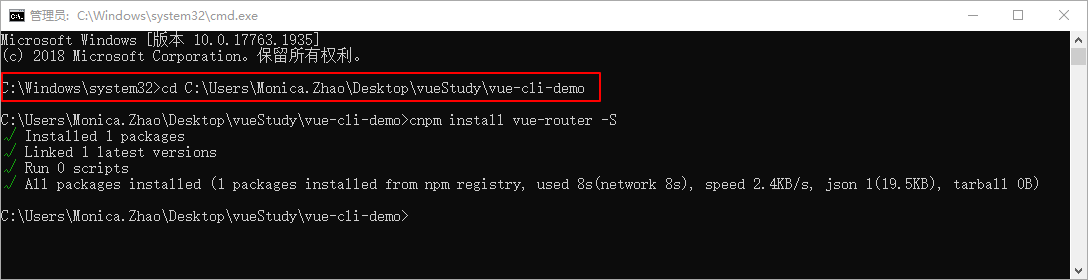
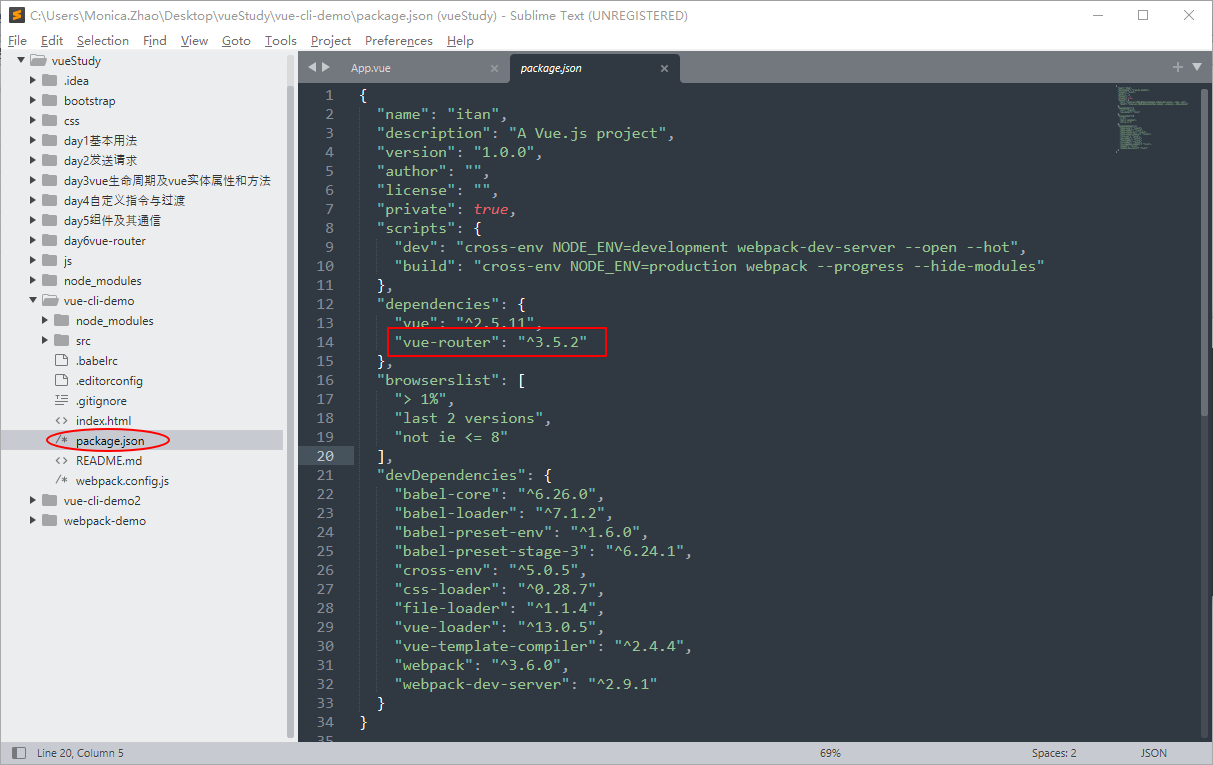
安装完成后,一是在node_modules文件夹中可以看到安装完成的vue-router模块,二是可以在package.json中自动生成了vue-router的生产依赖。
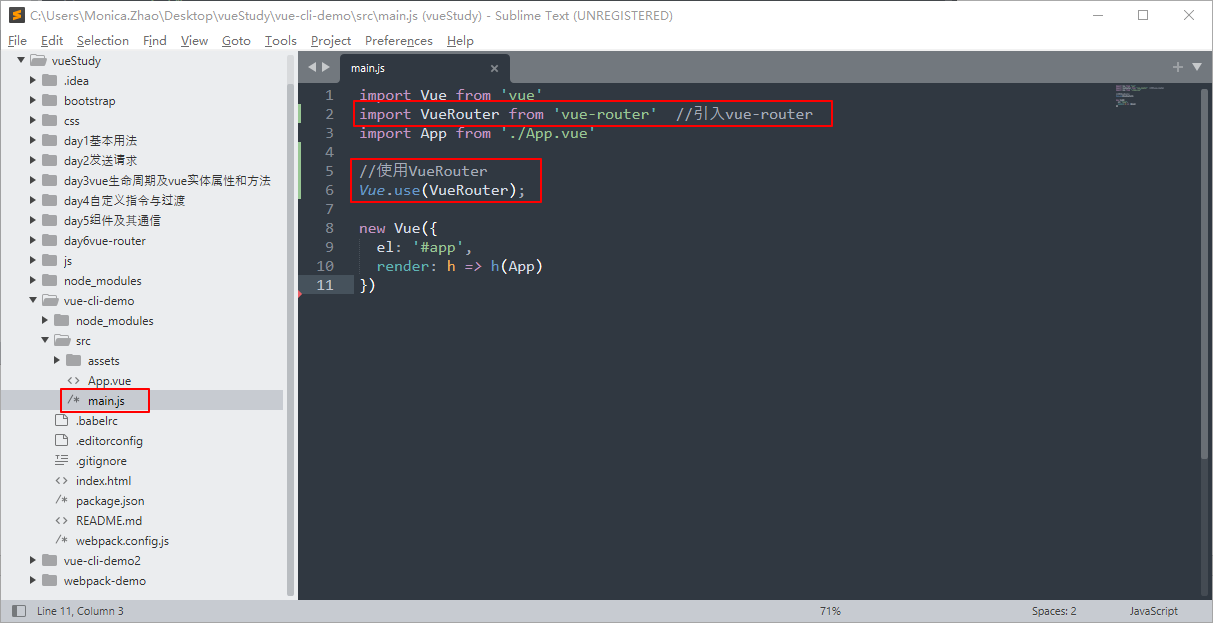
2、编辑main.js
在main.js中引入vue-router模块
3、编辑App.vue
在App.vue页面上添加路由。

4、新建components文件夹(用来存放项目中需要用到的组件)
在src文件夹下新建文件夹components,在components下新建两个.vue文件(分别命名为home.vue和news.vue)。

分别写home.vue和news.vue的代码。


5、新建路由配置文件router.config.js(用来配置路由)
在src文件夹下新建路由配置文件,命名为router.config.js,用来配置路由。

编写路由配置文件router.config.js中的代码。

6、在main.js中引入路由配置
增加如下代码:
import routerConfig from ‘./router.config.js‘ //3.引入路由配置
const router = new VueRouter(routerConfig); //4.创建路由实例
router:router, //5.注入路由实例

7、打开看效果
运行npm run dev ,查看路由效果。


原文:https://www.cnblogs.com/AnnLing/p/15251877.html