集成 Swagger 管理 API 文档
1)项目中集成 Swagger
集成 Swagger 我们使用封装好了的 Starter 包,代码如下所示。
<!-- Swagger -->
<dependency>
<groupId>com.spring4all</groupId>
<artifactId>swagger-spring-boot-starter</artifactId>
<version>1.7.1.RELEASE</version>
</dependency>
在启动类中使用 @EnableSwagger2Doc 开启 Swagger,代码如下所示。
- @EnableSwagger2Doc
- @SpringBootApplication
- public class AuthApplication {
- public static void main(String[] args) {
- SpringApplication.run(AuthApplication.class, args);
- }
- }
2)使用 Swagger 生成文档
Swagger 是通过注解的方式来生成对应的 API,在接口上我们需要加上各种注解来描述这个接口,关于 Swagger 注解的使用在教程后面会有详细讲解,本节只是带大家快速使用 Swagger,使用方法代码如下所示。
- @ApiOperation(value = "新增用户")
- @ApiResponses({ @ApiResponse(code = 200, message = "OK", response = UserDto.class) })
- @PostMapping("/user")
- public UserDto addUser(@RequestBody AddUserParam param) {
- System.err.println(param.getName());
- return new UserDto();
- }
参数类定义代码如下所示。
- @Data
- @ApiModel(value = "com.biancheng.auth.param.AddUserParam", description = "新增用户参数")
- public class AddUserParam {
- @ApiModelProperty(value = "ID")
- private String id;
- @ApiModelProperty(value = "名称")
- private String name;
- @ApiModelProperty(value = "年龄")
- private int age;
- }
在线测试接口
接口查看地址可以通过服务地址 /swagger-ui.html 来访问,见图 1。
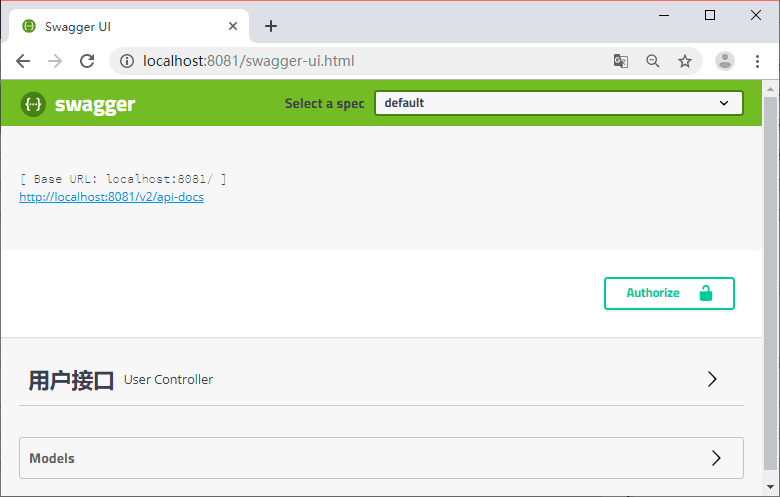
图 1 swagger 主页
可以展开看详情,见图 2。

图 2 swagger 接口主页
在 param 中输入参数,点击 Try it out 按钮可以调用接口,见图 3。

图 3 swagger 接口调用结果
springboot集成swagger
原文:https://www.cnblogs.com/chenTo/p/14852956.html