以VS Code + GCC工具集为主要环境编译调试孟宁老师课程项目,仔细阅读分析源代码,结合代码分析其中的软件工程方法、规范或软件工程思想。
参考资料见:https://gitee.com/mengning997/se/blob/master/README.md#%E4%BB%A3%E7%A0%81%E4%B8%AD%E7%9A%84%E8%BD%AF%E4%BB%B6%E5%B7%A5%E7%A8%8B
一.编译和调试环境配置
1.Install the Microsoft C/C++ extension
2.C/C++ compiler and debugger
安装MinGW编译器,并配置环境变量,打开CMD输入gcc -v得以下说明C++编译器配置成功

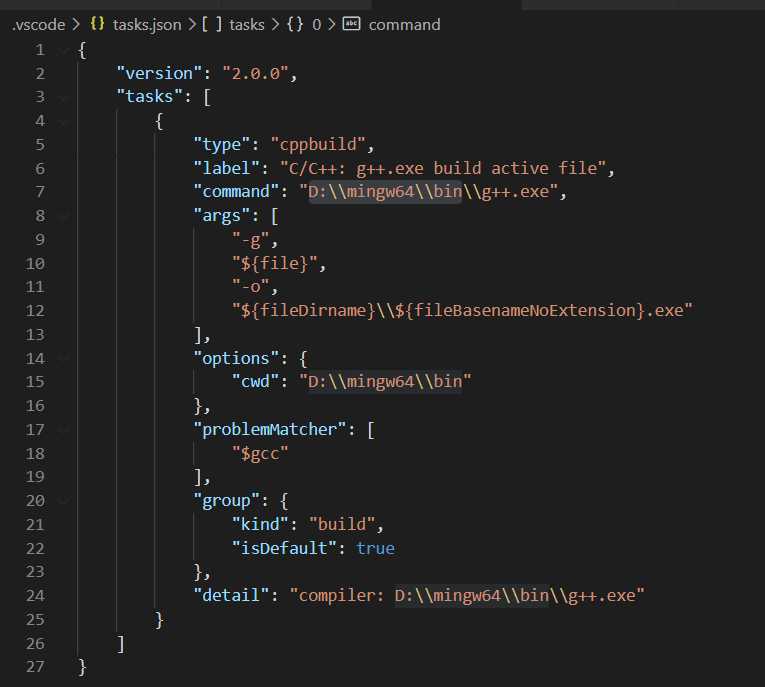
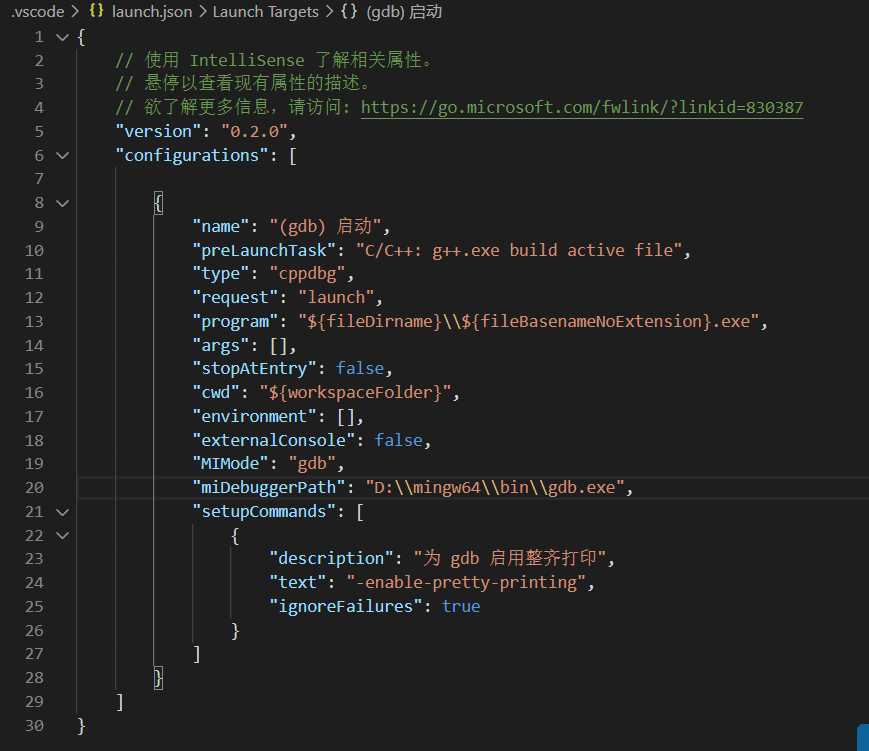
配置VsCode中的三个文件c_cpp_properties.json,tasks.json,launch.json

配置好环境我们尝试运行两个程序看能否正确编译和调试
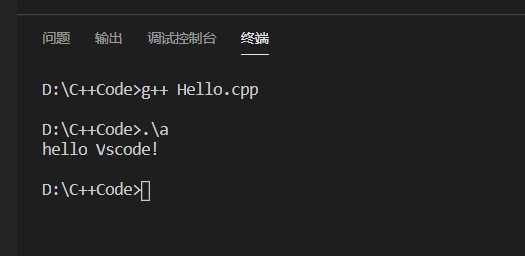
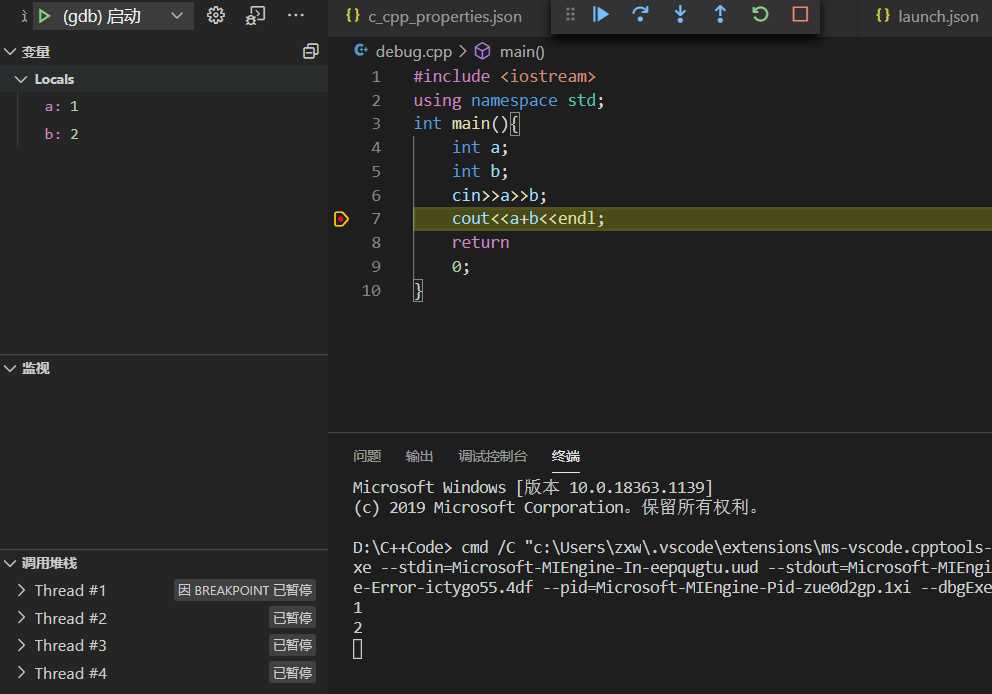
可见C++环境已配置成功
二.模块化设计
模块化(Modularity)是在软件系统设计时保持系统内各部分相对独立,以便每一个部分可以被独立地进行设计和开发,翻译成我们中文的表述其实就是“分而治之”的方法。
结合代码我们来分析一下(lab3.2和lab3.3)
menu2:
#include <stdio.h>
#include <stdlib.h>

int Help();

#define CMD_MAX_LEN 128
#define DESC_LEN    1024
#define CMD_NUM     10

/* data struct and its operations */

typedef struct DataNode
{
    char*   cmd;
    char*   desc;
    int     (*handler)();
    struct  DataNode *next;
} tDataNode;

tDataNode* FindCmd(tDataNode * head, char * cmd)
{
    if(head == NULL || cmd == NULL)
    {
        return NULL;
    }
    tDataNode *p = head;
    while(p != NULL)
    {
        if(!strcmp(p->cmd, cmd))
        {
            return p;
        }
        p = p->next;
    }
    return NULL;
}

int ShowAllCmd(tDataNode * head)
{
    printf("Menu List:\n");
    tDataNode *p = head;
    while(p != NULL)
    {
        printf("%s - %s\n", p->cmd, p->desc);
        p = p->next;
    }
    return 0;
}

/* menu program */

static tDataNode head[] =
{
    {"help", "this is help cmd!", Help,&head[1]},
    {"version", "menu program v1.0", NULL, NULL}
};

int main()
{
    /* cmd line begins */
    while(1)
    {
        char cmd[CMD_MAX_LEN];
        printf("Input a cmd number > ");
        scanf("%s", cmd);
        tDataNode *p = FindCmd(head, cmd);
        if( p == NULL)
        {
            printf("This is a wrong cmd!\n ");
            continue;
        }
        printf("%s - %s\n", p->cmd, p->desc);
        if(p->handler != NULL)
        {
            p->handler();
        }

    }
}

int Help()
{
    ShowAllCmd(head);
    return 0;
}
模块设计之后:menu3
main()
#include <stdlib.h>
#include "linklist.h"

int Help();

#define CMD_MAX_LEN 128
#define DESC_LEN    1024
#define CMD_NUM     10

/* menu program */

static tDataNode head[] =
{
    {"help", "this is help cmd!", Help,&head[1]},
    {"version", "menu program v1.0", NULL, NULL}
};

main()
{
   /* cmd line begins */
    while(1)
    {
        char cmd[CMD_MAX_LEN];
        printf("Input a cmd number > ");
        scanf("%s", cmd);
        tDataNode *p = FindCmd(head, cmd);
        if( p == NULL)
        {
            printf("This is a wrong cmd!\n ");
            continue;
        }
        printf("%s - %s\n", p->cmd, p->desc);
        if(p->handler != NULL)
        {
            p->handler();
        }

    }
}

int Help()
{
    ShowAllCmd(head);
    return 0;
}<br>
linklist.h
typedef struct DataNode
{
    char*   cmd;
    char*   desc;
    int     (*handler)();
    struct  DataNode *next;
} tDataNode;

/* find a cmd in the linklist and return the datanode pointer */
tDataNode* FindCmd(tDataNode * head, char * cmd);
/* show all cmd in listlist */
int ShowAllCmd(tDataNode * head);
linklist.c
#include <stdio.h>
#include <stdlib.h>
#include "linklist.h"


tDataNode* FindCmd(tDataNode * head, char * cmd)
{
    if(head == NULL || cmd == NULL)
    {
        return NULL;
    }
    tDataNode *p = head;
    while(p != NULL)
    {
        if(!strcmp(p->cmd, cmd))
        {
            return p;
        }
        p = p->next;
    }
    return NULL;
}

int ShowAllCmd(tDataNode * head)
{
    printf("Menu List:\n");
    tDataNode *p = head;
    while(p != NULL)
    {
        printf("%s - %s\n", p->cmd, p->desc);
        p = p->next;
    }
    return 0;
}
这两个程序虽然实现的功能是一样的但是menu3一看就比menu2简洁美观很多,将menu3所需要调用的函数进行了模块化设计,封装在linklist.h中,然后通过linklist.c对这些功能进行实现,这样就能通过不同模块之间的接口进行相互调用,从而实现模块之间的解耦合。符合KISS原则:一行代码只坐意见事,一个块代码只坐一件事,一个函数只做一件事,一个软件模块只做一件事。
三.可重用接口
接口规格是软件系统的开发者正确使用一个软件模块需要知道的所有信息,那么这个软件模块的接口规格定义就必须清晰明确地说明正确使用本软件模块的信息。一般来说,接口规格包含五个基本要素:
可重用接口要满足三个条件
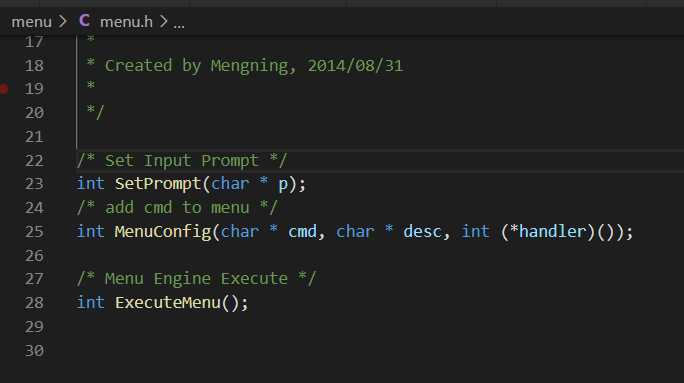
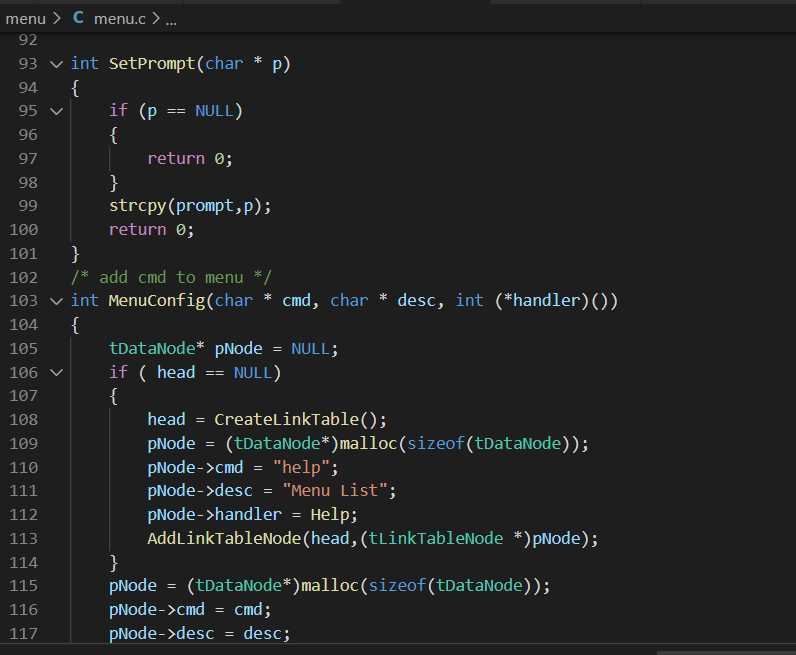
我们回到menu代码中,在.h文件中进行函数声明,在.c文件中进行具体的函数实现。其实就是也就意味着,在.h文件中,暴露出来的就是我们所需要的接口,对于其他.c文件而言,只能调用这三个接口,至于其他的函数则是menu.c的内部函数,是不可见的。
可重用接口的设计除了方便我们重用代码之外,还可以有效地隐藏软件模块内部的实现细节,为外部调用接口的开发者提供更加简洁的接口信息,同时也减少外部调用接口的开发者有意或无意的破坏软件模块的内部数据。
四.线程安全
如果你的代码所在的进程中有多个线程在同时运行,而这些线程可能会同时运行这段代码。如果每次运行结果和单线程运行的结果是一样的,而且其他的变量的值也和预期的是一样的,就是线程安全的。menu程序中也注意了这方面:
五.总结
通过学习孟宁老师教导,我对代码模块化设计、可重用接口、线程安全等有了更深的理解。这些思想能让我以后写代码中更加注意规范和安全。
原文:https://www.cnblogs.com/zxw2020/p/13942330.html