1. 没有apollo服务端的,可参考https://www.cnblogs.com/pageBlog/p/13754664.html先搭建个服务端
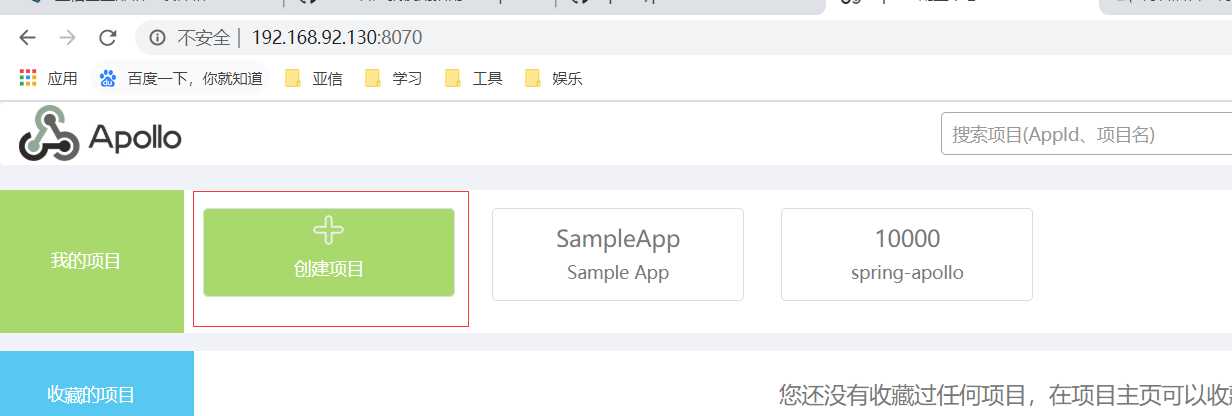
2. 登录apollo管理平台创建项目

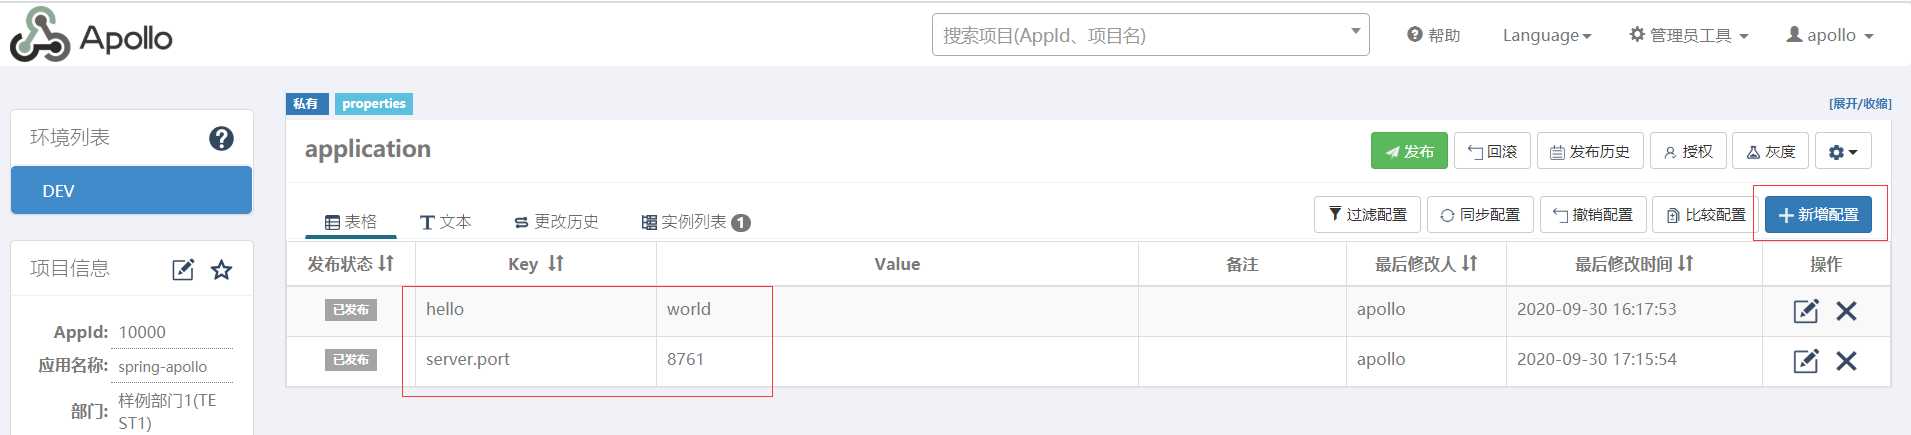
3. 增加配置
4. 新增一个springboot的web工程
5. 增加依赖
     <dependency>
            <groupId>com.ctrip.framework.apollo</groupId>
            <artifactId>apollo-client</artifactId>
            <version>1.7.0</version>
        </dependency>
6. application.properties中增加如下配置(这里如果写在bootstrap.properties会不起作用)
app.id=10000
apollo.meta=http://192.168.92.130:8080
# will inject ‘application‘ namespace in bootstrap phase
apollo.bootstrap.enabled = true
7. 增加个controller
package com.example.page.test.springapollo.controller;

import org.springframework.beans.factory.annotation.Value;
import org.springframework.web.bind.annotation.RequestMapping;
import org.springframework.web.bind.annotation.RestController;

/**
 * @author page
 * @since 2020/9/30 16:28
 */
@RestController
@RequestMapping("/test")
public class TestController {

    @Value("${hello}")
    private String hello;

    @RequestMapping("/sayHello")
    public String sayHello() {
        System.out.println("sayHello begin, hello " + hello);
        return "hello " + hello;
    }
}
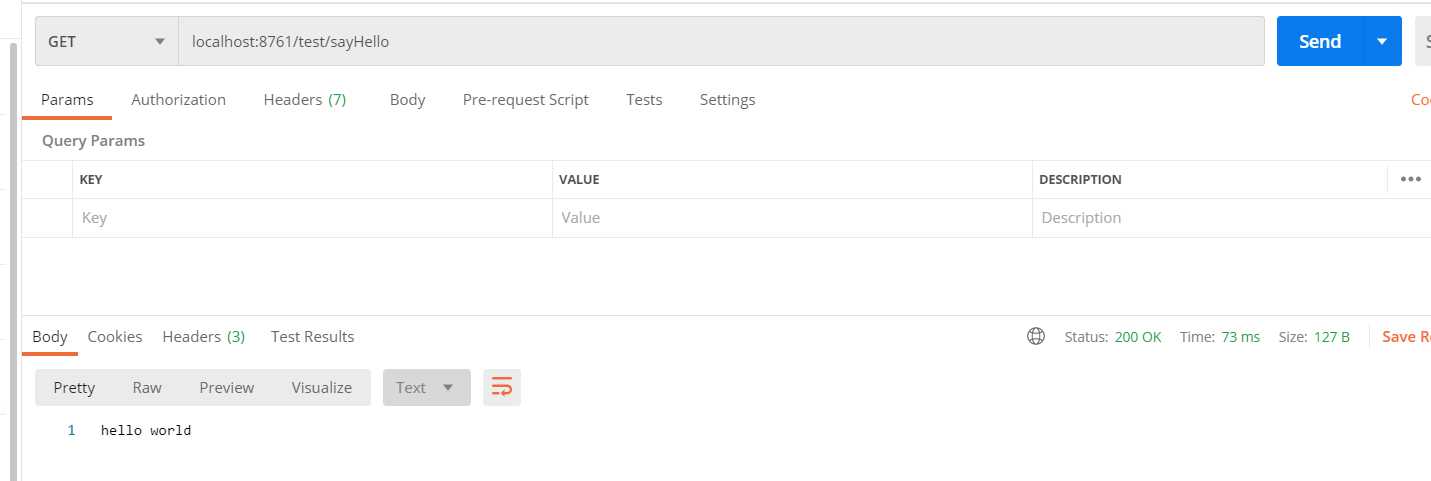
8. 启动工程,调用接口
原文:https://www.cnblogs.com/pageBlog/p/13755781.html