先创建一个vue-cli项目,在该项目下完成以下操作。
vue-router是一个插件包,所以我们还是需要用npm/cnpm来进行安装。
在IDEA下的命令行输入:
npm install vue-router --sace-dev
(如果出现错误,按照提示解决即可)
下载成功后会在node_moudles包里出现vue-router文件。
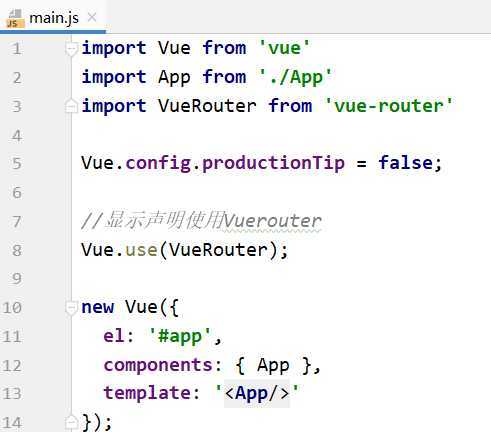
然后在main.js里导入vue-router
import VueRouter from ‘vue-router‘
并显示声明使用Vuerouter
Vue.use(VueRouter);
先删除没有用的东西
components 目录下存放我们自己编写的组件
定义一个Content.vue 的组件
<template>
  <div>
    <h1>内容页</h1>
  </div>
</template>

<script>
    export default {
        name: "Content"
    }
</script>

<style scoped>

</style>
安装路由,在src目录下,新建一个router文件夹,专门存放路由。在里面创建index.js
import Vue from "vue"
//导入路由插件
import Router from ‘vue-router‘
//导入上面定义的组件
import Content from ‘../components/Content‘

//安装路由
Vue.use(Router);
//配置路由
export default new Router({
  routes:[
    {
      //路由路径
      path:‘/content‘,
      //路由名称
      name:‘Content‘, //可省略
      //跳转到组件
      component:Content
    }
  ]
})
在 main.js 中配置路由
import Vue from ‘vue‘
import App from ‘./App‘
//自动扫描里面的路由配置
import router from ‘./router‘

Vue.config.productionTip = false;

new Vue({
  el: ‘#app‘,
  //配置路由
  router:router,
  components: { App },
  template: ‘<App/>‘
});
在 App.vue 中使用路由
<template>
  <div id="app">
    <router-link to="/content">首页</router-link>
    <router-view></router-view>
  </div>
</template>

<script>

export default {
  name: ‘App‘,

}
</script>

<style>
#app {
  font-family: ‘Avenir‘, Helvetica, Arial, sans-serif;
  -webkit-font-smoothing: antialiased;
  -moz-osx-font-smoothing: grayscale;
  text-align: center;
  color: #2c3e50;
  margin-top: 60px;
}
</style>
router-link:默认会被渲染成一个a标签,to属性为指定链接
router-view:用于渲染路由匹配到的组件
最终效果如下:
点击链接会出现下方文字

原文:https://www.cnblogs.com/hellowen/p/12919349.html