因为docker-compose下载容易失败, 所以选择从github下载方式安装。
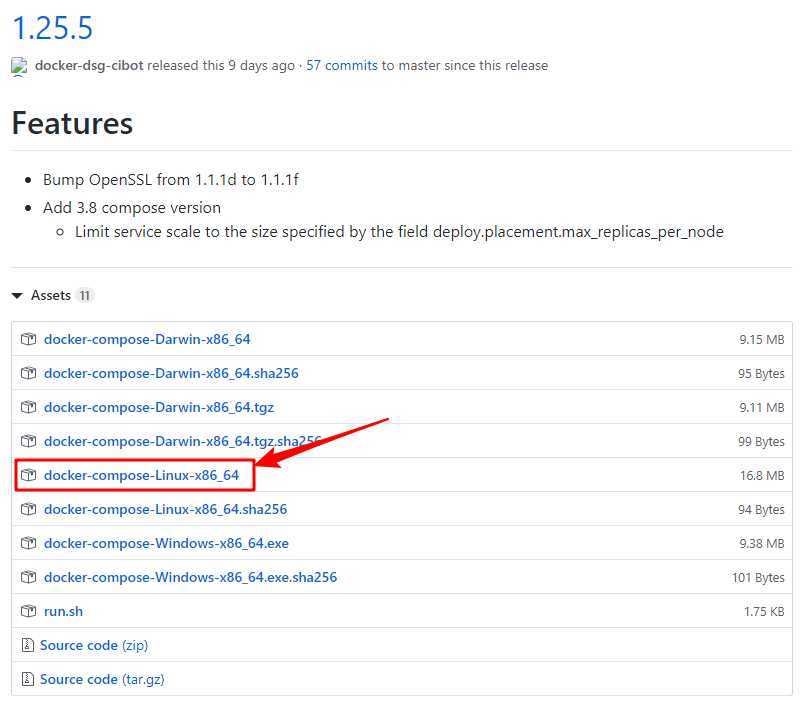
[root@harbor ~]# mv docker-compose-Linux-x86_64 /usr/local/bin/docker-compose
[root@harbor ~]# chmod a+x /usr/local/bin/docker-compose
[root@harbor ~]# docker-compose --version
docker-compose version 1.25.5, build 8a1c60f6
地址:https://github.com/goharbor/harbor/releases
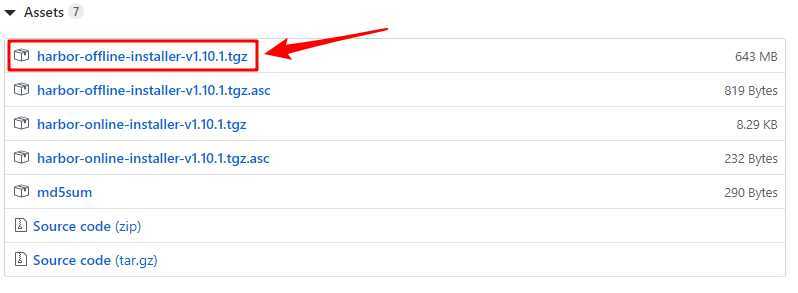
[root@harbor ~]# tar -zxvf harbor-offline-installer-v1.10.1.tgz
[root@harbor ~]# mv harbor /usr/local/
[root@harbor ~]# cd /usr/local/harbor/
[root@harbor harbor]# cp harbor.yml harbor.yml.bak
[root@harbor harbor]# vim harbor.yml
hostname: chinda.com
https:
  port: 443
  certificate: /data/cert/chinda.com.crt
  private_key: /data/cert/chinda.com.key
# harbor管理页面admin用户的密码
harbor_admin_password: admin
192.168.0.250 chinda.com
生成CA证书私钥
openssl genrsa -out ca.key 4096
生成CA证书
openssl req -x509 -new -nodes -sha512 -days 3650 -subj "/C=CN/ST=Beijing/L=Beijing/O=chinda/OU=chinda/CN=chinda.com" -key ca.key -out ca.crt
证书通常包含一个.crt文件和一个.key文件。
生成私钥
openssl genrsa -out chinda.com.key 4096
生成证书签名(CSR)
openssl req -sha512 -new -subj "/C=CN/ST=Beijing/L=Beijing/O=chinda/OU=chinda/CN=chinda.com" -key chinda.com.key -out chinda.com.csr
生成x509 v3扩展文件
cat > v3.ext <<-EOF
authorityKeyIdentifier=keyid,issuer
basicConstraints=CA:FALSE
keyUsage = digitalSignature, nonRepudiation, keyEncipherment, dataEncipherment
extendedKeyUsage = serverAuth
subjectAltName = @alt_names

[alt_names]
DNS.1=chinda.com
DNS.2=chinda
DNS.3=harbor
EOF
使用v3.ext文件为Harbor主机生成证书
将chinda.com`CRS和CRT文件名中的替换为Harbor主机名。
openssl x509 -req -sha512 -days 3650 -extfile v3.ext -CA ca.crt -CAkey ca.key -CAcreateserial -in chinda.com.csr -out chinda.com.crt
生成ca.crt,chinda.com.crt和chinda.com.key文件后,必须将它们提供给Harbor和Docker和重新配置使用它们的Harbor。首先创建存放他们的文件夹。
将服务器证书和密钥复制到Harbor主机的cert文件夹中。
cp chinda.com.crt /data/cert/
cp chinda.com.key /data/cert/
chmod a+x  /data/cert/
转换chinda.com.crt为chinda.com.cert,供Docker使用。
Docker守护程序将.crt文件解释为CA证书,并将.cert文件解释为客户端证书。
openssl x509 -inform PEM -in chinda.com.crt -out chinda.com.cert
将服务器证书,密钥和CA文件复制到Harbor主机上的Docker 证书文件夹中。首先创建适当的文件夹。
cp chinda.com.cert /etc/docker/certs.d/chinda.com/
cp chinda.com.key /etc/docker/certs.d/chinda.com/
cp ca.crt /etc/docker/certs.d/chinda.com/
重启Docker引擎
systemctl restart docker
[root@harbor cert]# cd /usr/local/harbor/
[root@harbor harbor]# ./install.sh
[root@harbor harbor]# docker login https://chinda.com
Username: admin
Password:
WARNING! Your password will be stored unencrypted in /root/.docker/config.json.
Configure a credential helper to remove this warning. See
https://docs.docker.com/engine/reference/commandline/login/#credentials-store

Login Succeeded
# 查看执行状态。注意,要在项目下执行此命令,不然会抛出异常
docker-compose ps
# 停止/移除存在的实例
docker-compose down -v
# 重启harbor
docker-compose up -d
# 在项目中标记镜像:
docker tag SOURCE_IMAGE[:TAG] chinda.com/library/IMAGE[:TAG]
# 推送镜像到当前项目:
docker push chinda.com/library/IMAGE[:TAG]
401 Unauthorized[root@harbor harbor]# docker login https://chinda.com
Authenticating with existing credentials...
Login did not succeed, error: Error response from daemon: login attempt to https://chinda.com/v2/ failed with status: 401 Unauthorized
Username (admin): admin
Password:
Error response from daemon: login attempt to https://chinda.com/v2/ failed with status: 401 Unauthorized
解决方案
docker-compose down -v
docker-compose up -d
原文:https://www.cnblogs.com/chinda/p/12776675.html