Swagger作用
号称世界上最流行的API框架,解决前端或者后端无法做到“及时协商,尽早解决”的问题。在项目中,别人需要调用你的api,swagger可以自动生成API文档,API 文档 与API 定义同步更新,让别人查看,可在线测试API。
与SpringBoot整合步骤
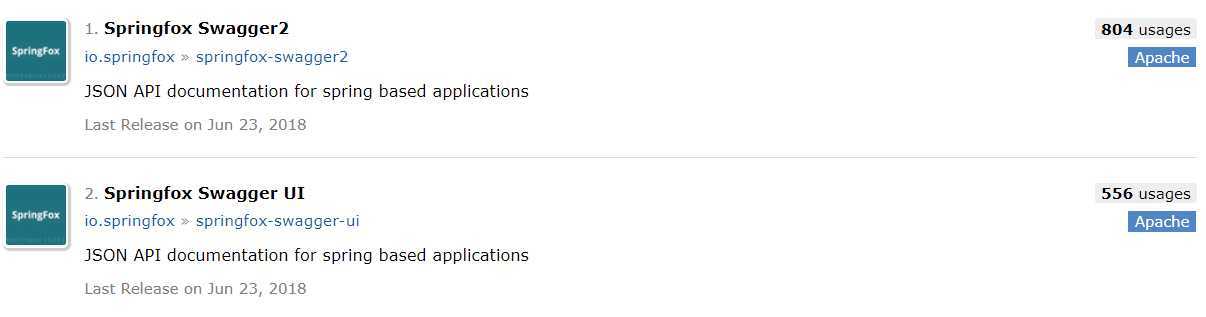
        <dependency>
            <groupId>io.springfox</groupId>
            <artifactId>springfox-swagger2</artifactId>
            <version>2.9.2</version>
        </dependency>

        <dependency>
            <groupId>io.springfox</groupId>
            <artifactId>springfox-swagger-ui</artifactId>
            <version>2.9.2</version>
        </dependency>
@Configuration
@EnableSwagger2 //开启Swagger2的自动配置
public class SwaggerConfig {
}
@RestController
public class SwaggerController {

    @GetMapping("hello")
    public String hello(){
        return "hello";
    }
}
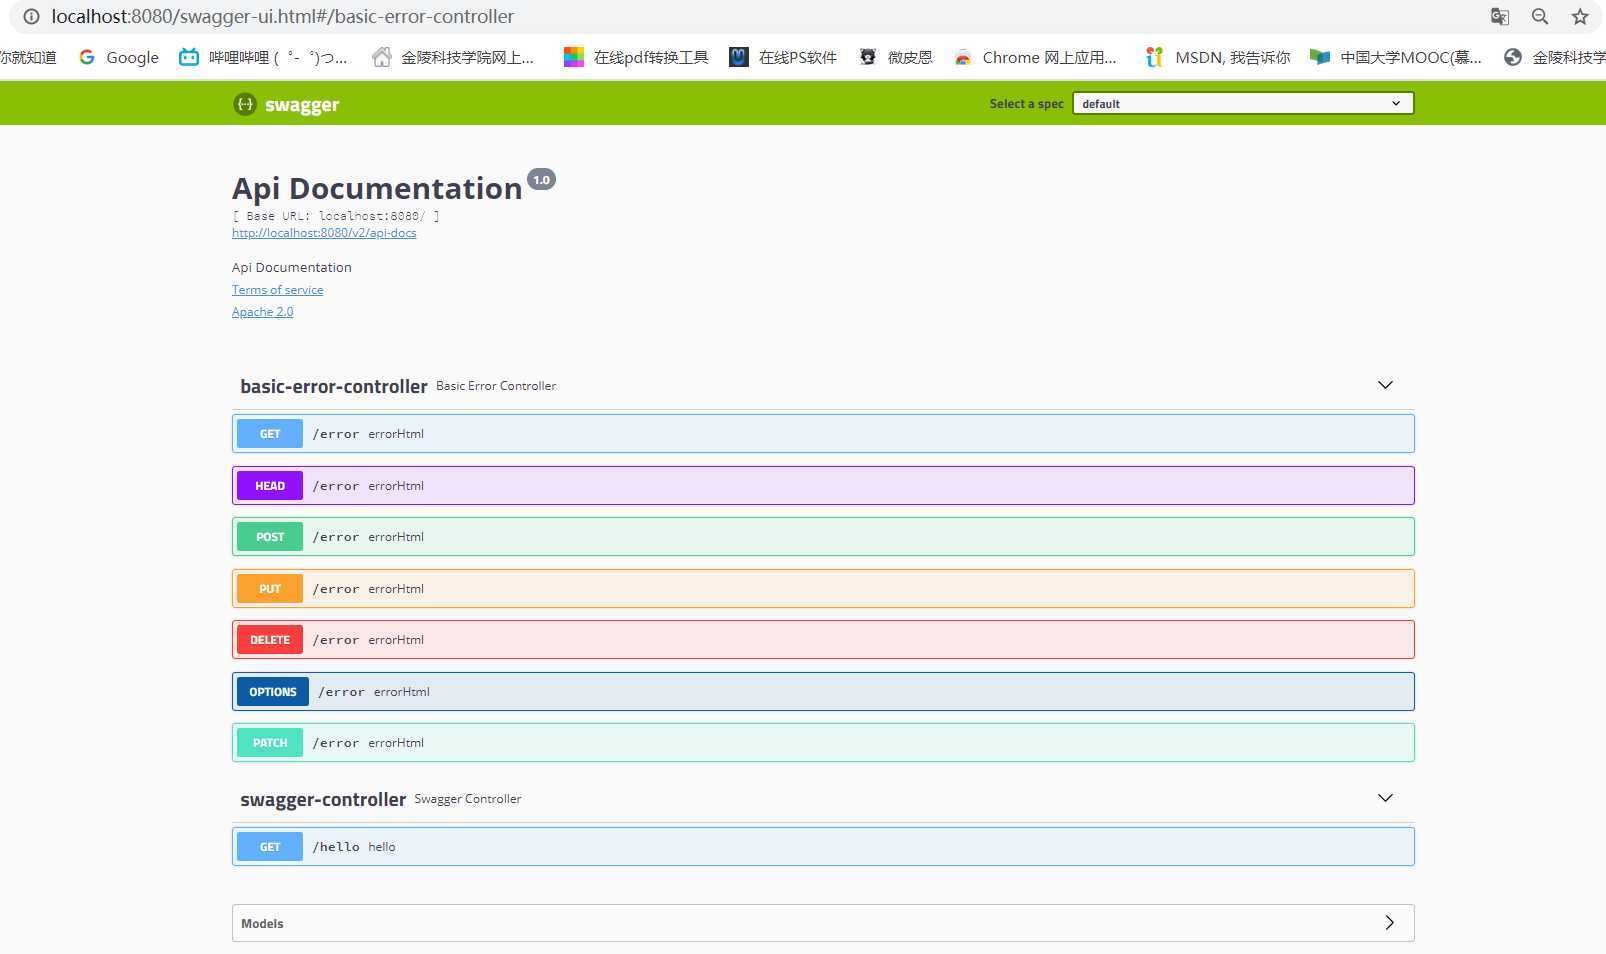
配置ApiInfo
通过配置ApiInfo来配置文档信息
默认调用的是默认的ApiInfo:
public static final ApiInfo DEFAULT;
static {
DEFAULT = new ApiInfo("Api Documentation", "Api Documentation", "1.0", "urn:tos", DEFAULT_CONTACT, "Apache 2.0", "http://www.apache.org/licenses/LICENSE-2.0", new ArrayList());
    }
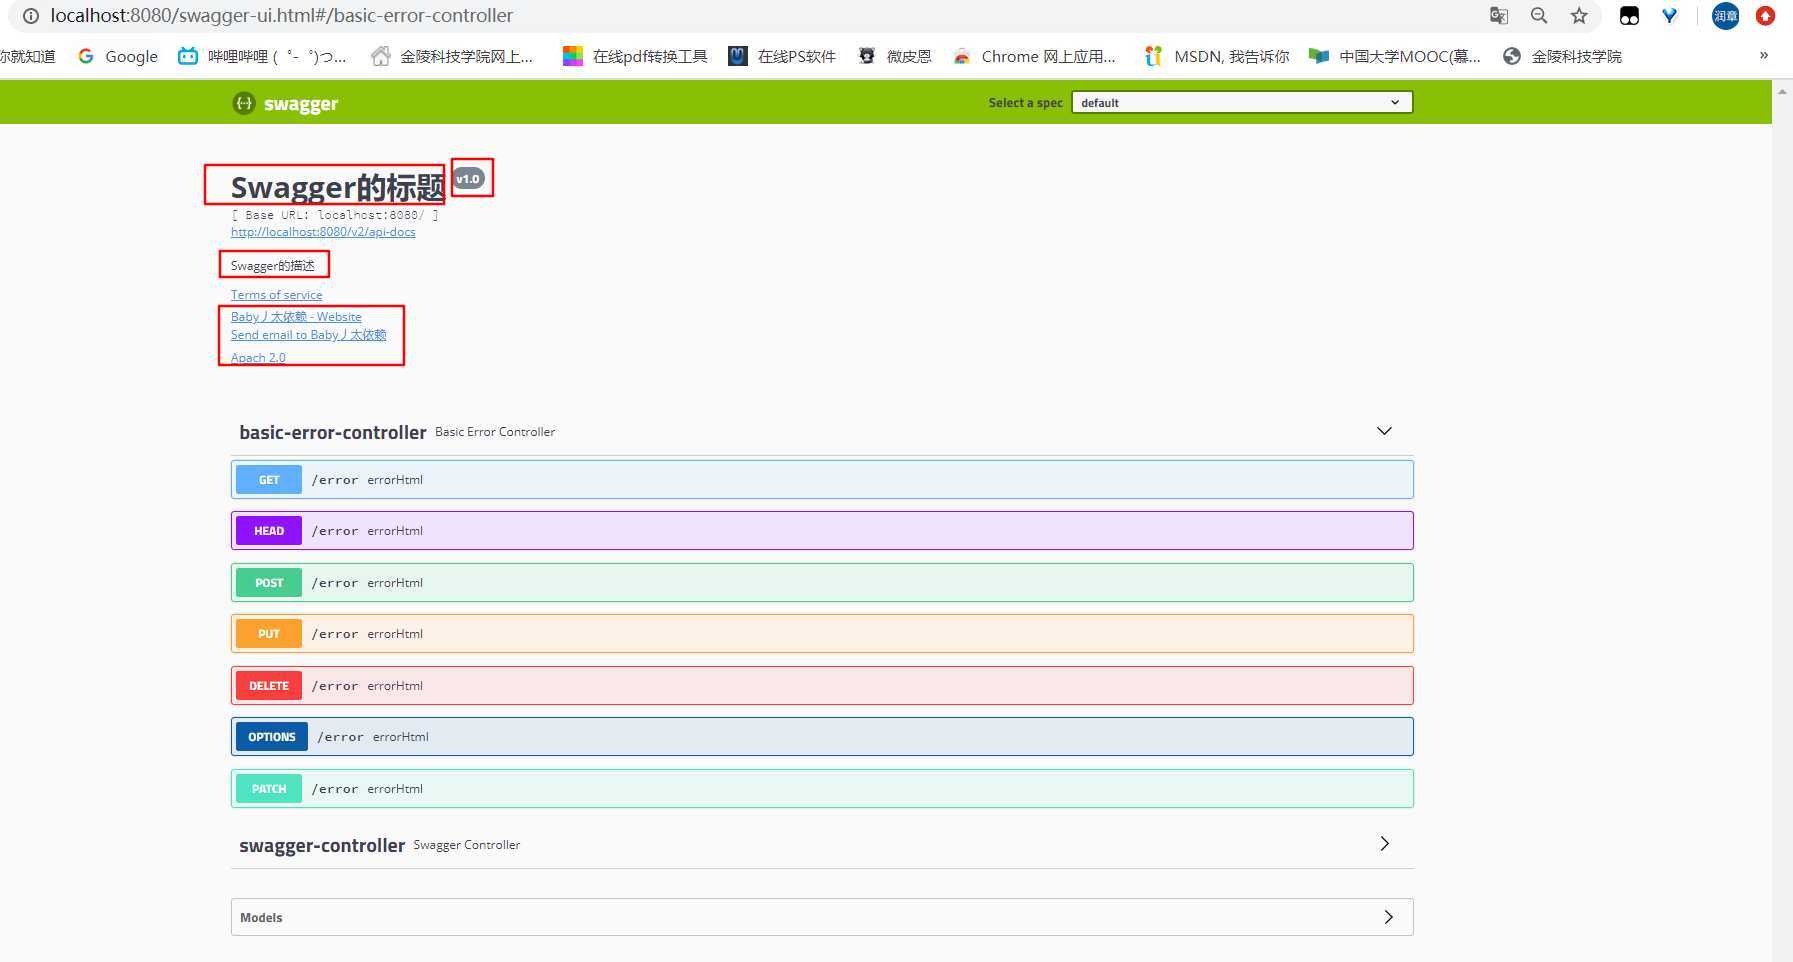
现在我们需要自定义ApiInfo,在SwaggerConfig下添加apiInfo()方法,返回自定义的ApiInfo:
 private ApiInfo apiInfo() {
        //Contact类封装了联系人姓名,联系人访问链接,联系人邮箱
        Contact contact = new Contact("Baby丿太依赖", "https://www.cnblogs.com/yinrz/", "1760266861@qq.com");
        return new ApiInfo(
                "Swagger的标题", // 标题
                "Swagger的描述", // 描述
                "v1.0", // 版本号
                "https://www.cnblogs.com/yinrz/", // 组织链接
                contact, // 联系人信息
                "Apach 2.0", // 许可
                "http://www.apache.org/licenses/LICENSE-2.0", // 许可连接
                new ArrayList<>()// 扩展
        );
    }
通过配置Docket实例来配置Swaggger
源码:
public Docket(DocumentationType documentationType) {
    this.apiInfo = ApiInfo.DEFAULT;
    this.groupName = "default";
    this.enabled = true;
    this.genericsNamingStrategy = new DefaultGenericTypeNamingStrategy();
    this.applyDefaultResponseMessages = true;
    this.host = "";
    this.pathMapping = Optional.absent();
    this.apiSelector = ApiSelector.DEFAULT;
    this.enableUrlTemplating = false;
    this.vendorExtensions = Lists.newArrayList();
    this.documentationType = documentationType;
}
public Docket apiInfo(ApiInfo apiInfo) {
    this.apiInfo = (ApiInfo)BuilderDefaults.defaultIfAbsent(apiInfo, apiInfo);
    return this;
}
使用刚刚自定义配置的ApiInfo:
@Bean
public Docket docket() {
   return new Docket(DocumentationType.SWAGGER_2).apiInfo(this.apiInfo());
}
重新访问http://localhost:8080/swagger-ui.html,发现不同:
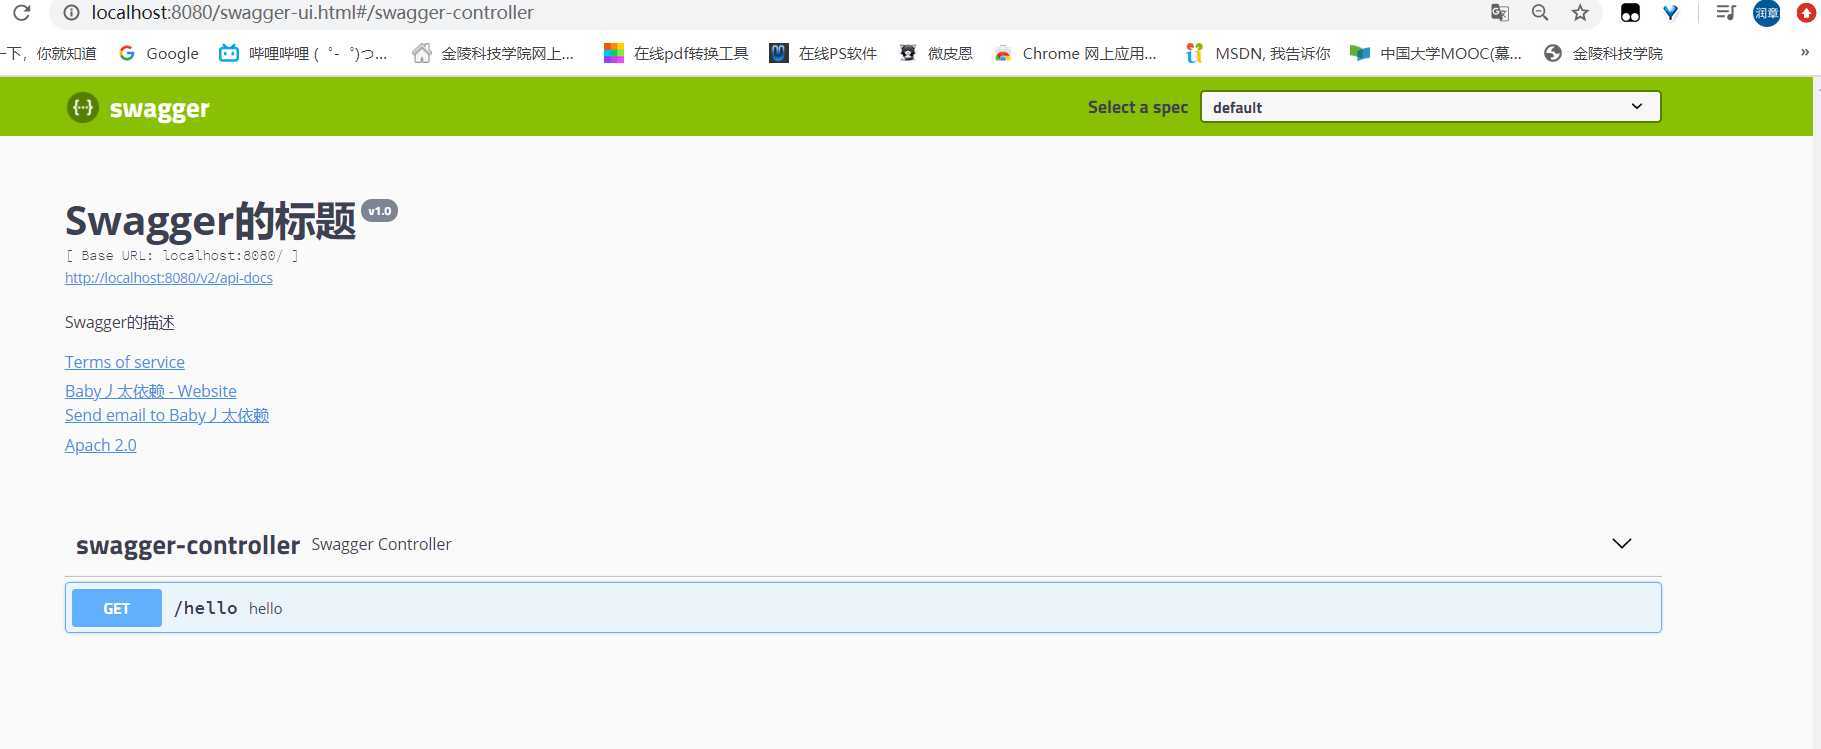
配置扫描接口
select()+apis()+path()+build()方法来配置扫描什么接口
@Bean
public Docket docket() {
  return new Docket(DocumentationType.SWAGGER_2)
               .apiInfo(this.apiInfo())
               .select()
               .apis(RequestHandlerSelectors.basePackage("com.java.controller"))
      		   .paths(PathSelectors.ant("/**"))
               .build();
    }
RequestHandlerSelectors配置如何扫描接口
//只扫描制定包下的接口
RequestHandlerSelectors.basePackage("com.java.controller"))
//不扫描任何接口
RequestHandlerSelectors.none()
//扫描项目中所有接口
RequestHandlerSelectors.any()
//扫描类上带有制定注解的接口
RequestHandlerSelectors.withClassAnnotation(RestController.class)
//扫描方法上带有制定注解的接口
RequestHandlerSelectors.withMethodAnnotation(GetMapping.class)
paths()方法来配置接口扫描过滤
//只扫描制定请求的路径
PathSelectors.ant(final String antPattern)
//扫描任何请求
PathSelectors.any()
//任何请求都不扫描
PathSelectors.none()
//通过正则表达式扫描
PathSelectors.regex(final String pathRegex)
重新访问http://localhost:8080/swagger-ui.html,发现扫描的接口已变化:
dev环境下开启Swagger,prod环境下关闭Swagger实现
@Bean
public Docket docket(Environment environment) {
   // 设置开启swagger的环境
   Profiles profiles = Profiles.of("dev");
   // 判断当前是否处于该环境
   boolean flag = environment.acceptsProfiles(profiles);

   return new Docket(DocumentationType.SWAGGER_2)
      .apiInfo(apiInfo())
      .enable(flag) //配置是否启用Swagger,如果是false,在浏览器将无法访问
      .select()
      .apis(RequestHandlerSelectors.basePackage("com.java.controller"))
      .paths(PathSelectors.ant("/**"))
      .build();
}
配置Swagger分组
如果没有配置分组,默认是default。通过groupName()方法即可配置分组,配置多个docket配置就可以配置多个分组:
@Bean
public Docket docketA() {
   return new Docket(DocumentationType.SWAGGER_2).apiInfo(apiInfo())
      .groupName("A") // 配置分组A
}
@Bean
public Docket docketB() {
   return new Docket(DocumentationType.SWAGGER_2).apiInfo(apiInfo())
      .groupName("B") // 配置分组B
}

常用注解
| Swagger注解 | 简单说明 |
|---|---|
| @Api("xxx模块说明") | 作用在模块类上 |
| @ApiOperation("xxx接口说明") | 作用在接口的方法上 |
| @ApiModel("xxxPOJO说明") | 作用在实体类上 |
| @ApiModelProperty("xxx属性说明") | 作用在类的属性上 |
| @ApiParam("xxx参数说明") | 作用在参数上 |
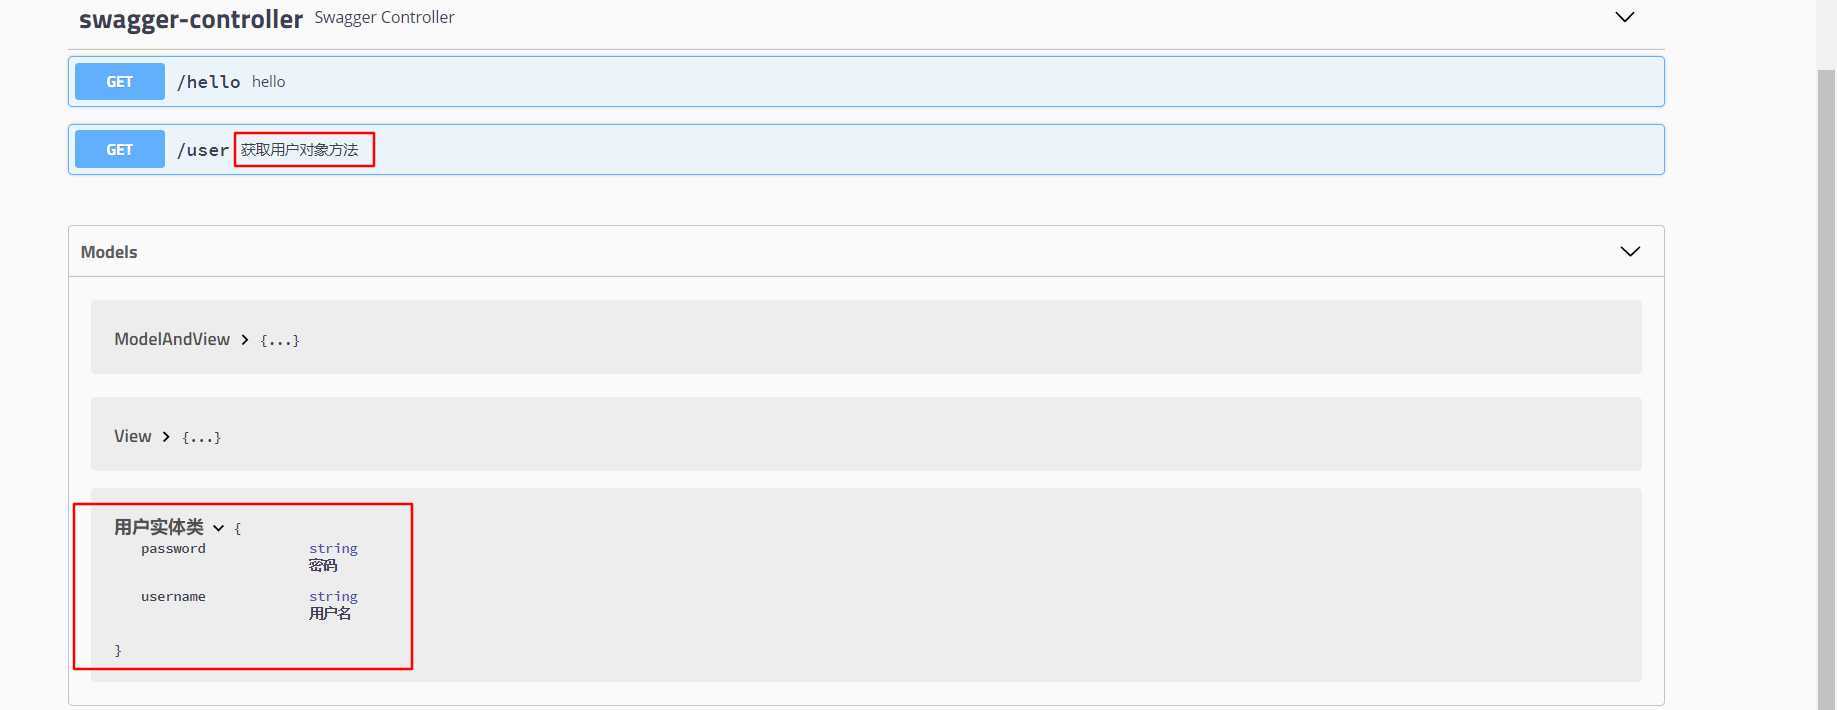
举例:
@ApiModel("用户实体类")
public class User {
    @ApiModelProperty("用户名")
    private String username;
    @ApiModelProperty("密码")
    private String password;
}
@ApiOperation("控制器的方法")
@GetMapping("user")
public User user(@ApiParam("用户名") String username,@ApiParam("密码") String password){
   return new User();
}
效果:
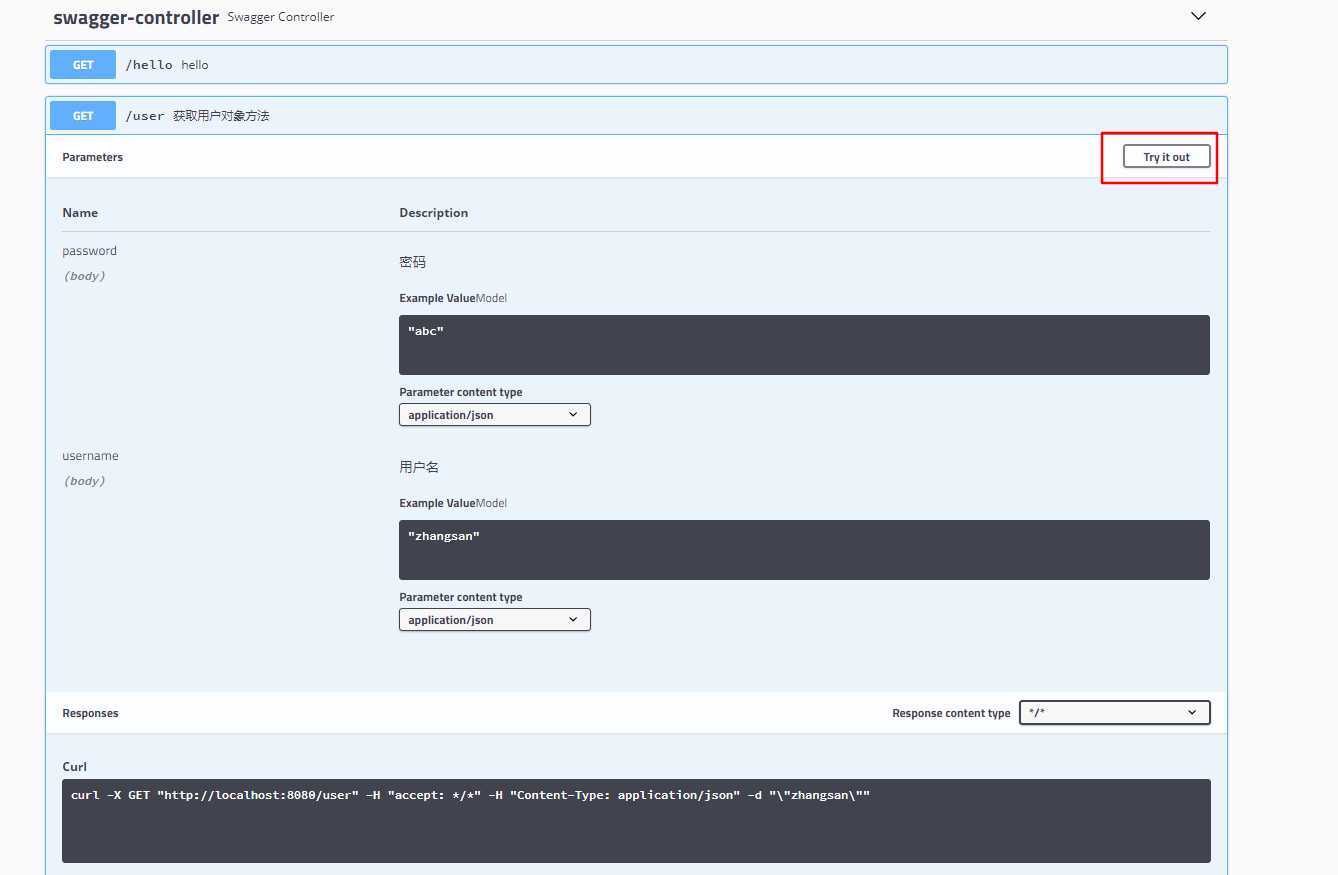
在线测试API
选中要测试的API->Try it out->输入数据->execute
总结
原文:https://www.cnblogs.com/yinrz/p/12683890.html