Nexus3 的迁移过程还是非常简单,复制整个目录到新服务器,启动即可。
在原来服务器上将 nexus3 整体目录备份即可。
$ tar -zcvf nexus3.tar.gz nexus3/
tips:我的 nexus3 整体目录有 13G,直接通过 tmux 使用 scp 命令远程复制到目标服务器的。
# 创建 nexus 用户
$ useradd nexus
$ passwd nexus
$ su - nexus

# scp 备份文件到新服务器
$ scp nexus@x.x.x.x:~/nexus3.tar.gz .

# 解压
$ tar -zxvf nexus3.tar.gz

# 启动
$ ./nexus3/nexus-3.12.1-01/bin/nexus start

# 验证
$ curl http://localhost:8081/nexus
配置文件
# 查看配置文件,根据需要修改
$ vi /home/nexus/nexus3/nexus-3.12.1-01/etc/nexus-default.properties
## DO NOT EDIT - CUSTOMIZATIONS BELONG IN $data-dir/etc/nexus.properties
##
# Jetty section
application-port=8081
application-host=0.0.0.0
nexus-args=${jetty.etc}/jetty.xml,${jetty.etc}/jetty-http.xml,${jetty.etc}/jetty-requestlog.xml
nexus-context-path=/nexus

# Nexus section
nexus-edition=nexus-pro-edition
nexus-features= nexus-pro-feature
解决方法
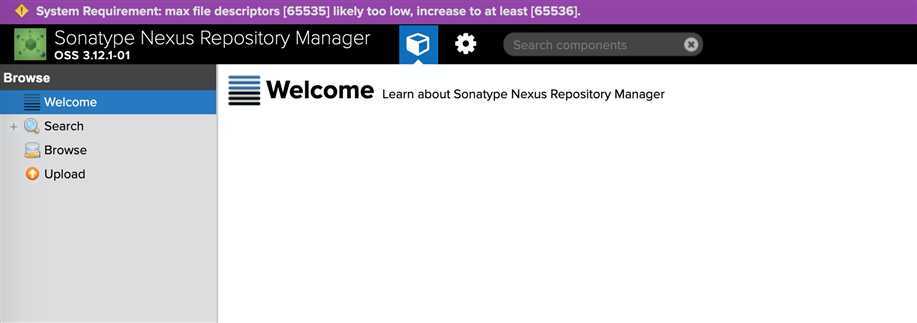
# 配置 nexus 的 nofile 为65536
$ echo "nexus - nofile 65536" >> /etc/security/limits.conf

# 重启 nexus 生效
$ ./nexus3/nexus-3.12.1-01/bin/nexus restart
# 启动 nexus,报错警告
$ ./nexus start
WARNING: ************************************************************
WARNING: Detected execution as "root" user.  This is NOT recommended!
WARNING: ************************************************************
Starting nexus
解决方法
# 在 bin 目录下创建 nexus.rc
$ echo "run_as_user=nexus" > /home/nexus/nexus3/nexus-3.12.1-01/bin/nexus.rc
原文:https://www.cnblogs.com/daodaotest/p/12637930.html