   <dependency>
            <groupId>org.springframework.boot</groupId>
            <artifactId>spring-boot-starter-thymeleaf</artifactId>
        </dependency>
2. 将 HTML 页面放到 classpath:/templates/ 目录下, Thymeleaf 就能自动渲染

3,编写controller
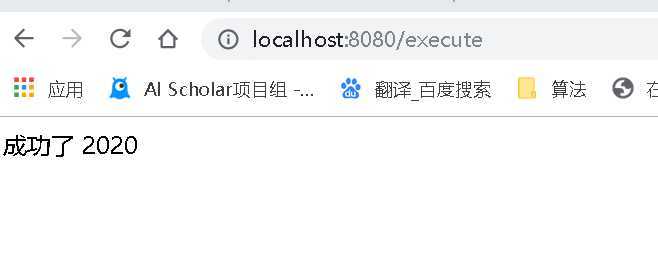
package com.example.demo.controller;

import org.springframework.stereotype.Controller;
import org.springframework.web.bind.annotation.GetMapping;
import org.springframework.web.bind.annotation.ResponseBody;

import java.util.Map;

@Controller
public class HelloController {
    @ResponseBody
    @GetMapping("/execute")
    public String execute () {
        return "success";
    }
}
注意这里不要使用 RestController 否则返回的是字符串 不是页面
4. 浏览器访问
5.将操作层的数据填写入模板中
<html xmlns:th="http://www.thymeleaf.org">
原文:https://www.cnblogs.com/guangzhou11/p/12391421.html