原创文章,转载请注明: 转载自https://www.cnblogs.com/tovin/p/12161793.html
从atlas官网选择合适版本下载:https://atlas.apache.org/#/Downloads,本文以2.0.0版本为例进行说明:
1、进入源码目录编译,最好选择将hbase、solr一起编译,减少版本的冲突,mvn编译过程比较久慢慢等,会出现下载某些包超时失败的情况,多重试几次就可以了。
cd apache-atlas-2.0.0-sources
mvn clean -DskipTests package -Pdist,embedded-hbase-solr

编译成功后在 distro/target/目录下会生成编译好的包

2、使用distro/target/apache-atlas-2.0.0-server.tar.gz包启动服务
解压:tar zxvf apache-atlas-2.0.0-server.tar.gz
vim conf/atlas-env.sh 设置JAVA_HOME: export JAVA_HOME=/data/app/jdk1.8.0_192
bin/atlas_start.py 启动atlas,看启动log确认是否使用内置的hbase、solr服务(也可以使用hbase/bin/start-hbase.sh、solr/bin/solr start -c -z zokeeper_host:port -p 8983 -force手动自行启动)
【注意:solr一定要指定参数启动,不然atlas启动时会报 Failed to obtain graph instance, retrying 3 times, error: java.lang.IllegalArgumentException: Could not instantiate imple
mentation: org.janusgraph.diskstorage.solr.Solr6Index错误: solr/bin/solr start -c -z zokeeper_host:port -p 8983 -force】
创建节点: solr/bin/solr create -c fulltext_index -force -d conf/solr/
solr/bin/solr create -c edge_index -force -d conf/solr/
solr/bin/solr create -c vertex_index -force -d conf/solr/
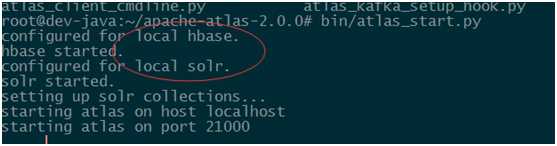
查看hbase、solr服务是否启动

3、运行bin/quick_start.py导入示例数据
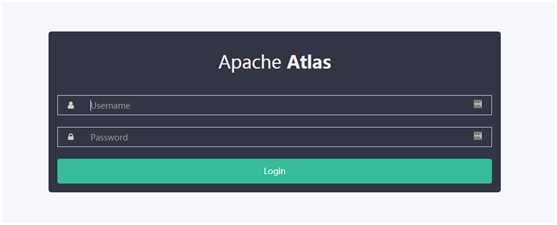
4、至此安装成功,浏览器打开http://localhost:21000,输入默认用户名/密码(admin/admin)
原创文章,转载请注明: 转载自https://www.cnblogs.com/tovin/p/12161793.html
原文:https://www.cnblogs.com/tovin/p/12161793.html