ngIf 指令
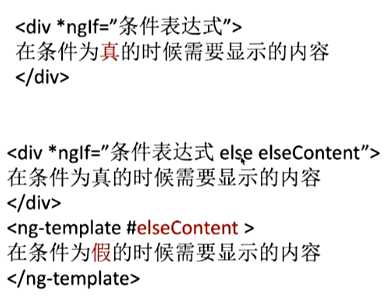
<span *ngIf="i === selectedIndex" class="botStyle"></span>
组件的输入输出
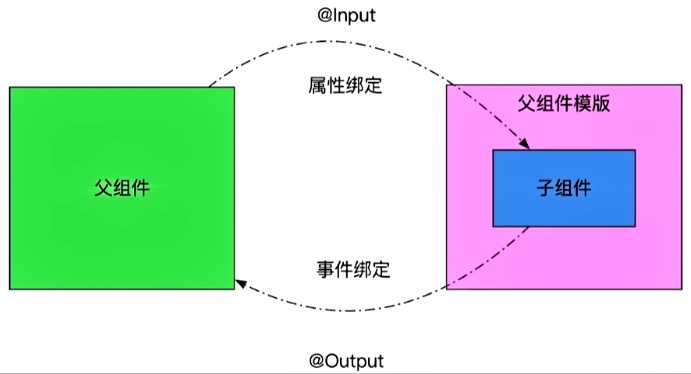
子组件:
import { Component, OnInit, Input, Output, EventEmitter } from ‘@angular/core‘;   //eventEmitter  不要导错


export interface TopMenu {
  title: string;
  link: string;
}

@Component({
  selector: ‘app-scroll-table-tab‘,
  templateUrl: ‘./scroll-table-tab.component.html‘,
  styleUrls: [‘./scroll-table-tab.component.css‘]
})
export class ScrollTableTabComponent implements OnInit {
  selectedIndex = -1;
  @Input() menus: TopMenu[] = [];
  @Output() tabSelected = new EventEmitter();
  constructor() { }

  ngOnInit() {
  }
  handleSelection(index: number){
    this.selectedIndex = index;
    this.tabSelected.emit(this.menus[this.selectedIndex]);
  }
}
父组件:
HTML
<app-scroll-table-tab
 [menus]="topMenus"  //子组件menus 通过@Input 接收父组件的topMenus
 (tabSelected)="handleTabSelected($event)" //父组件通过 @Output tabSelected 把子组件menus中点击的index 接收
 ></app-scroll-table-tab>

JS
原文:https://www.cnblogs.com/webmc/p/11989416.html