实验环境
nginx server:Centos7 192.168.10.124
apache server:Centos7 192.168.10.121
LAMP server:Centos7 192.168.10.121
注:以下实验为Nginx初识的后续
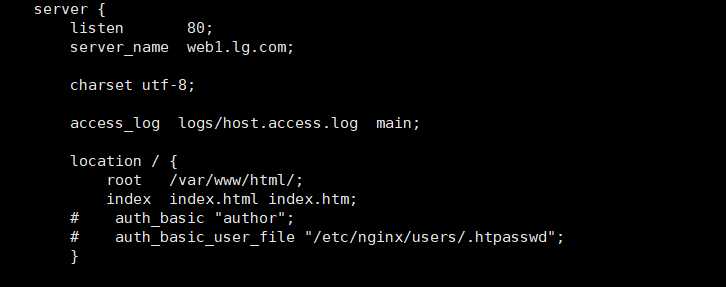
修改nginx配置

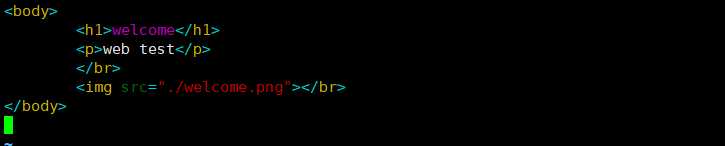
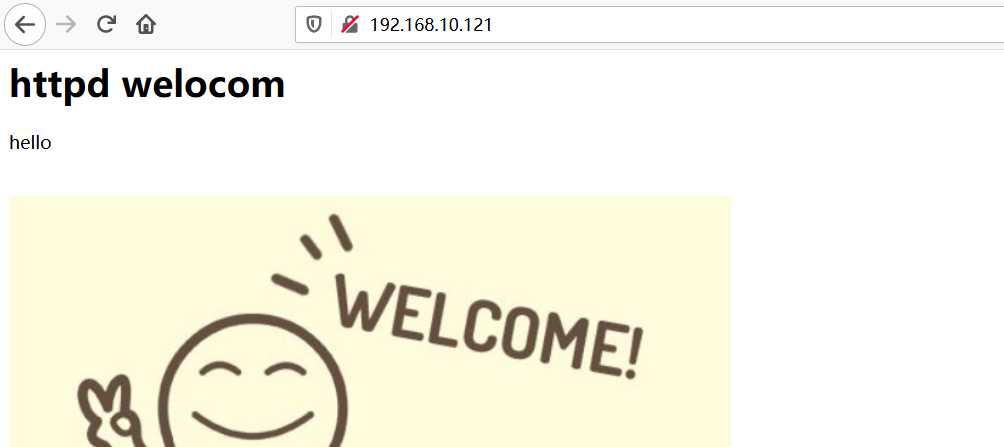
在指定目录添加测试页

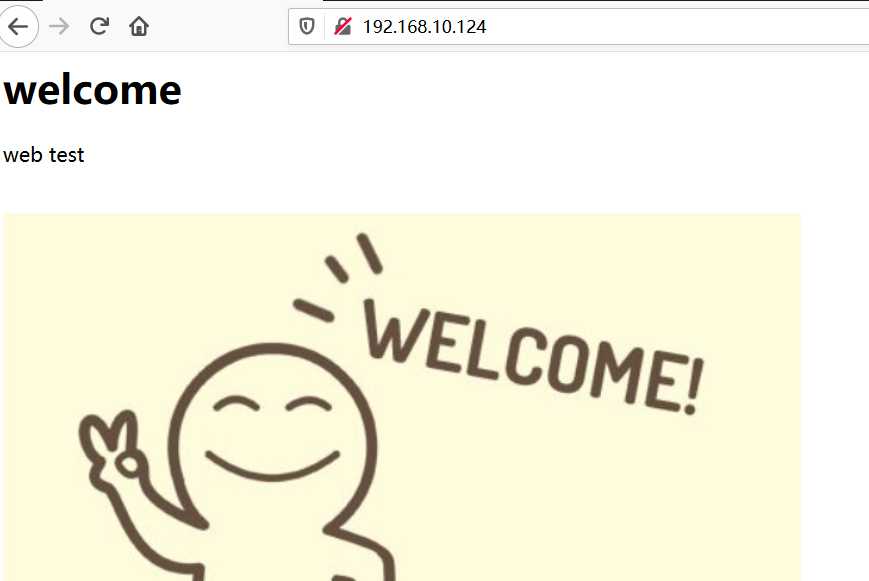
访问查看
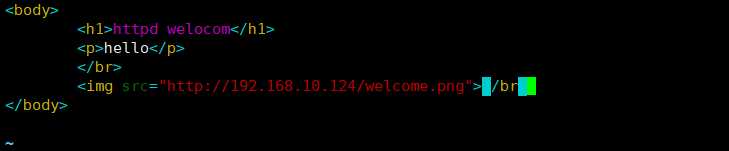
在另一台主机搭建apache服务

修改配置文件


添加盗链主页

启动服务

测试盗链效果
在nginx服务器 添加防盗链规则

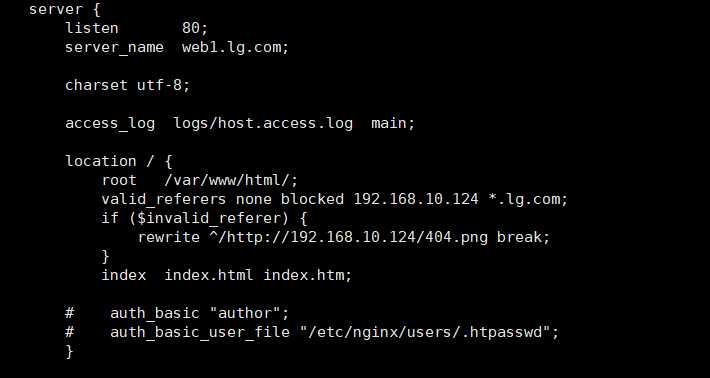
检查是否存在语法错误

重载服务

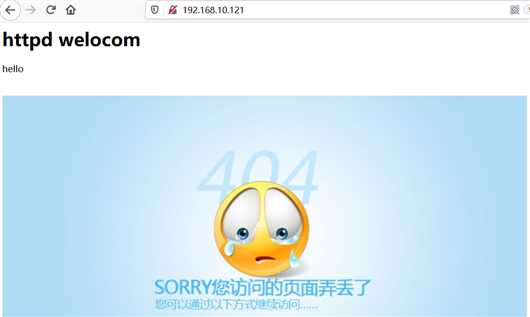
测试防盗链是否生效(注:可能会因为浏览器缓存的原因导致图片无法加载,打开新的选项卡再次加载即可)
修改配置文件

    log_format  main  '$remote_addr - $remote_user [$time_local] "$request" '
                      '$status $body_bytes_sent "$http_referer" '
                      '"$http_user_agent" "$http_x_forwarded_for"';
...
    access_log  logs/host.access.log  main;
...
#log_format  main 定义日志格式内容 main为指定的格式名称,可以添加多个,但名称必须唯一
#access_log 指定日志的路径/名称 格式名
#格式中可以使用的参数
#$remote_addr             客户端地址
#$remote_user             客户端用户名称
#$time_local              访问时间和时区
#$request                 请求的URI和HTTP协议
#$http_host               请求地址,即浏览器中你输入的地址(IP或域名)
#$status                  HTTP请求状态
#$upstream_status         upstream状态
#$body_bytes_sent         发送给客户端文件内容大小
#$http_referer            url跳转来源
#$http_user_agent         用户终端浏览器等信息
#$ssl_protocol            SSL协议版本
#$ssl_cipher              交换数据中的算法
#$upstream_addr           后台upstream的地址,即真正提供服务的主机地址
#$request_time            整个请求的总时间
#$upstream_response_time  请求过程中,upstream响应时间
创建日志文件


测试
查看生成日志

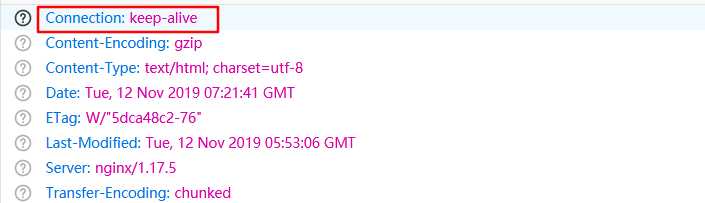
超时设置

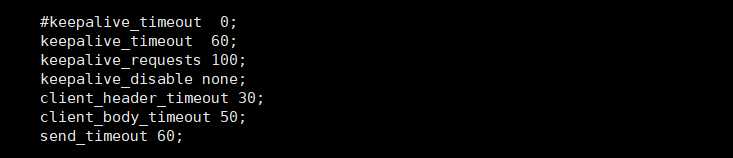
    keepalive_timeout  60; #长连接超时时间,超过该时长需要重新建立连接
    keepalive_requests 100; #单个长连接能够请求的最大资源数
    keepalive_disable none; #指定禁用长连接的用户代理类型
    client_header_timeout 30; #发送请求头超时时间
    client_body_timeout 50; #请求体读超时时间
    send_timeout 60; #发送超时时间

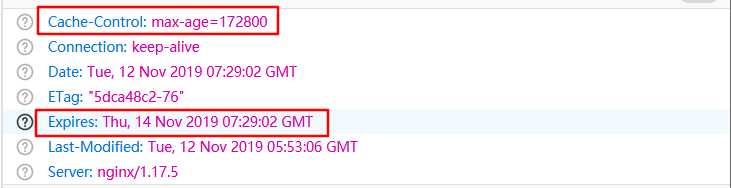
开启网页缓存

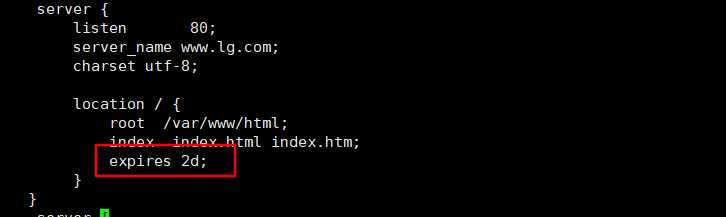
expires 2d;
#开启缓存,d表示天
#语法:expires [time|epoch|max|off]
#   epoch:指定“Expires”的值为 1 January,1970,00:00:01 GMT
#   max:指定“Expires”的值为31 December2037 23:59:59GMT,"Cache-Control"的值为10年。
#   -1:缓存立即过期。
#   off:不启用缓存 默认
#Cache-Control 表示缓存存活时长,单位秒
#Expires 缓存时间
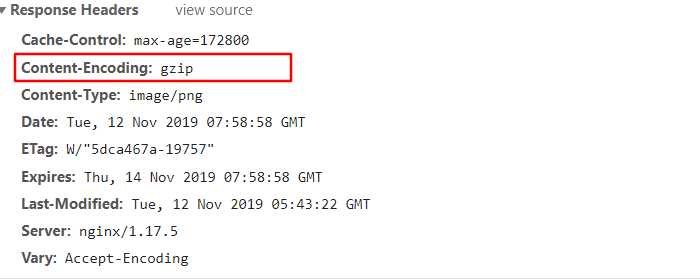
网页压缩
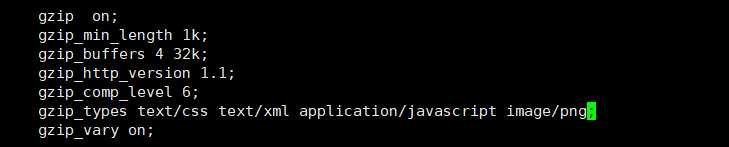
    gzip  on; #启用压缩
    gzip_min_length 1k; #最小压缩文件大小
    gzip_buffers 4 32k; #压缩缓冲区 表示4个32k内存作为压缩结果流缓存
    gzip_http_version 1.1; #压缩版本
    gzip_comp_level 6; #压缩比,最小为1,最大为9,越大压缩的越小,处理速度越慢
    gzip_types text/css text/xml application/javascript image/png; #设置压缩类型
    gzip_vary on; #允许缓存服务器缓存经过压缩的页面
#gzip_types支持MIME类型
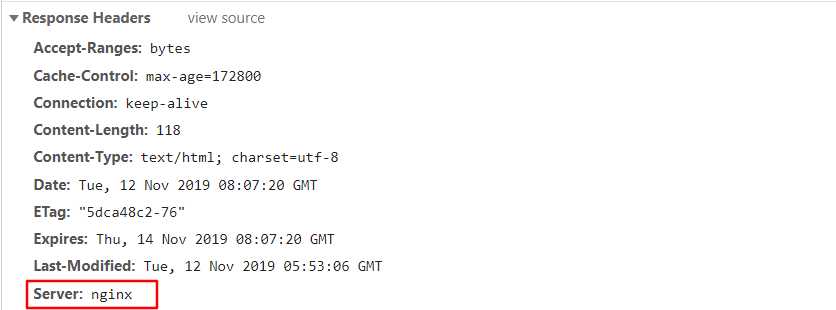
服务版本号隐藏

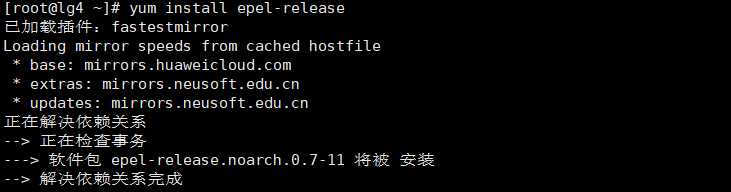
使用默认的yum源安装epel源(需要连接外网)

安装nginx

修改fastcgi相关配置

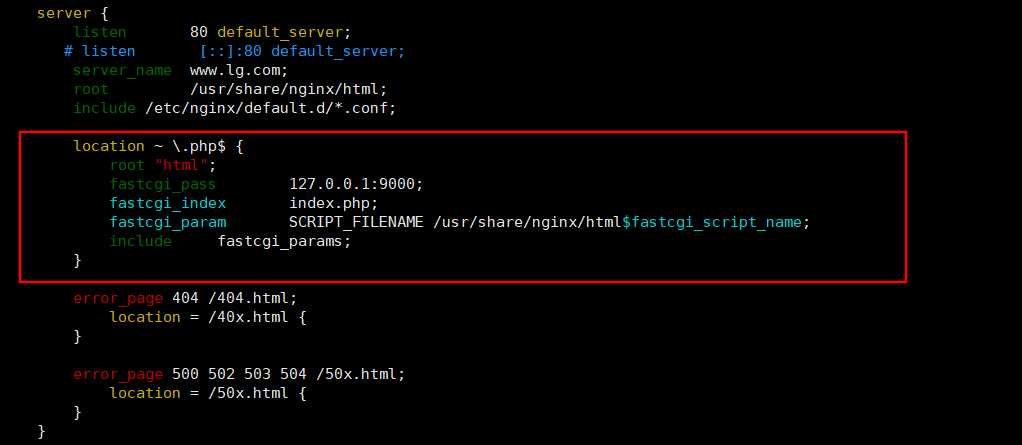
        location ~ \.php$ { #匹配访问php的请求
            root "html"; #指定根目录,
            fastcgi_pass        127.0.0.1:9000; #将请求转给fpm处理,fpm端口为9000
            fastcgi_index       index.php; #主页名
            fastcgi_param        SCRIPT_FILENAME /usr/share/nginx/html$fastcgi_script_name; #
            include     fastcgi_params;
        }
设置nginx开机自启

安装php与Mariadb

yum install php mariadb mariadb-server mysql-devel php-mysql php-cgi php-mbstring php-gd php-fpm安装依赖组件

yum -y install autoconf libjpeg libjpeg-devel libpng libpng-devel freetype freetype-devel libxml2 libxml2-devel zlib zlib-devel glibc glibc-devel glib2 glib2-devel bzip2 bzip2-devel ncurses ncurses-devel curl curl-devel e2fsprogs e2fsprogs-devel krb5 krb5-devel libidn libidn-devel openssl openssl-devel openldap openldap-devel nss_ldap openldap-clients openldap-servers
修改fpm运行时使用的用户和组


重启nginx

启动Mariadb和php-fpm

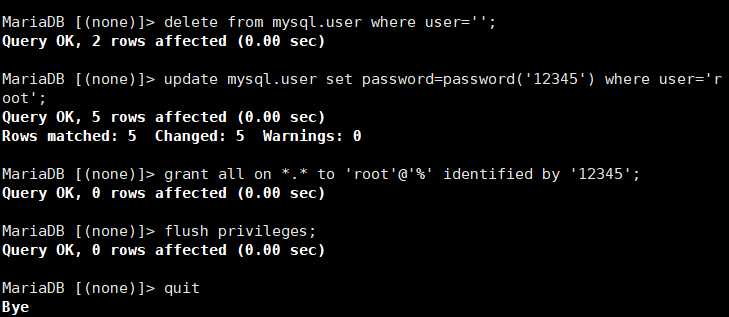
创建mariadb用户

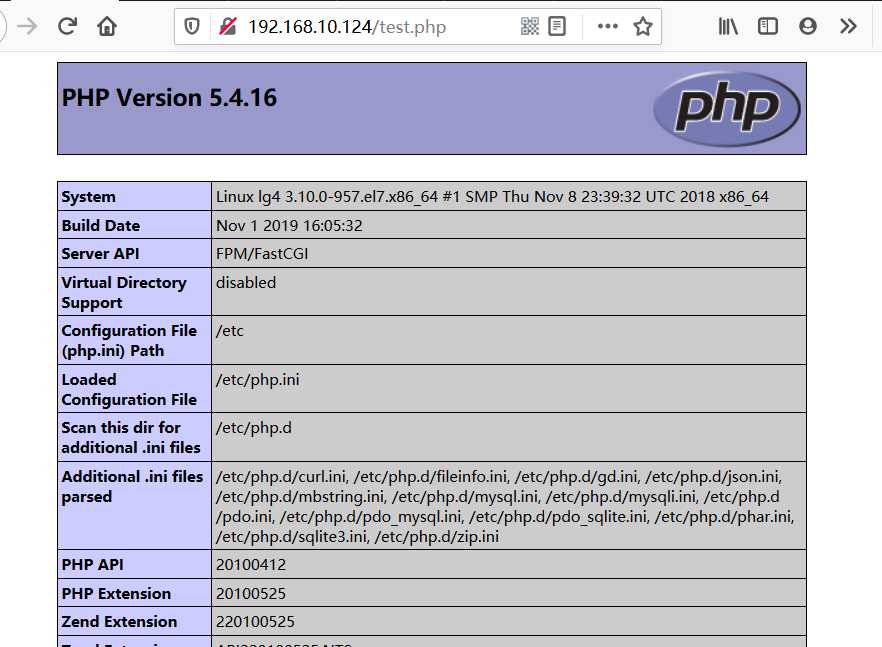
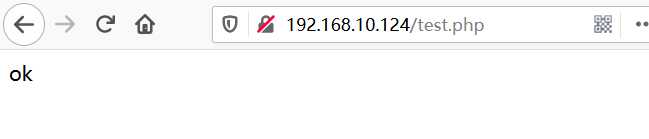
创建测试页


<?php
        $link=mysqli_connect('192.168.10.124','root','12345');
        if($link)
                echo "ok";
        else
                echo "not ok";
?>
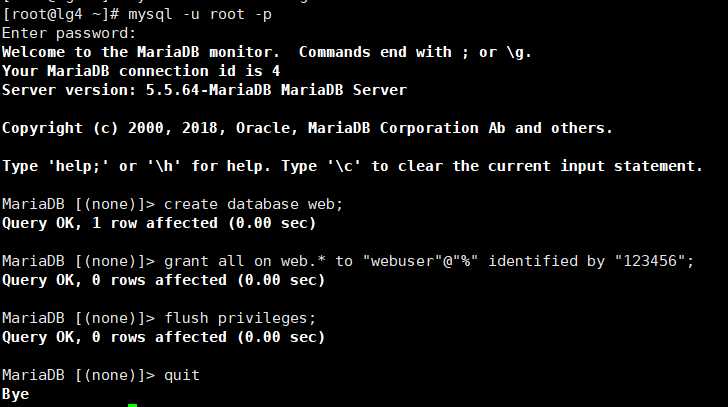
创建站点所用数据库及用户
安装Skyyuc站点
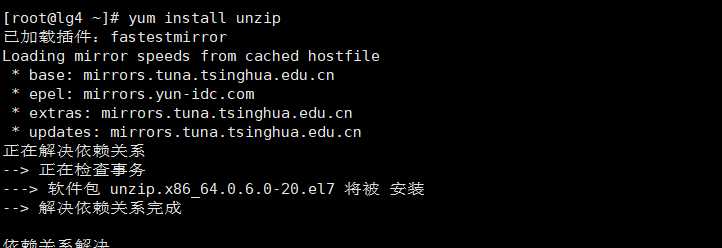
将安装包上传至服务器并解压缩


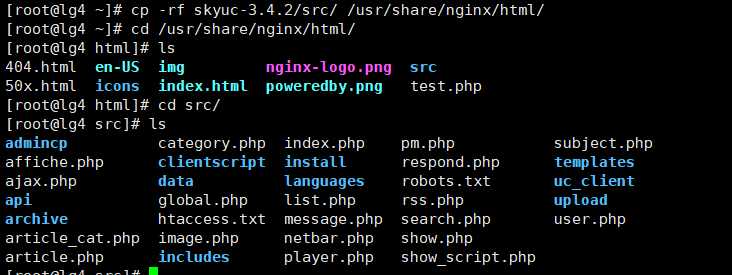
将解压包中的src目录复制到/usr/share/nginx/html目录下
设置权限

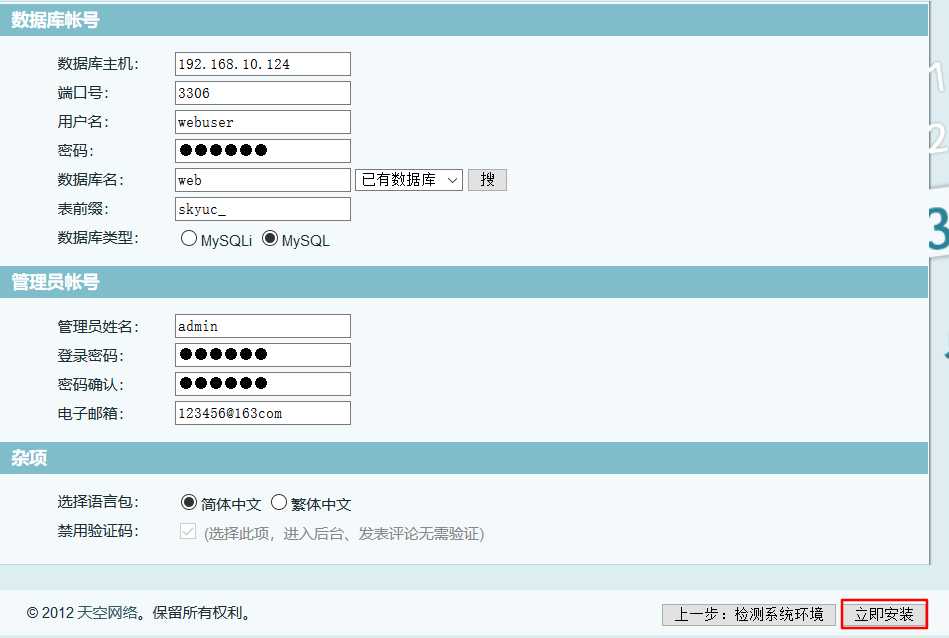
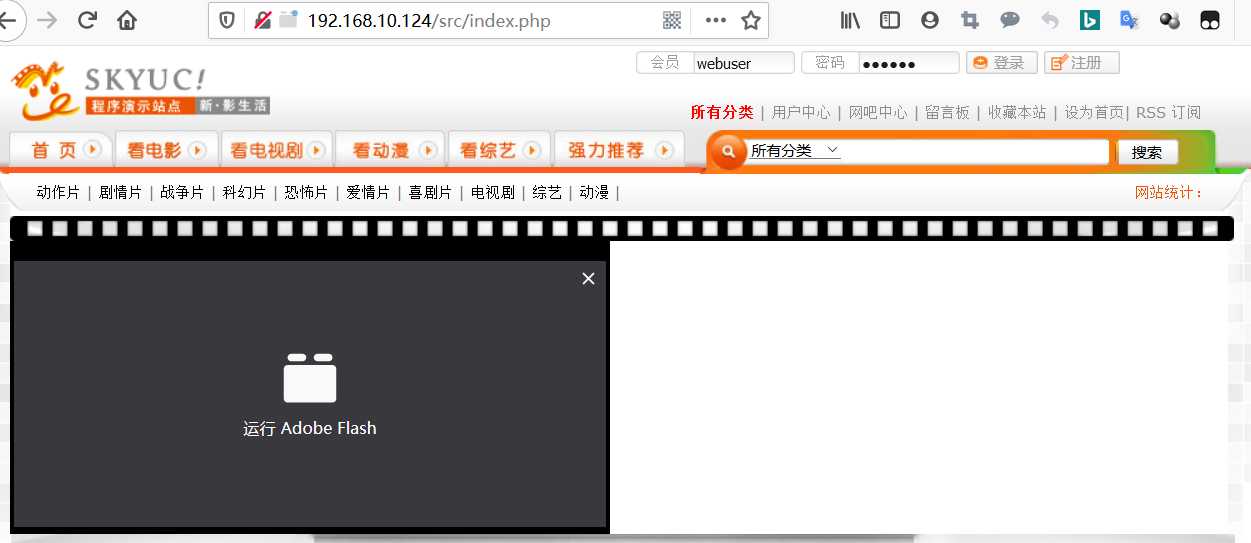
l浏览器访问安装
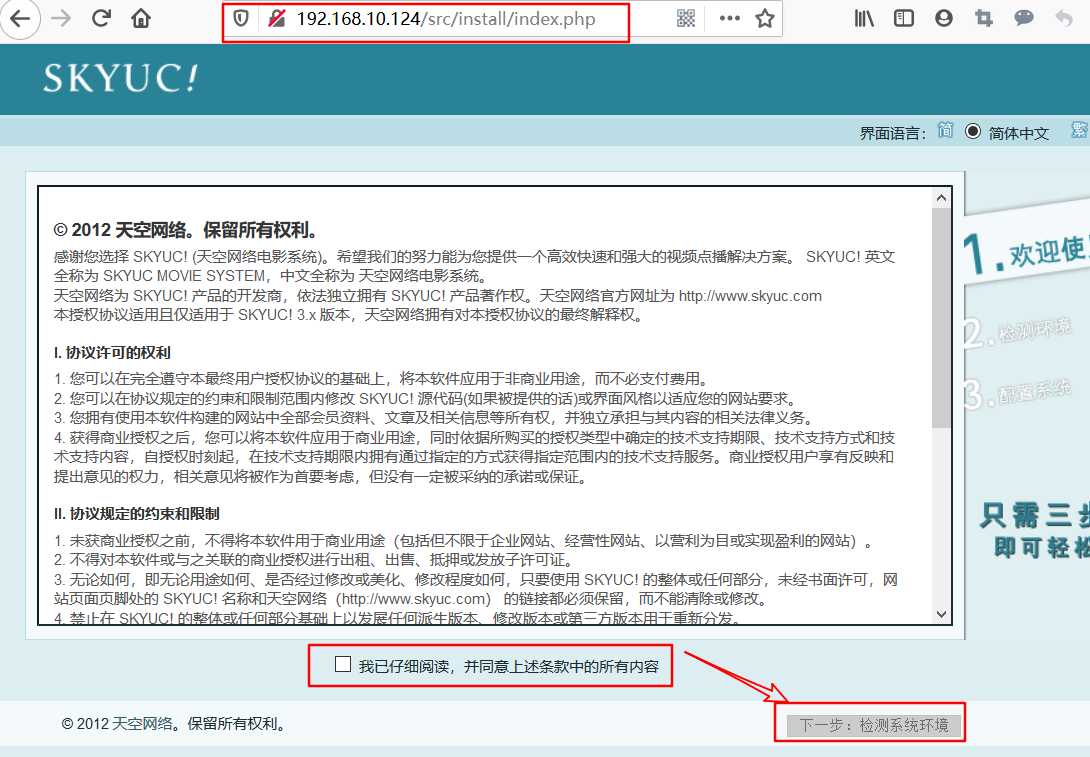
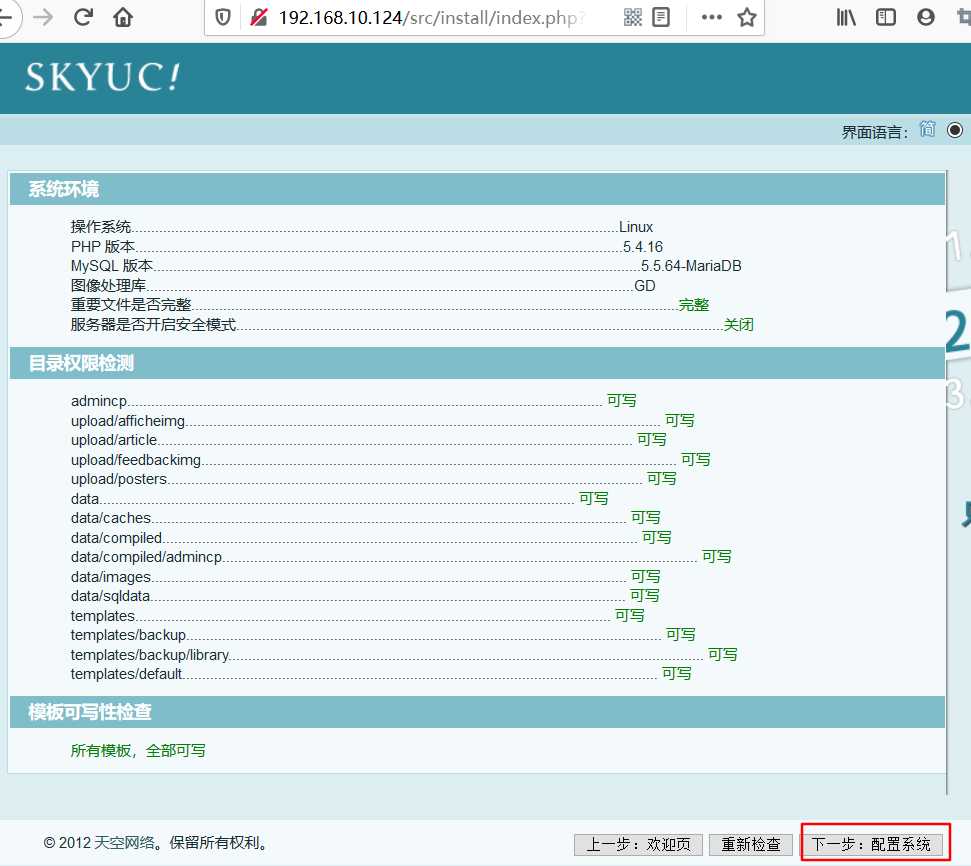
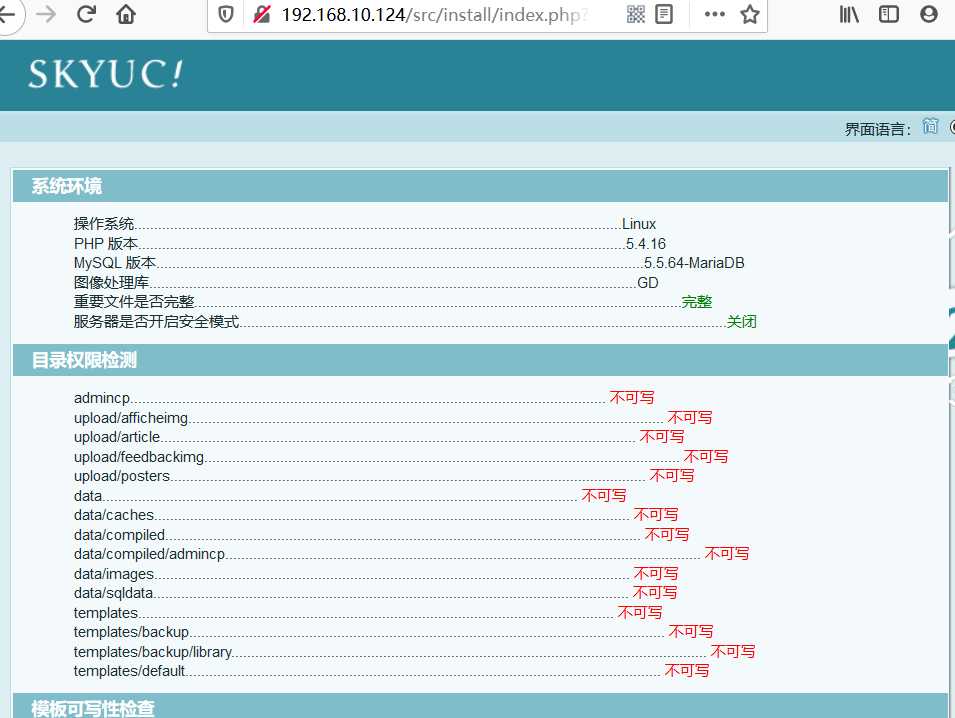
若未正确分配权限则会出现如下界面
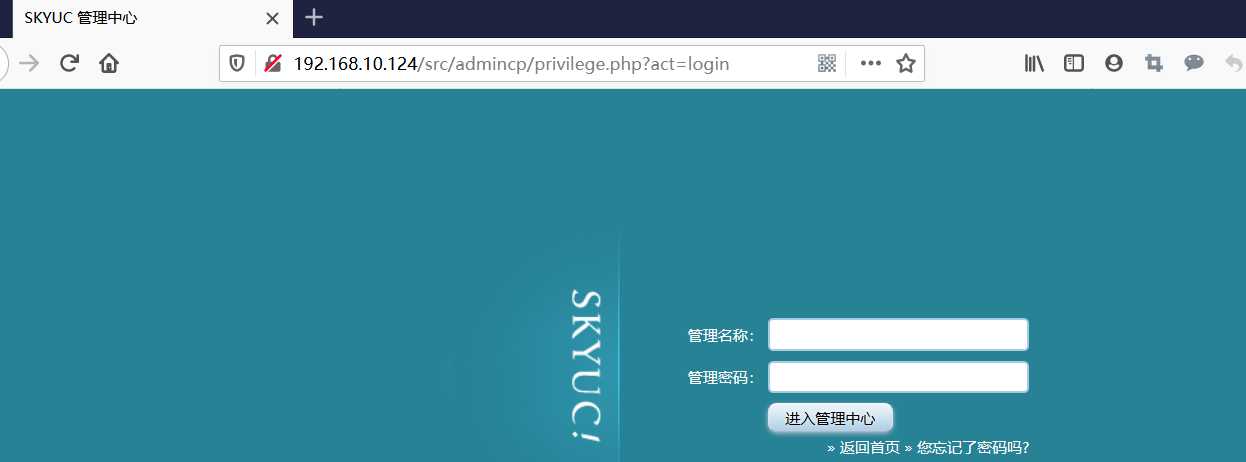
管理员界面: http://192.168.10.124/src/admincp/index.php
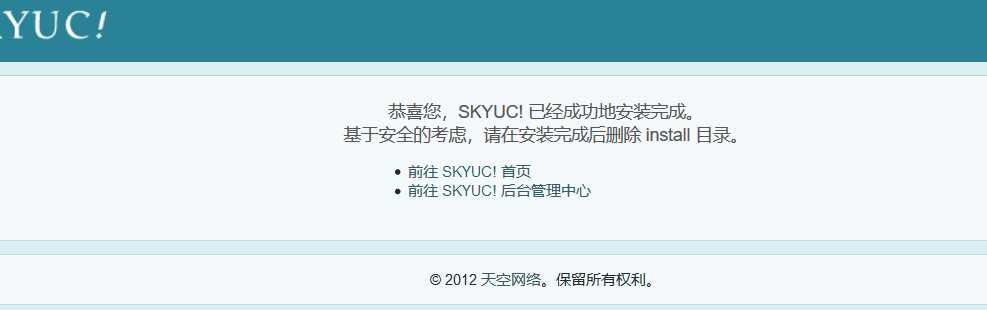
删除insatll目录

另外搭建一台LAMP服务器
安装http服务

安装php与Mariadb服务

安装依赖包

若提示如下内容则需要按安装epel源


修改http服务配置


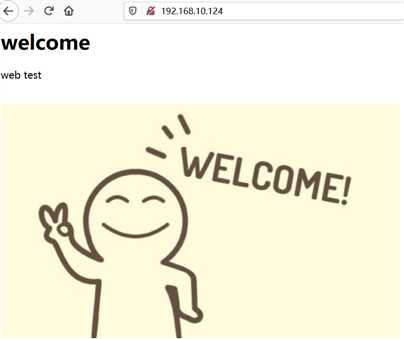
编写测试主页


启动服务

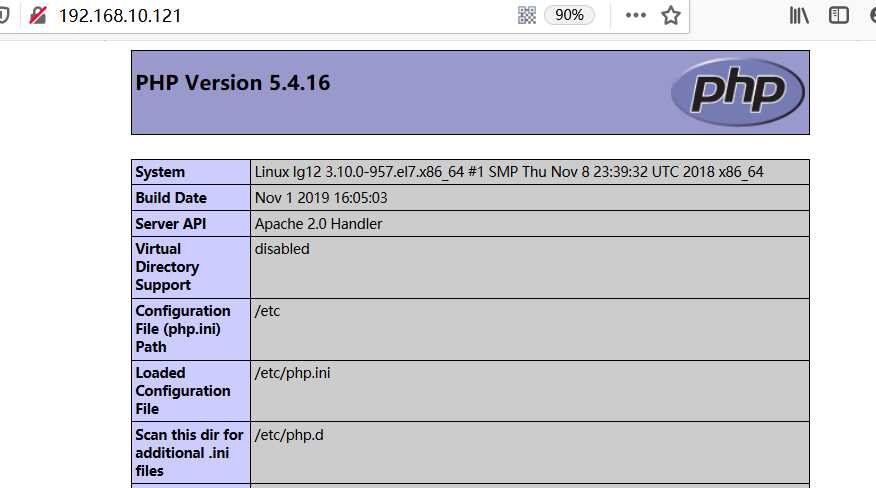
测试
使用模板配置Mariadb

启动数据库

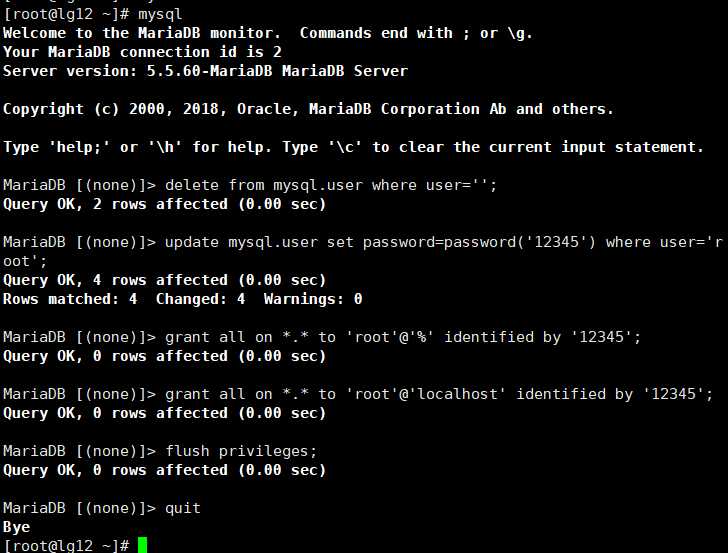
修改数据库账号密码
重启数据库

修改测试页


测试

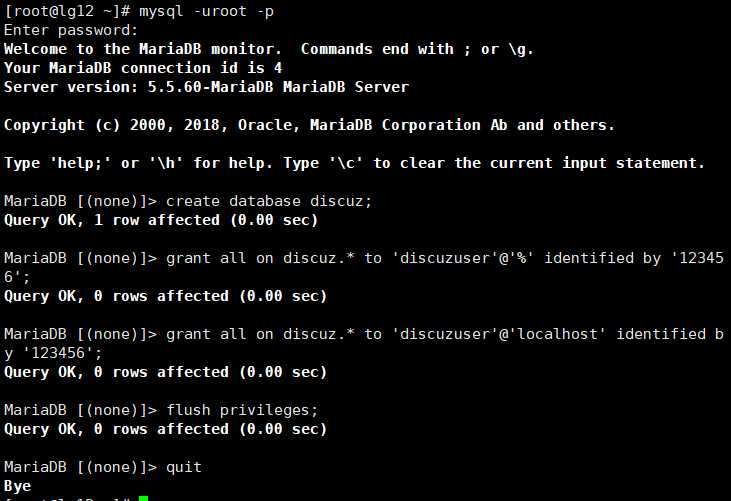
创建论坛数据库和管理用户
将discuz论坛上传至服务器,并解压缩


将解压出的upload存放到/var/www/html/目录下,并重命名为discuz

修改权限

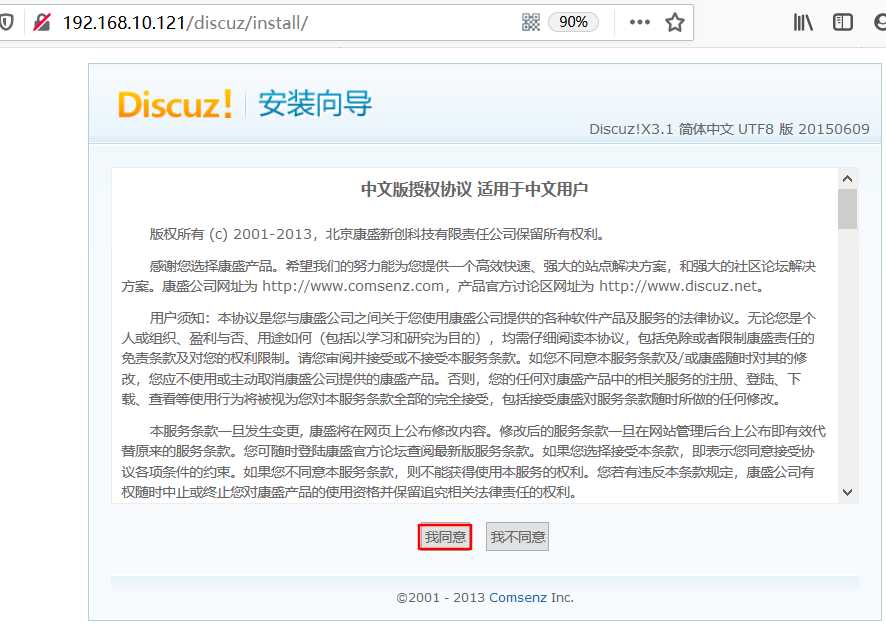
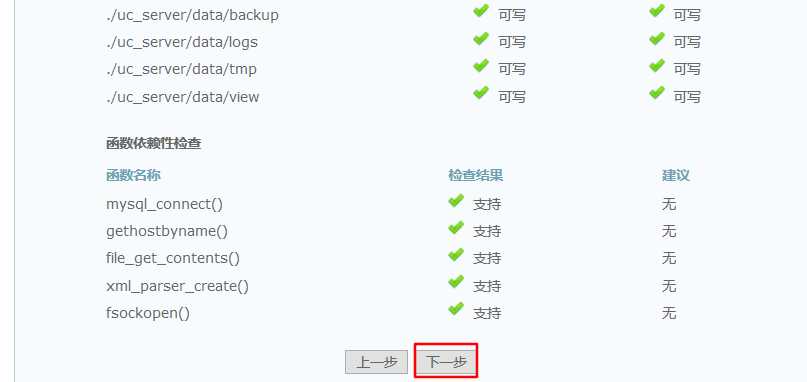
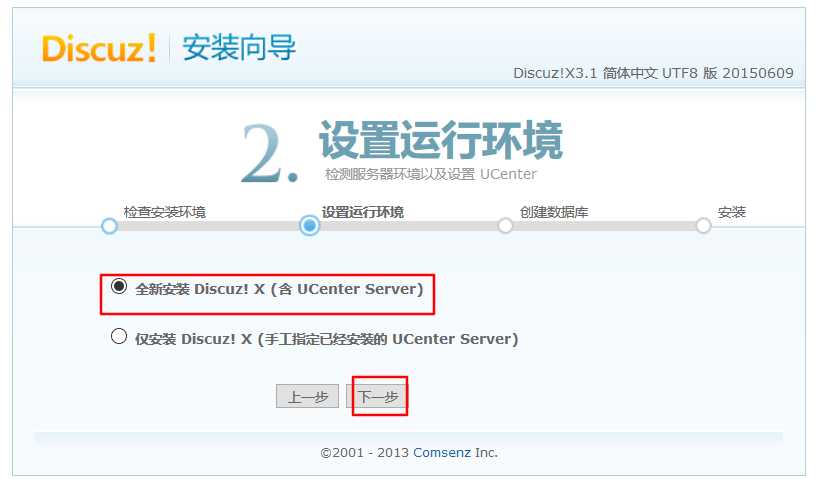
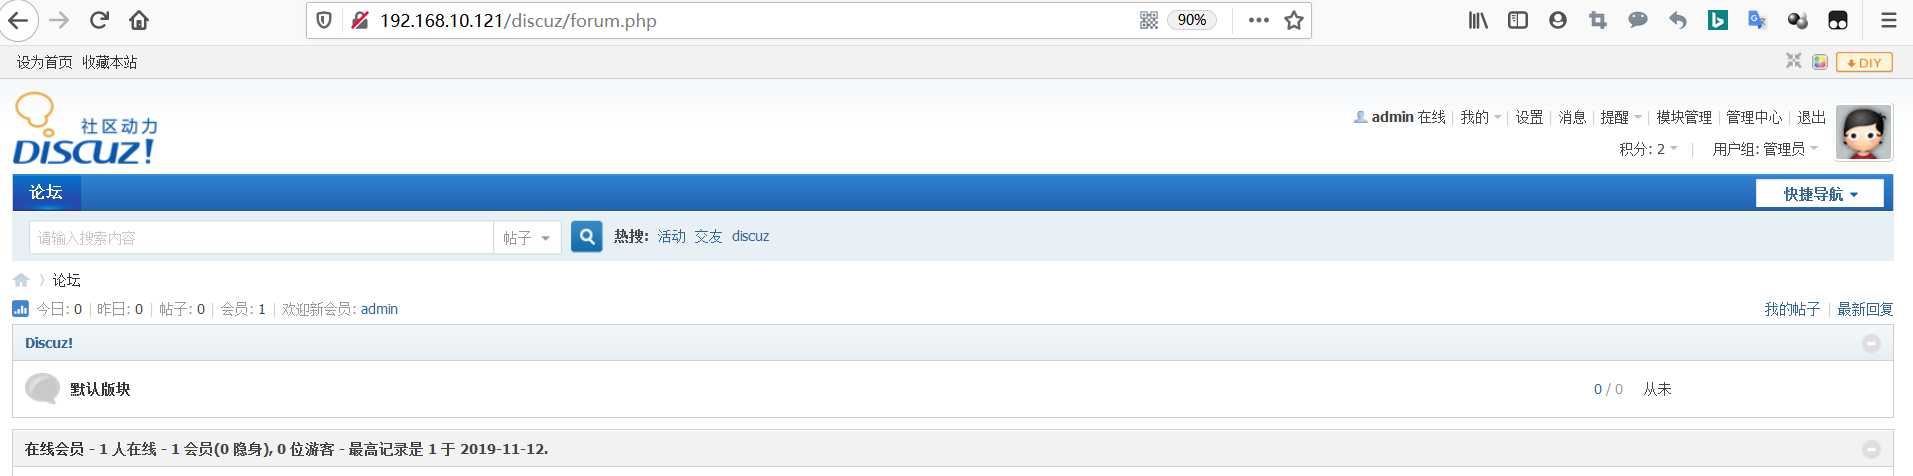
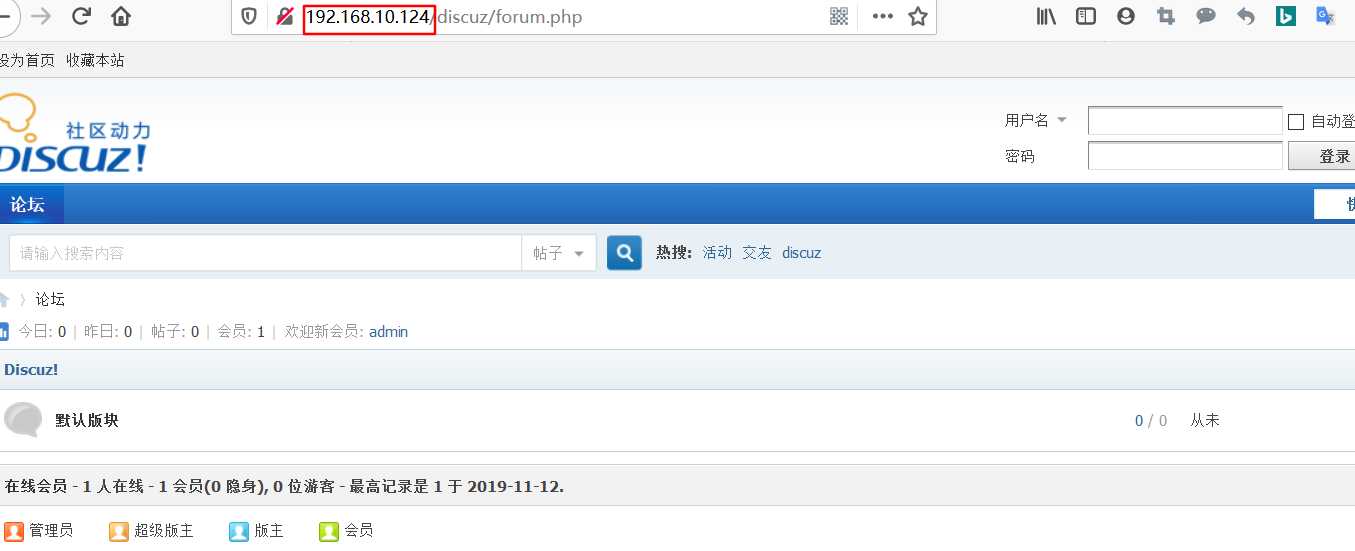
浏览器安装
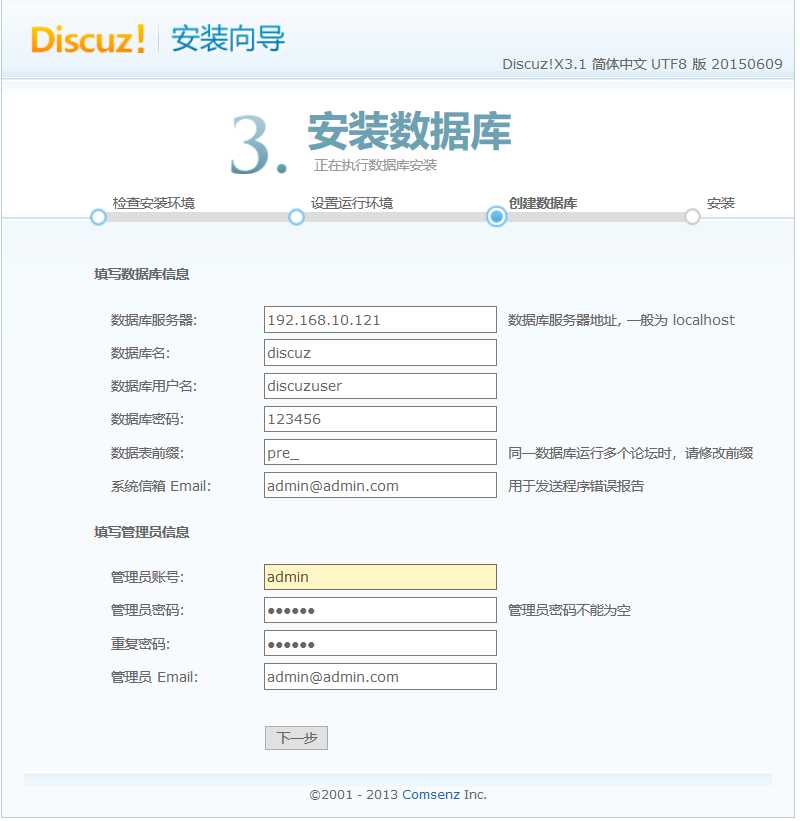
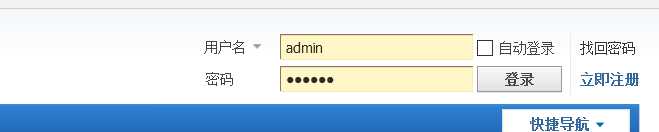
安装完成

将nginx服务器中的php动态请求 转发给LAMP服务器处理
修改配置


重启服务

测试,所有php页面请求都会发送至192.168.10.121的LAMP服务进行处理

原文:https://www.cnblogs.com/lastyear/p/11845116.html