import unittest
from time import sleep
from selenium import webdriver
from ddt import ddt,data,file_data,unpack
from selenium.webdriver.common.by import By


@ddt
class TestBaiduSearch(unittest.TestCase):

    @classmethod
    def setUpClass(cls):
        cls.driver = webdriver.Chrome()
        cls.url = "https://baidu.com"


    def baidu_search(self,keys):
        self.driver.get(self.url)
        self.driver.find_element(By.CSS_SELECTOR,"#kw").send_keys(keys)
        self.driver.find_element(By.CSS_SELECTOR,"#su").click()
        sleep(5)


    # 参数化例1
    @data(["case1","selenium3"],["case2","python3"],["case3","百度"])
    @unpack
    # @unittest.skip
    def test_baiduSearch01(self,case,data_key):
        print("第一组测试用例:"+case)
        self.baidu_search(data_key)
        self.assertEqual(self.driver.title,data_key + "_百度搜索",msg="标题不正确!")


    # 参数化例2:json
    @file_data("./data/ddt_data_file.data")
    def test_baiduSearch02(self,keys):
        print("第二组测试用例:",keys)
        self.baidu_search(keys)
        self.assertEqual(self.driver.title, keys + "_百度搜索", msg="标题不正确!")


    # 参数化例3:yaml
    @file_data("./data/ddt_data_file.yaml")
    @unpack
    def test_baiduSearch03(self,**kwargs):
        keys = kwargs[‘data1‘][1][‘keys‘]
        print("第三组测试用例:",keys)
        self.baidu_search(keys)
        self.assertEqual(self.driver.title, keys + "_百度搜索", msg="标题不正确!")


    @classmethod
    def tearDownClass(cls):
        print("用例结束!")
        cls.driver.quit()


if __name__ == ‘__main__‘:
    unittest.main(verbosity=2)
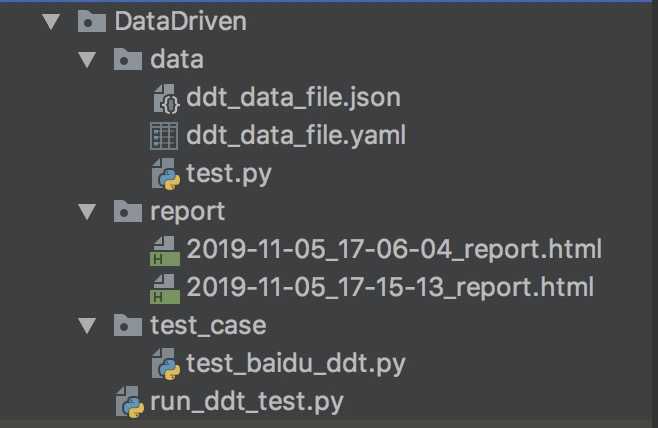
json文件:ddt_data_file.data
{
  "case1":{"keys":"11"},
  "case2":{"keys":"12"},
  "case3":{"keys":"13"}
}
yaml文件:ddt_data_file.yaml
用例1:
  data1:
    - keys: "yaml01"
    - keys: "yaml02"
  data2:
    - keys: "yaml03"
    - keys: "yaml04"
用例2:
  data1:
    - keys: "yaml05"
    - keys: "yaml06"
  data2:
    - keys: "yaml07"
    - keys: "yaml08"
用例3:
  data1:
    - keys: "yaml09"
    - keys: "yaml10"
  data2:
    - keys: "yaml11"
    - keys: "yaml12"
yaml转换数组:
list =
[{
  ‘case1‘:
   { ‘data1‘: [ { ‘keys‘: ‘yaml01‘ }, { ‘keys‘: ‘yaml02‘ } ],
     ‘data2‘: [ { ‘keys‘: ‘yaml03‘ }, { ‘keys‘: ‘yaml04‘ } ] },
  ‘case2‘:
   { ‘data1‘: [ { ‘keys‘: ‘yaml05‘ }, { ‘keys‘: ‘yaml06‘ } ],
     ‘data2‘: [ { ‘keys‘: ‘yaml07‘ }, { ‘keys‘: ‘yaml08‘ } ] },
  ‘case3‘:
   { ‘data1‘: [ { ‘keys‘: ‘yaml09‘ }, { ‘keys‘: ‘yaml10‘ } ],
     ‘data2‘: [ { ‘keys‘: ‘yaml11‘ }, { ‘keys‘: ‘yaml12‘ } ] }
}]
运行代码:
import time
import yagmail
import unittest
from BSTestRunner import BSTestRunner

def send_mail(report):
    yag = yagmail.SMTP(user=‘xxx@126.com‘,
                       password=‘xxx‘,
                       host=‘smtp.126.com‘
                       )
    subject = ‘邮件标题:自动化测试报告‘
    contents = ‘正文,请查看附件‘
    yag.send(‘xxx@qq.com‘,subject,contents,report)
    print("邮件发送成功!")


if __name__ == ‘__main__‘:

    case_path = "./test_case/"
    time = time.strftime("%Y-%m-%d_%H-%M-%S")
    report_name = time + "_report.html"
    report_path = "./report/" + report_name

    fp = open(report_path,‘wb‘)

    discover = unittest.defaultTestLoader.discover(case_path,pattern=‘test*.py‘)
    runner = BSTestRunner(stream = fp,
                          title = ‘数据驱动测试用例:‘,
                          description = ‘执行下面的用例:‘)

    runner.run(discover)
    fp.close()

    send_mail(report_path)
原文:https://www.cnblogs.com/Owen-ET/p/11799335.html