1. install tools
sudo apt-get install libtool autoconf flex bison automake pkg-config
2.yasm-1.3.0
sed -i ‘s#) ytasm.*#)#‘ Makefile.in &&
./configure --prefix=/opt/openmcu &&
make
make instal
3.ffmpeg-2.8.3
gedit ~/.basnrc
#add /opt/openmcu/bin to PATH env.
export PATH=$PATH:/opt/openmcu/bin
./configure --prefix=/opt/openmcu --enable-shared
make
make instal
4.x264-snapshot-20151204-2245
./configure --prefix=/opt/openmcu --enable-shared
make
make install
5.libvpx-1.5.0
./configure --prefix=/opt/openmcu
make
make install
6.openmcu-master ver4.01
./autogen.sh
./configure -prefix=/opt/openmcu --disable-openssl
configure: error: avcodec headers not found! Install FFmpeg or Libav.
Solultion: modify the configure file
PRODUCT=OpenMCU-ru ==> PRODUCT=
PROG=openmcu-ru ==> PROG=
make
/usr/bin/ld: cannot open output file ./obj/: Is a directory
collect2: error: ld returned 1 exit status
make[1]: *** [all] Error 1
Solution:
Modify the sub Makefile: openmcu-ru/Makefile
PROG= ==> PROG=openmcu-ru
make install
7,我编译时找不到 libfreetype,用apt-get安装报错,然后是自己下载安装包freetype-2.10.0.tar.bz2,手动安装
https://www.freetype.org/download.html
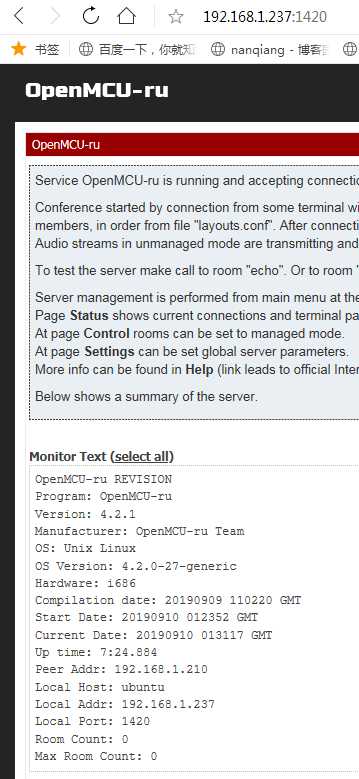
8. test
sudo ./openmcu-ru/obj/openmcu-ru -d &
然后,可以在打开浏览器,输入你的HostIP:1420:
参考:
https://blog.csdn.net/ndhui/article/details/50190969
https://blog.csdn.net/weixin_41501825/article/details/81043120
原文:https://www.cnblogs.com/nanqiang/p/11495649.html