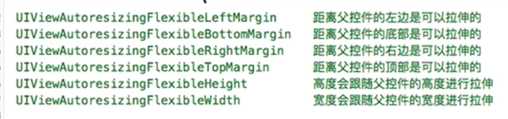
(1)先了解一下这几个枚举值的含义:
(2)代码演说:
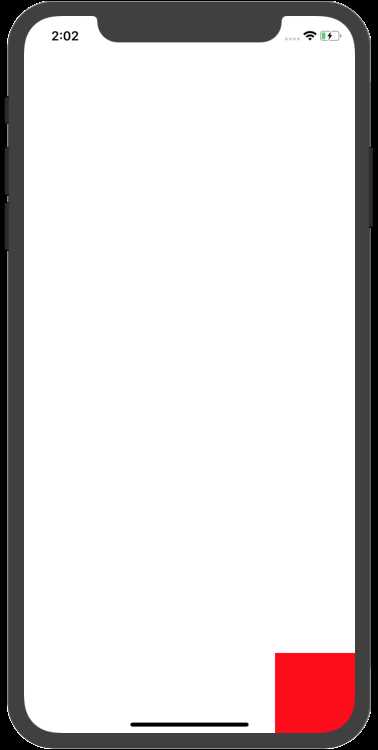
在viewcontroller 用代码创建一个红色的view,如下:
    UIView *redView = [[UIView alloc] init];
    redView.backgroundColor = [UIColor redColor];
    CGFloat marginX = self.view.frame.size.width - 100;
    CGFloat marginY = self.view.frame.size.height - 100;
    redView.frame = CGRectMake(marginX, marginY, 100, 100);
    [self.view addSubview:redView];
运行完后的效果图如下:
让手机横屏显示后的效果如下:
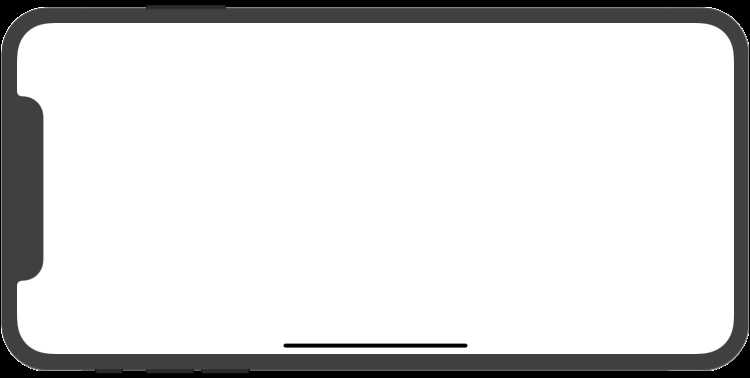
红色的视图看不到了,因为横屏显示后,并没有重新给redView这个视图重新布局;但是如果加上AutoresingMask后,代码如下:
   UIView *redView = [[UIView alloc] init];
    redView.backgroundColor = [UIColor redColor];
    CGFloat marginX = self.view.frame.size.width - 100;
    CGFloat marginY = self.view.frame.size.height - 100;
    redView.frame = CGRectMake(marginX, marginY, 100, 100);
    [self.view addSubview:redView];

    redView.autoresizingMask = UIViewAutoresizingFlexibleLeftMargin | UIViewAutoresizingFlexibleTopMargin | UIViewAutoresizingFlexibleWidth;
运行的后,切换横屏的效果如下:
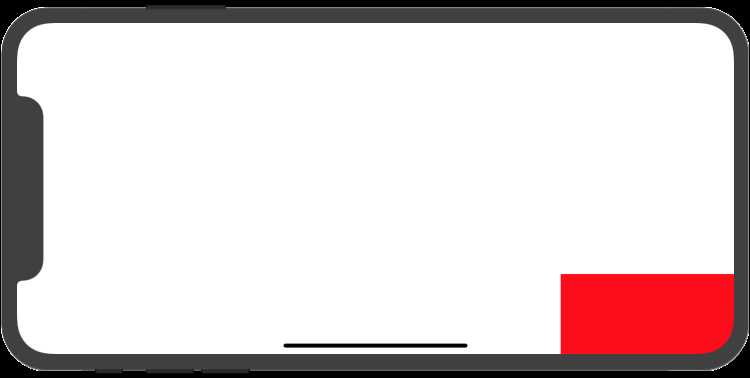
redView这个视图不仅固定在底部,而且还根据屏幕的宽度修改了redView的宽度。
但是antoresizing只能解决父控件与子控件之间的相对关系。
原文:https://www.cnblogs.com/lyz0925/p/11442176.html