之前都是使用GitHub今天学习下在centos7下部署GitLab,特此记录。
一、安装
yum -y install policycoreutils openssh-server openssh-clients postfix
目的:支持gitlab邮件发送
systemctl enable postfix && systemctl start postfix
秘钥:
在线下载:
# 下载
wget https://mirrors.tuna.tsinghua.edu.cn/gitlab-ce/yum/el7/gitlab-ce-8.0.0-ce.0.el7.x86_64.rpm

# 安装
rpm -ivh gitlab-ce-8.0.0-ce.0.el7.x86_64.rpm
可以使用自定义域名,也可以直接IP地址+端口访问
vim /etc/gitlab/gitlab.rb
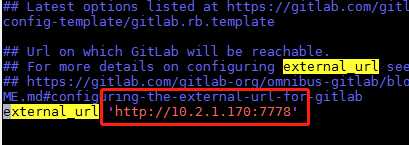
!!!此处注意别使用已被占用的端口(如8080)
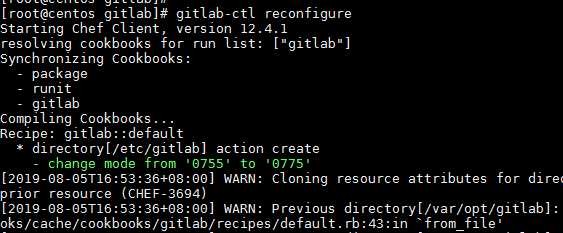
# 重置
gitlab-ctl reconfigure
注:第一次预计需要几分钟
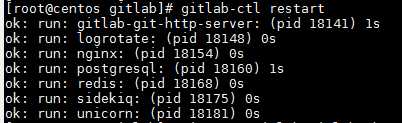
# 启动
gitlab-ctl restart
直接通过域名端口访问:http://10.2.1.170:7778
注意:如果提示502

解决方法:
1、保证Gitlab可用运行内存大于4G,端口未被占用
2、赋予权限,执行:chmod -R 755 /var/log/gitlab
3、然后,重置--重启
二、配置项目
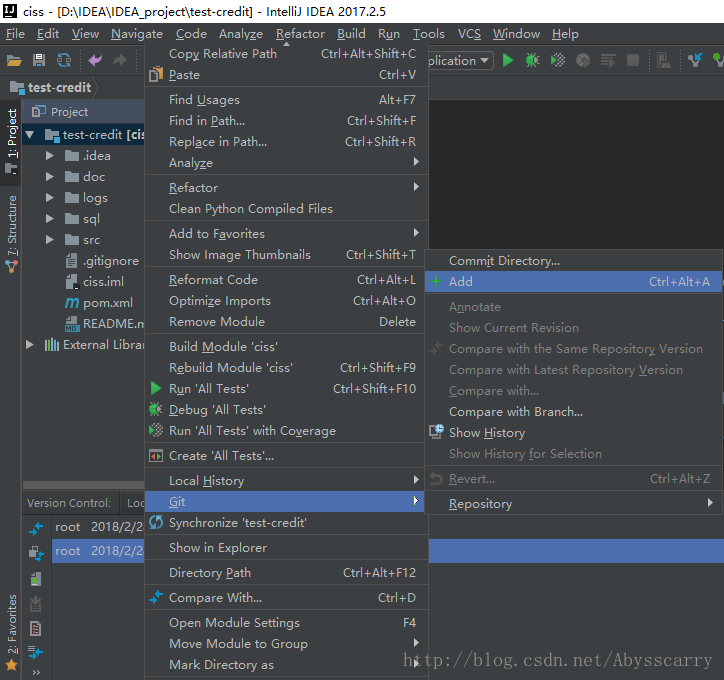
先本地Git导入项目到Gitlab,再通过IDEA导入GItlab上的项目
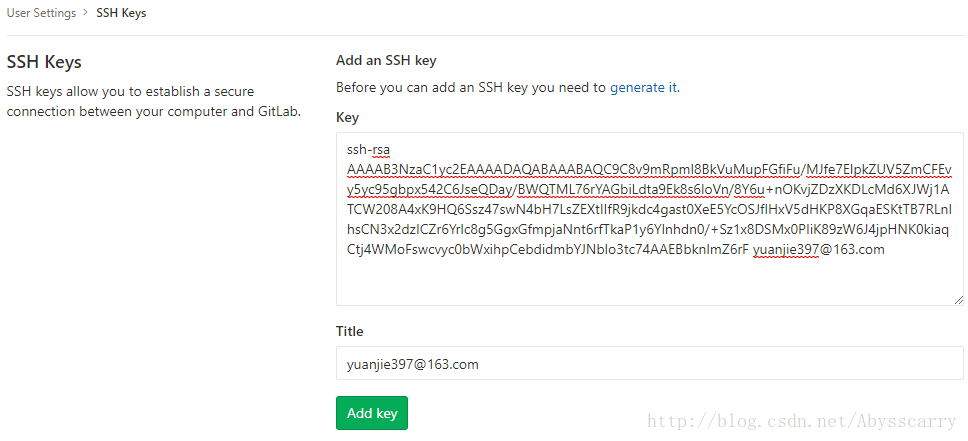
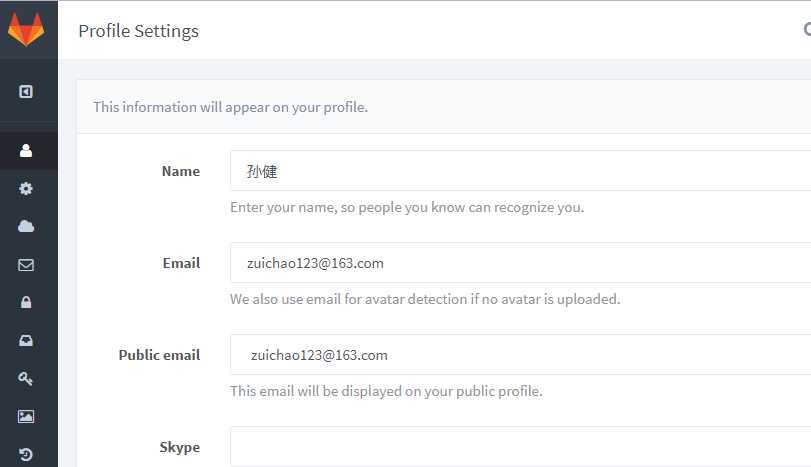
在User Settings - Emails 中添加邮箱并confirm
先确保你的开发电脑上已安装Git,
打开Git Bash生成key:
在bash中输入ssh-keygen -t rsa -C “yourEmail@example.com”一路回车即可
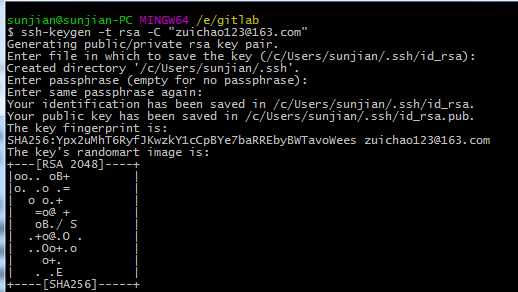
再在 ~/.ssh/id_rsa.pub中复制其中所有内容,在User Settings - SSH Keys中添加复制内容

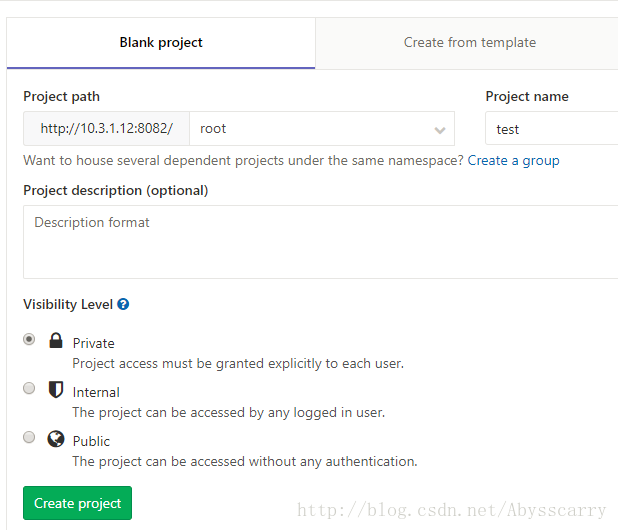
先在Gitlab上创建一个空项目-test
再打开本地Git Bash,配置全局的 user.name 和 user.email:
git config --global user.name "root"
git config --global user.email "yuanjie@397.com"
首先cd到你需要导入的项目目录下,再执行导入命令:
git init
git remote add origin git@10.3.1.12:root/test.git
git add .
git commit -m "测试-test"
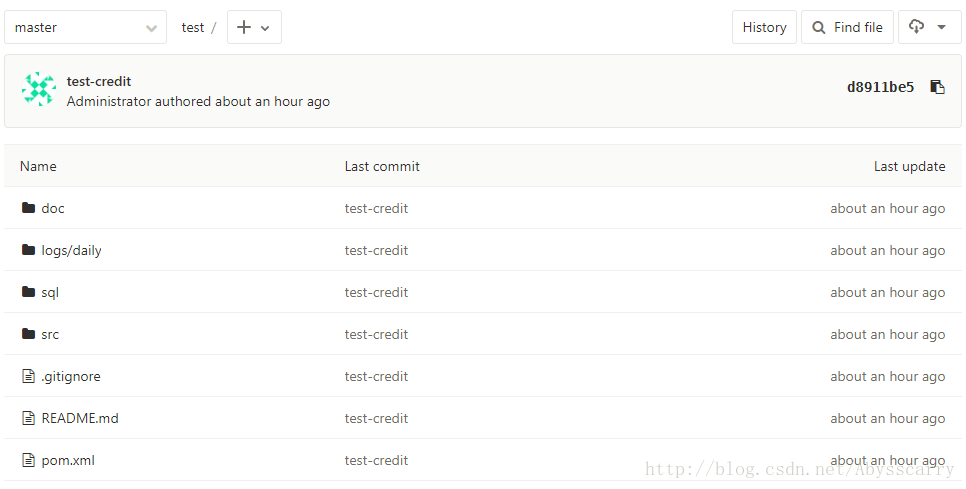
git push -u origin master至此,可以到浏览器刷新test项目,发现导入成功
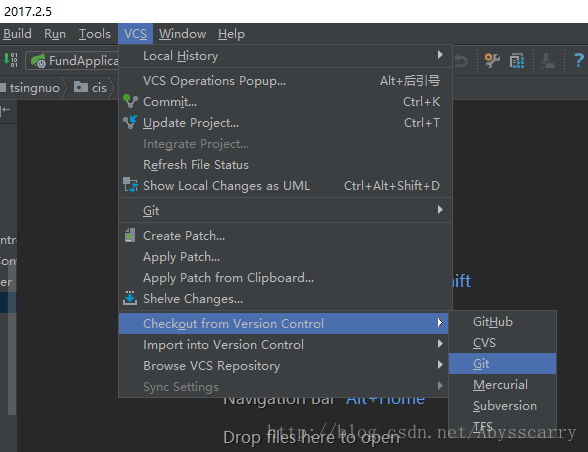
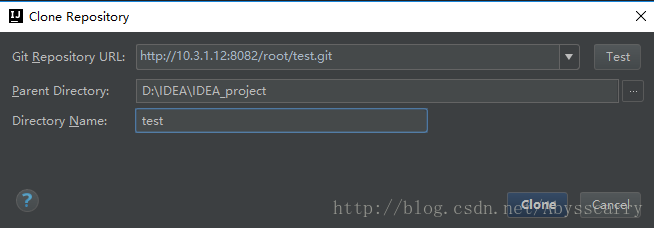
根据图示依次操作即可:
至此,Gitlab搭建及初步测试完成!
OK
that‘s all.
GitLab学习之——CentOS7下搭建GitLab服务器
原文:https://www.cnblogs.com/zuichao/p/11304474.html