前言:Aseprite入门教程
1、制作像素画:
按照上一次的小球跳动制作过程,先制作一个像素画动画:
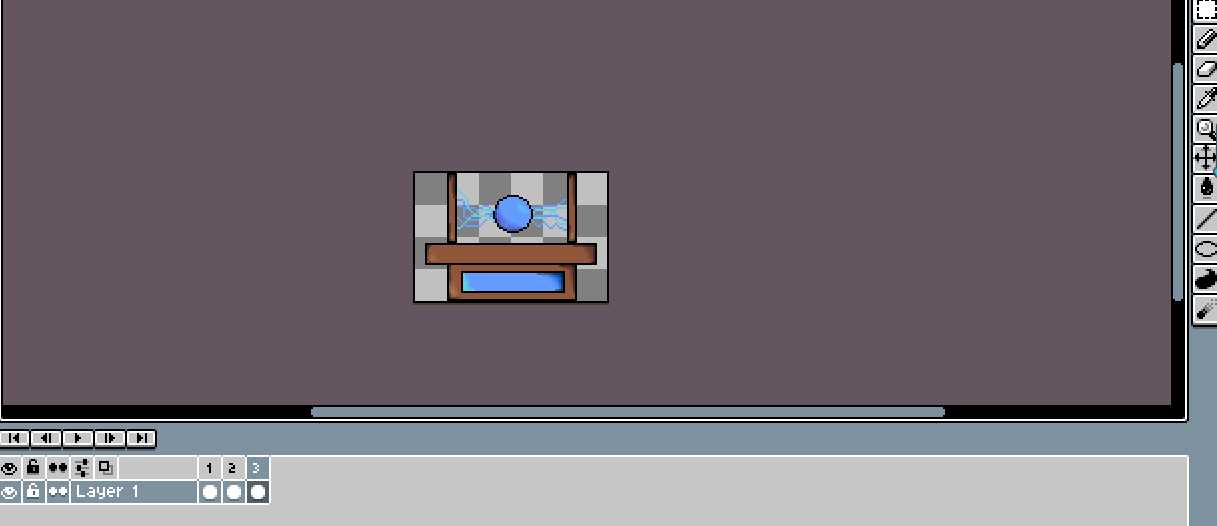
若是导出gif动态图,效果如下:

但是在保存图片时,不要导出gif格式,选择save as...:
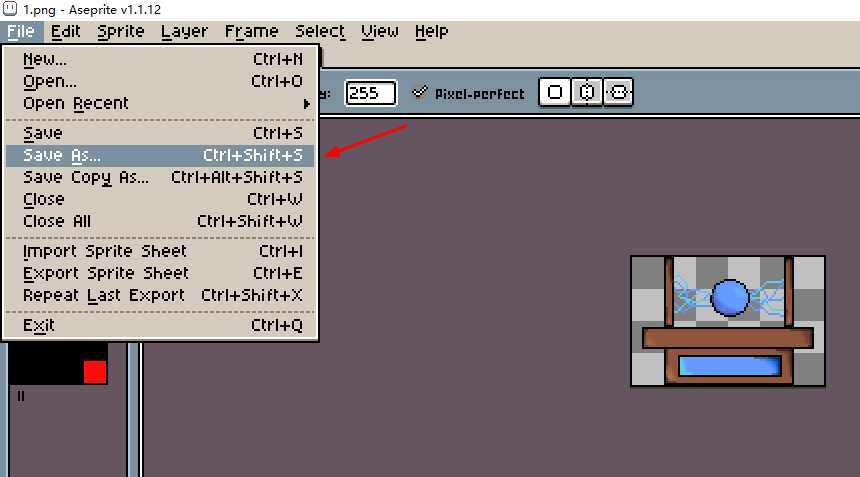
选择好路径后,选择png格式输出:

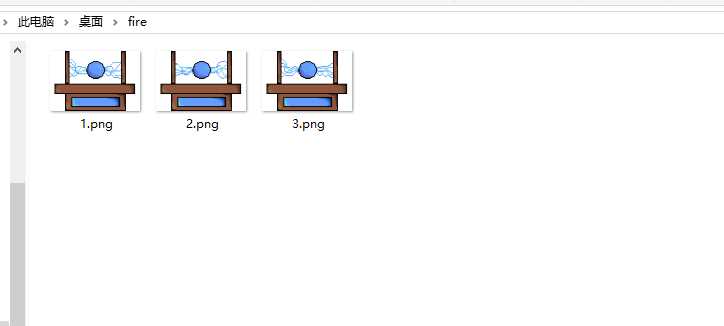
会提示自动把每一帧的图片按照1、2、3···等数字的顺序保存:
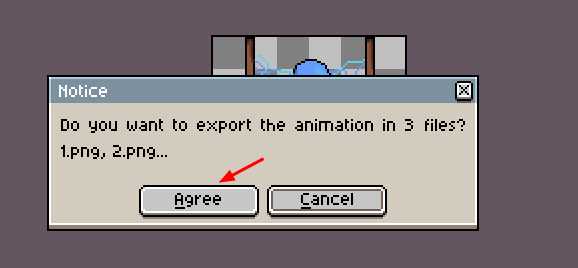
保存如下:
2、使用TexturePackerGUI工具进行处理:
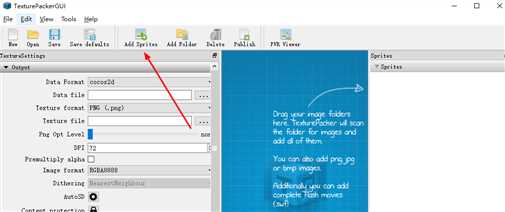
打开 软件,看到界面:
这里要注意,使用试用版的话,打包的图片会出现乱码文字!我一开始就是因为这个,卡了半天。
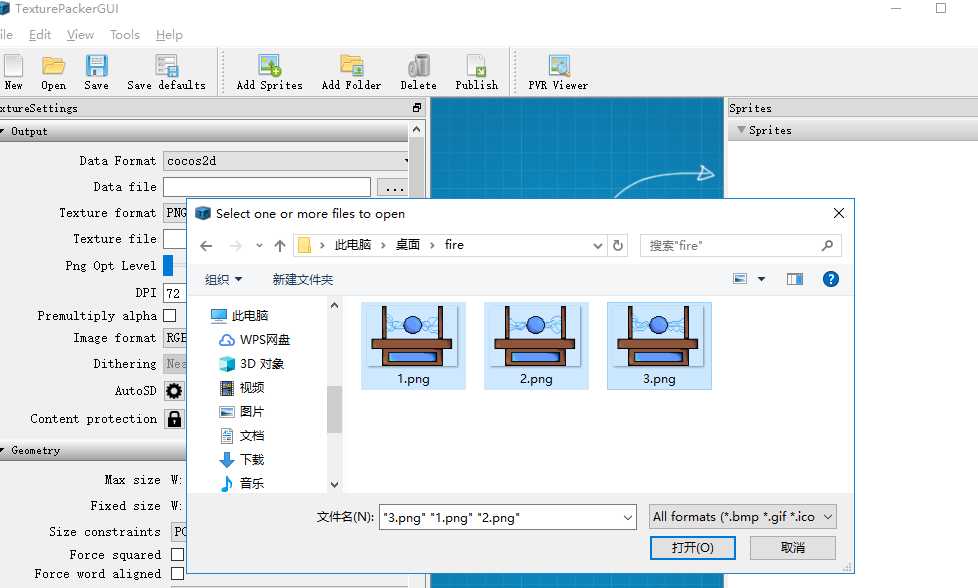
点击Add Sprites:
在弹出的选择文件框里按住Ctrl把要添加的图片全部点选:

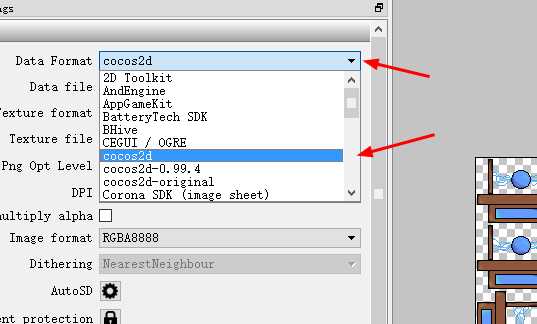
选择格式:
点击Publish生成:
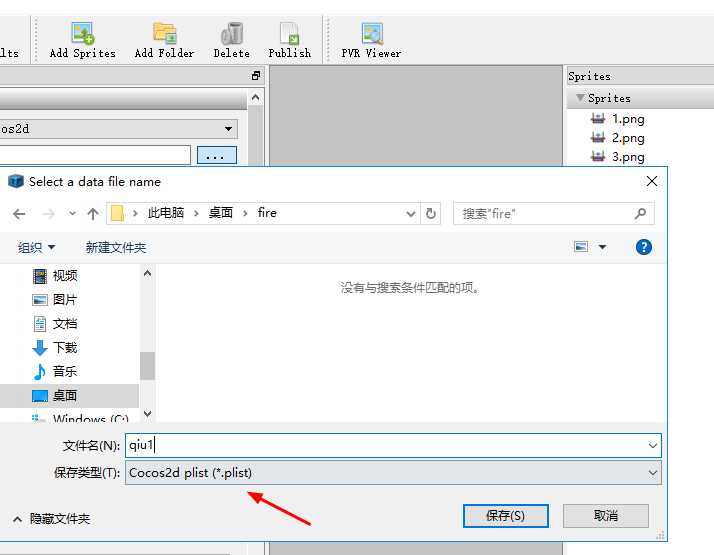
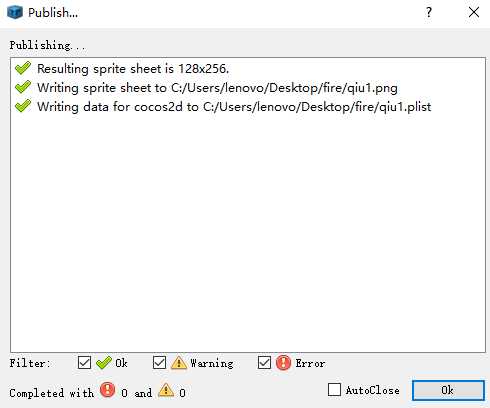
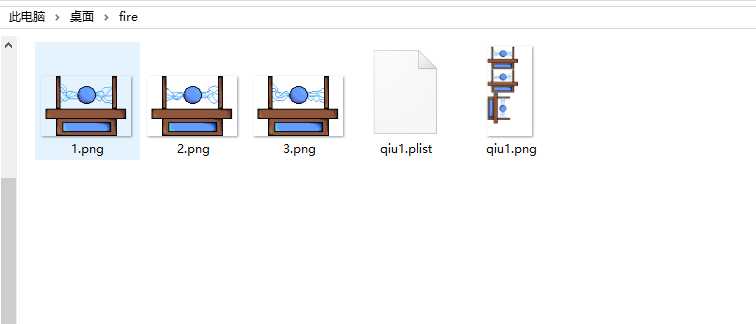
生成的图片和plist文件如下:
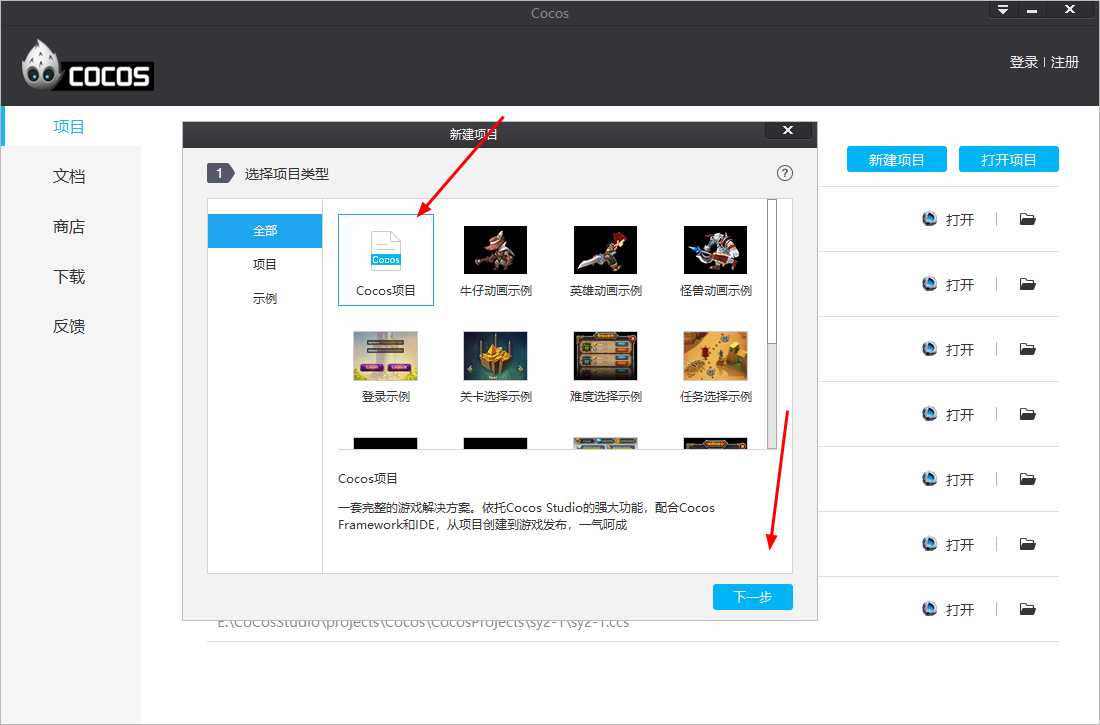
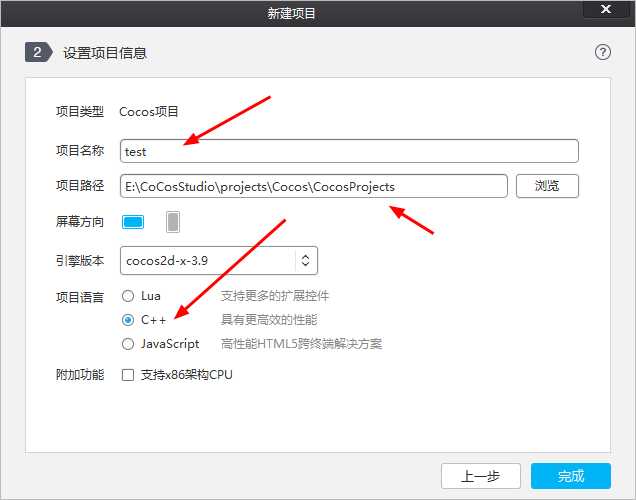
3、建立cocos项目:

4、在vs里编辑代码:
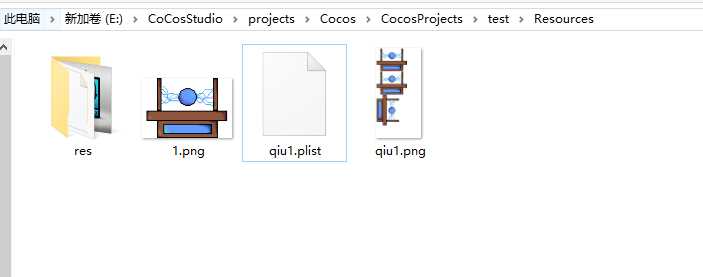
将plist和png文件复制到新建的test项目下的Resources资源文件夹下:
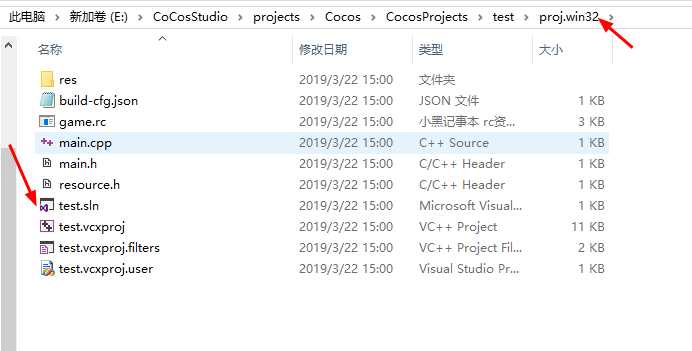
用.sln打开项目:
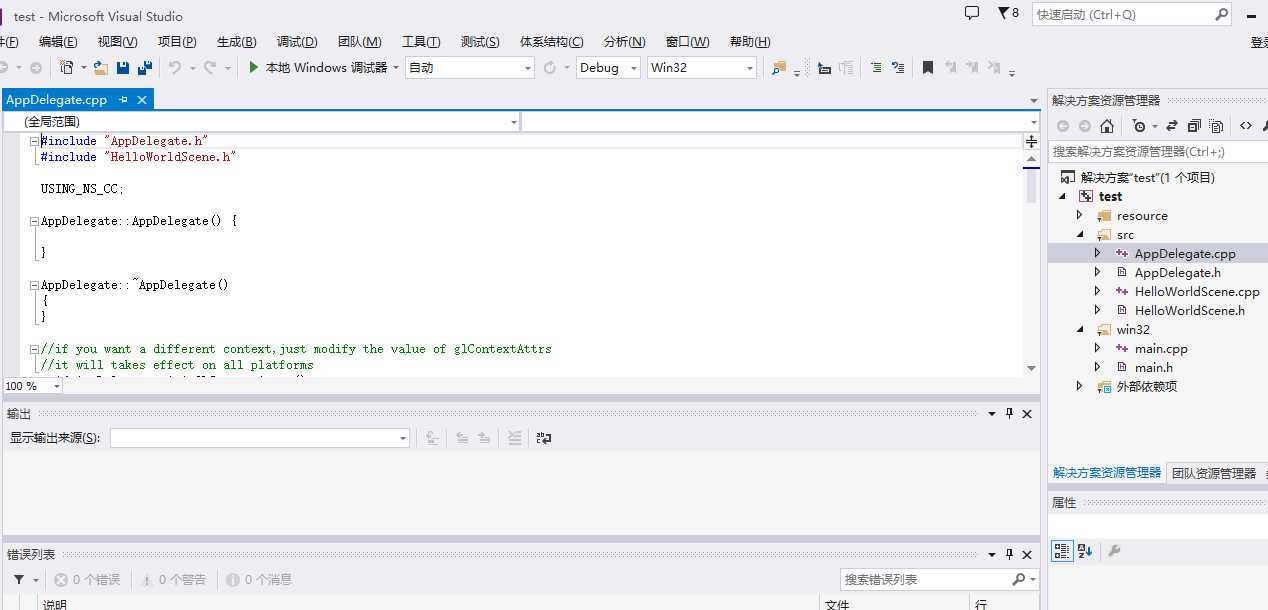
编辑HelloWorldScene.cpp里的init方法:
 1 bool HelloWorld::init()
 2 {
 3     //////////////////////////////
 4     // 1. super init first
 5     if ( !Layer::init() )
 6     {
 7         return false;
 8     }
 9     auto* background = LayerColor::create(ccc4(255, 255, 255, 255));
10     addChild(background);
11     auto* sprite = Sprite::create("1.png");
12     sprite->setPosition(480, 320);
13     addChild(sprite);
14
15     auto* m_frameCache = SpriteFrameCache::getInstance();
16     m_frameCache->addSpriteFramesWithFile("qiu1.plist", "qiu1.png");
17     Vector<SpriteFrame*> frameArray;
18     for (int i = 1; i < 3; i++)
19     {
20         auto* frame = m_frameCache->getSpriteFrameByName(String::createWithFormat("%d.png", i)->getCString());
21         frameArray.pushBack(frame);
22     }
23     Animation* animation = Animation::createWithSpriteFrames(frameArray);
24     //表示无限循环播放
25     animation->setLoops(-1);
26     //每两张图片的时间隔,图片数目越少,间隔最小就越小
27     animation->setDelayPerUnit(0.1f);
28
29     //将动画包装成一个动作
30     auto* action = Animate::create(animation);
31     sprite->runAction(action);
32     return true;
33 }
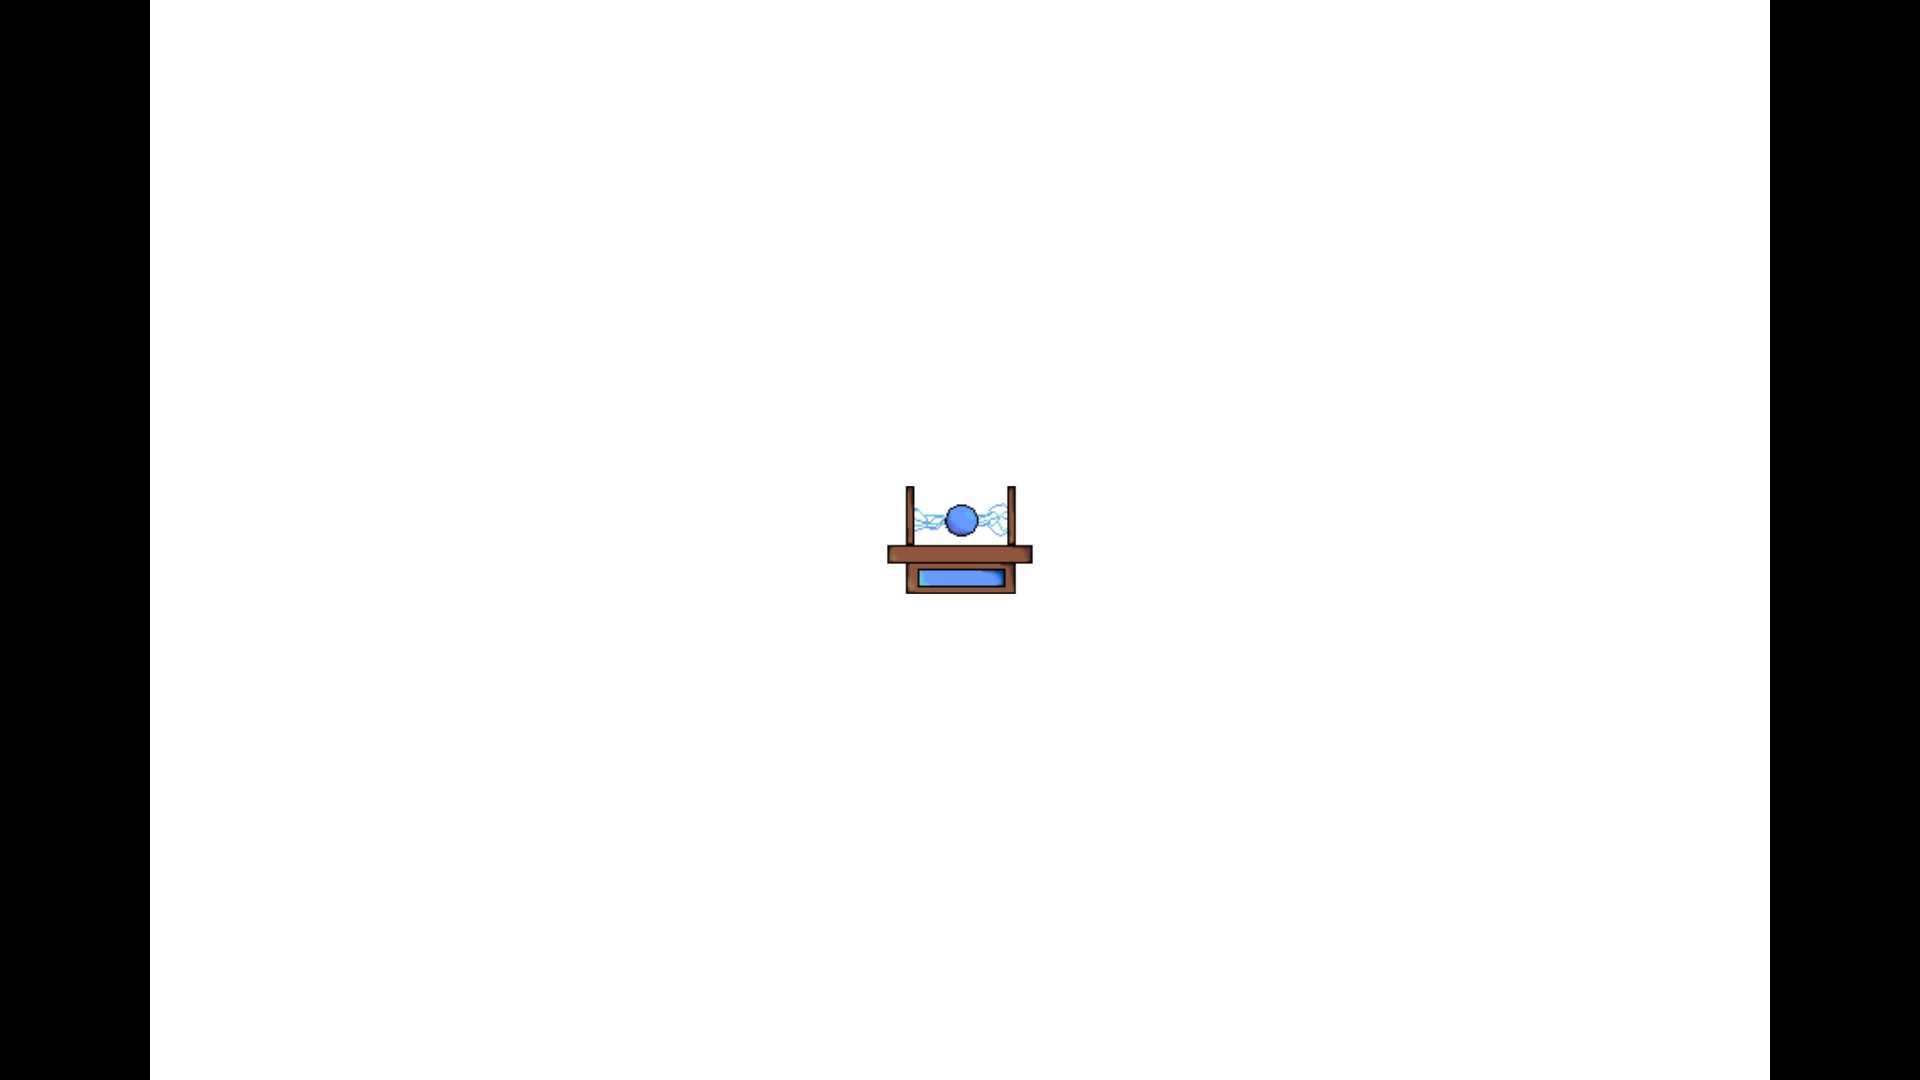
运行如下:
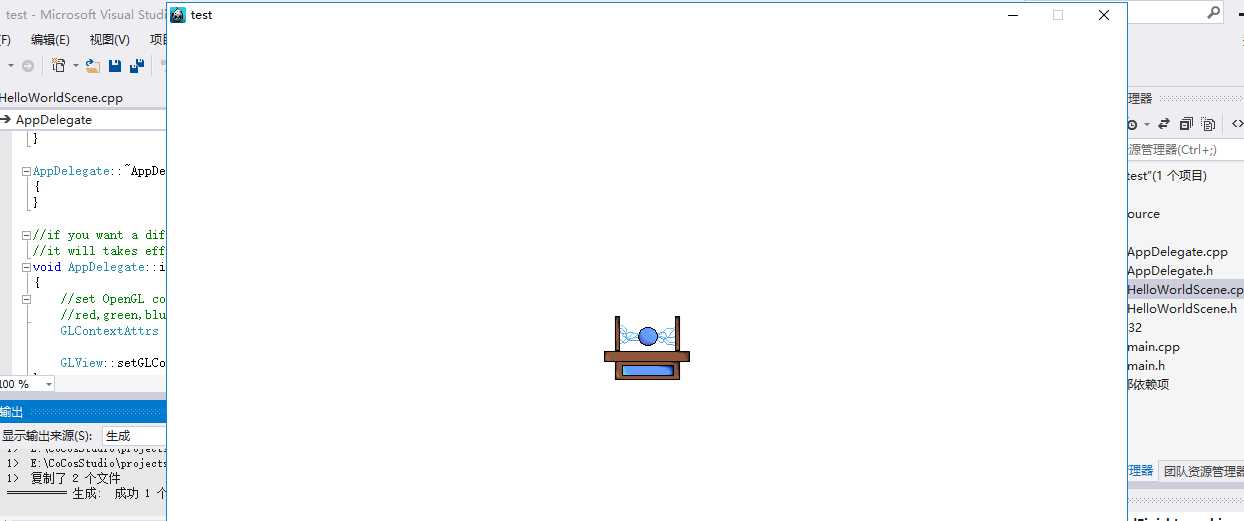
里面的图片是动态的,这里直接放的截图。
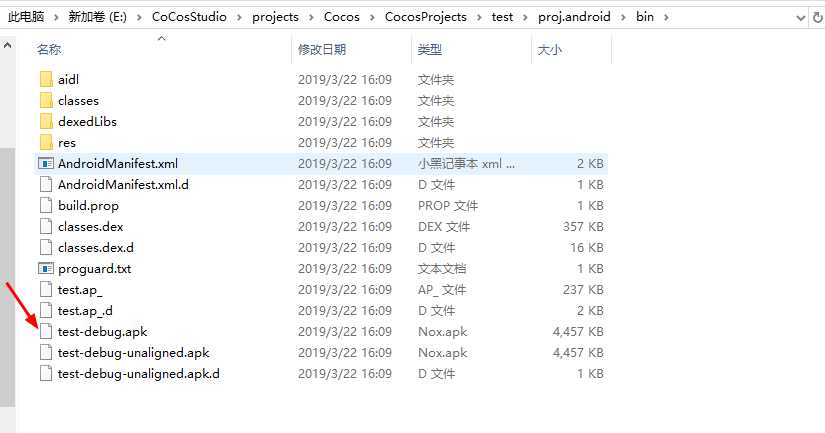
5、打包apk:
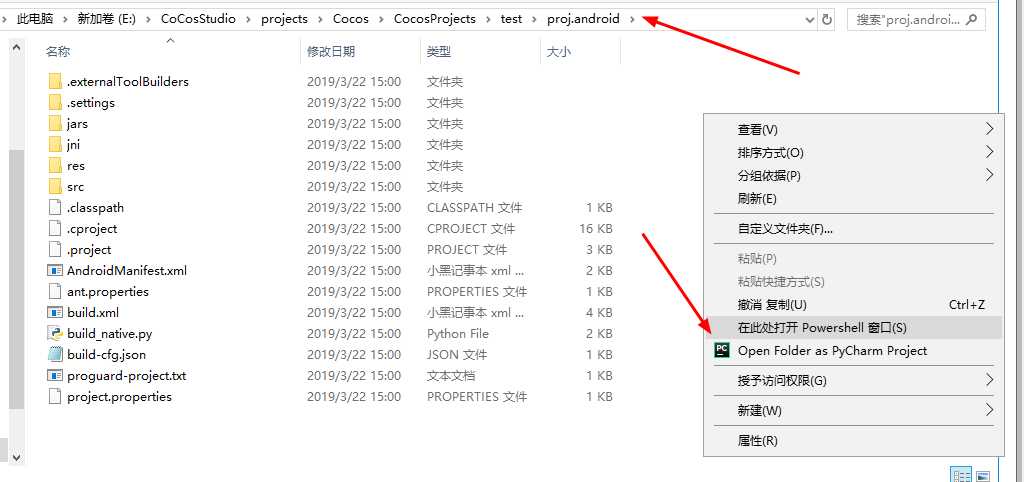
在pro.android文件夹下:
按住shift并右击鼠标,调出管理员的命令行窗口:
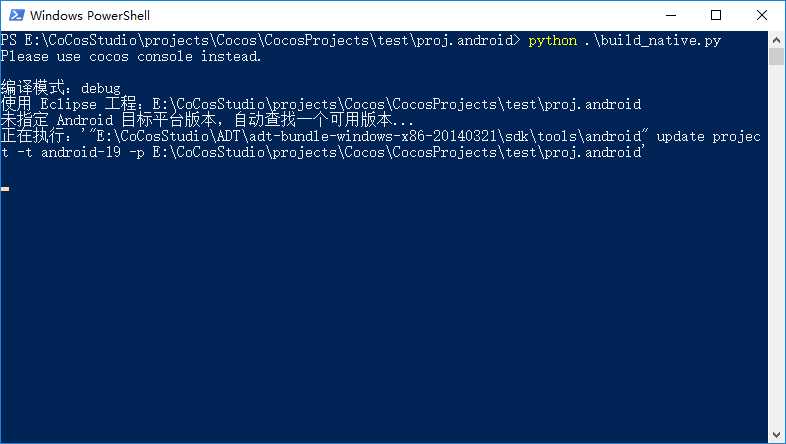
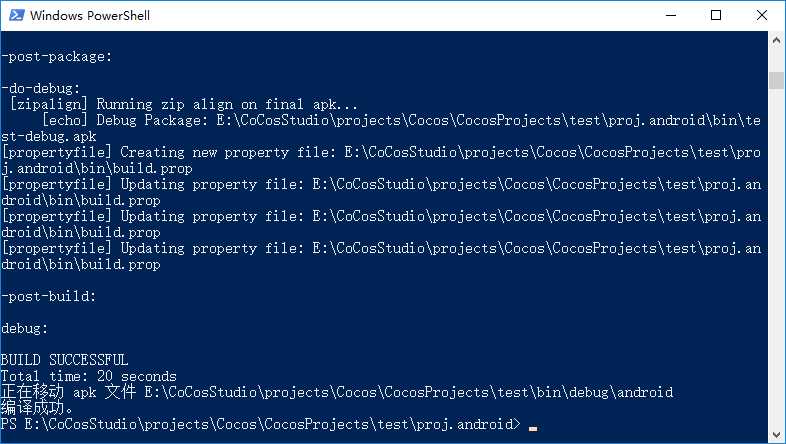
使用python2.7(python3.6的版本太高,语法差异大,可能会编译失败)运行build_native.py文件:
将apk在手机上安装,运行结果如图:
6、错误实例:
使用试用版TexturePacker打包出的图片:
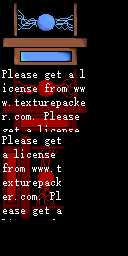
这个软件是可以免费注册的,不过需要一两天处理时间,不是试用版就不会出现乱码问题,这个估计也是软件作者故意设置的,还是要多支持正版。
Aseprite+Cocos:打包像素画图,导入到cocos里并动起来
原文:https://www.cnblogs.com/guobin-/p/10578636.html