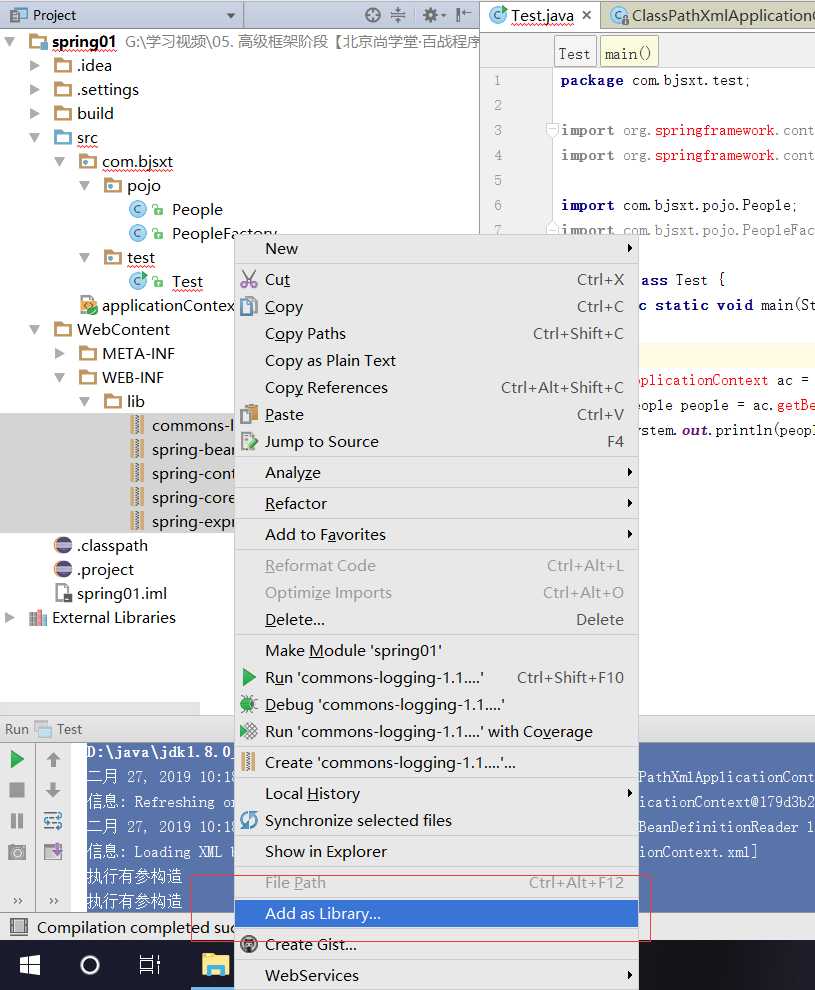
导入方式为 选中包 右键add as library
1.application.xml代码
<?xml version="1.0" encoding="UTF-8"?>
<beans xmlns="http://www.springframework.org/schema/beans"
    xmlns:xsi="http://www.w3.org/2001/XMLSchema-instance"
    xsi:schemaLocation="http://www.springframework.org/schema/beans
        http://www.springframework.org/schema/beans/spring-beans.xsd">
    <!-- bean的id没有关系 之后ac.getBean("peo2",People.class); 的时候使用相同的名称获取就可以 class是对象的全地址-->
    <bean id="peo2" class="com.bjsxt.pojo.People"></bean>
</beans>
2.People类
package com.bjsxt.pojo;

public class People {
    private int id;
    private String name;


    public int getId() {
        return id;
    }
    public void setId(int id) {
        this.id = id;
    }
    public String getName() {
        return name;
    }
    public void setName(String name) {
        this.name = name;
    }
    @Override
    public String toString() {
        return "People [id=" + id + ", name=" + name + "]";
    }
}
3.测试类
package com.bjsxt.test;

import org.springframework.context.ApplicationContext;
import org.springframework.context.support.ClassPathXmlApplicationContext;

import com.bjsxt.pojo.People;
import com.bjsxt.pojo.PeopleFactory;

public class Test {
    public static void main(String[] args) {


        ApplicationContext ac = new ClassPathXmlApplicationContext("applicationContext.xml");
        People people = ac.getBean("peo2",People.class);
        System.out.println(people);


    }
}
4.执行测试类即可完成people类注册

以上即为spring环境搭建
原文:https://www.cnblogs.com/reload-sun/p/10447548.html