由于HAProxy的运行信息不写入日志文件,但它依赖于标准的系统日志协议将日志发送到远程服务器(通常位于同一系统上),所以需要借助rsyslog来收集haproxy的日志.haproxy代理nginx的访问,使用logstash收集nginx的访问信息.
1.安装配置haproxy
yum -y install gcc pcre pcre-devel openssl  openssl-devel
cd /usr/local/src/
wget https://www.haproxy.org/download/1.7/src/haproxy-1.7.11.tar.gz
tar xf haproxy-1.7.11.tar.gz
cd haproxy-1.7.11/
make TARGET=linux2628 USE_PCRE=1 USE_OPENSSL=1 USE_ZLIB=1  PREFIX=/usr/local/haproxy
make install PREFIX=/usr/local/haproxy
/usr/local/haproxy/sbin/haproxy -v

cat /usr/lib/systemd/system/haproxy.service
[Unit]
Description=HAProxy Load Balancer
After=syslog.target network.target

[Service]
EnvironmentFile=/etc/sysconfig/haproxy
ExecStart=/usr/sbin/haproxy-systemd-wrapper -f /etc/haproxy/haproxy.cfg -p /run/haproxy.pid $OPTIONS
ExecReload=/bin/kill -USR2 $MAINPID

[Install]
WantedBy=multi-user.target

cat /etc/sysconfig/haproxy
# Add extra options to the haproxy daemon here. This can be useful for
# specifying multiple configuration files with multiple -f options.
# See haproxy(1) for a complete list of options.
OPTIONS=""

cp /usr/local/src/haproxy-1.7.11/haproxy /usr/sbin/
cp /usr/local/src/haproxy-1.7.11/haproxy-systemd-wrapper /usr/sbin/
2.准备haproxy配置文件
mkdir /etc/haproxy
cat /etc/haproxy/haproxy.cfg
global
maxconn 100000
chroot /usr/local/haproxy
uid 1000
gid 1000
daemon
nbproc 1
pidfile /usr/local/haproxy/run/haproxy.pid
log 127.0.0.1 local6 info
defaults
option http-keep-alive
option forwardfor
maxconn 100000
mode http
timeout connect 300000ms
timeout client 300000ms
timeout server 300000ms
listen stats
mode http
bind 0.0.0.0:9999
stats enable
log global
stats uri /haproxy-status
stats auth haadmin:123456
#frontend web_port
frontend web_port
bind 0.0.0.0:80
mode http
option httplog
log global
option forwardfor
#ACL Setting
acl pc hdr_dom(host) -i www.elk1.com
acl mobile hdr_dom(host) -i m.elk1.com
#USE ACL
use_backend pc_host if pc
use_backend mobile_host if mobile
backend pc_host
mode http
option httplog
balance source
server web1 10.0.0.22:88 check inter 2000 rise 3 fall 2 weight 1
backend mobile_host
mode http
option httplog
balance source
server web1 10.0.0.22:88 check inter 2000 rise 3 fall 2 weight 1
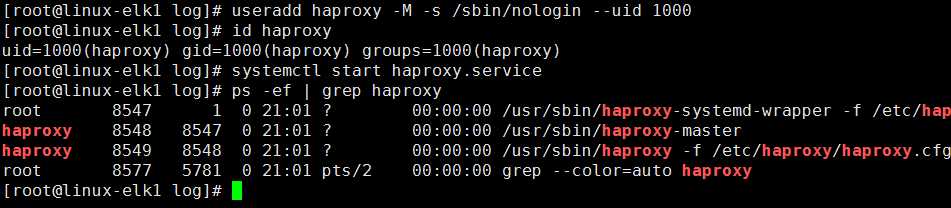
useradd haproxy -M -s /sbin/nologin --uid 1000
id haproxy
uid=1000(haproxy) gid=1000(haproxy) groups=1000(haproxy)
systemctl start haproxy.service
ss -tnl # 查看80端口是否启动
# haproxy不允许ip直接访问80端口,修改windows的hosts,win+r-->drivers快速打开hosts
10.0.0.22 www.elk1.com
10.0.0.22 m.elk1.com
这里让haproxy代理nginx,将nginx的监听端口改为88并启动,使用www.elk.com,无法跳转到我想要的页面,所以改成了www.elk1.com
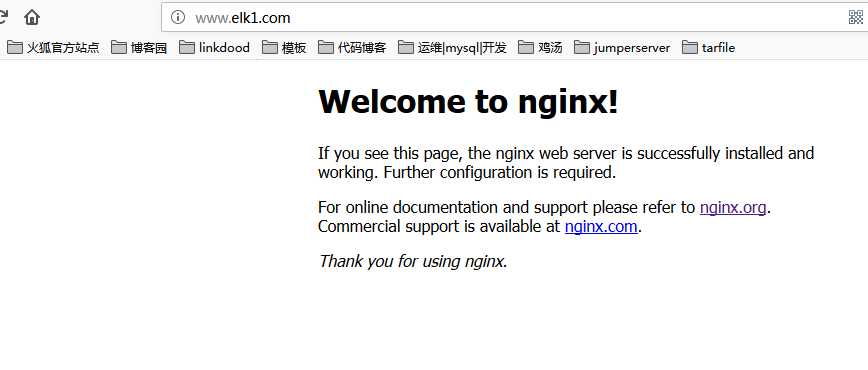
访问http://www.elk1.com/nginxweb/

haproxy运行截图
3.配置rsyslog记录haproxy日志
vim /etc/rsyslog.conf   # 打开15,16,19,20行注释
$ModLoad imudp
$UDPServerRun 514
$ModLoad imtcp
$InputTCPServerRun 514

# 文件末尾添加haproxy中配置的对应日志级别
local6.*     /var/log/haproxy/haproxy.log  # 日志记录文件
local6.*     @@10.0.0.22:5160   # 本地IP和监听端口

mkdir /var/log/haproxy
chown -R haproxy.haproxy /var/log/haproxy

systemctl restart rsyslog
systemctl restart  haproxy

cat /etc/logstash/conf.d/haproxy_log.conf
input {
  syslog{
    type => "haproxy1022"
    port => "5160"
    }
}
output{
  stdout{
    codec => "rubydebug"
  }
}
port => "5160"监听rsyslog中定义的local6端口,小于1024可能会报错
/usr/share/logstash/bin/logstash -f /etc/logstash/conf.d/haproxy_log.conf
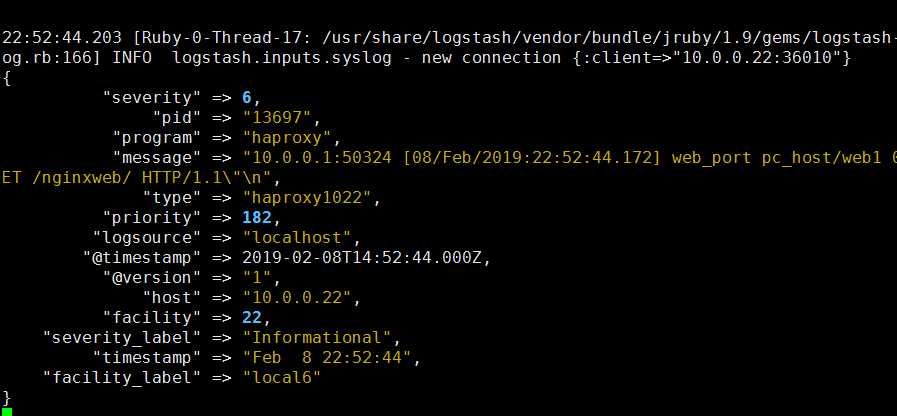
logstash收集rsyslog传过来的日志
cat haproxy_log.conf
input {
syslog{
type => "haproxy1022"
port => "5160"
}
}
output{
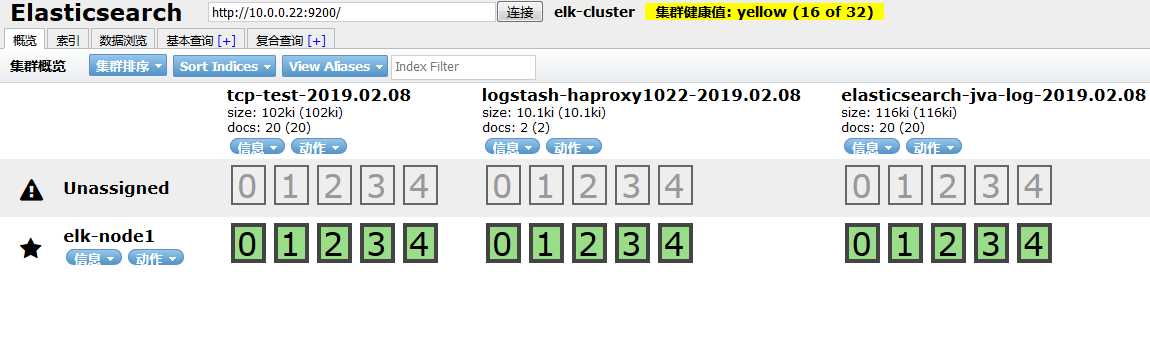
if [type] == "haproxy1022" {
elasticsearch {
hosts => ["10.0.0.22:9200"]
index => "logstash-haproxy1022-%{+YYYY.MM.dd}"
}
}
}
systemctl restart logstash.service
ELK-Logstash收集haproxy日志:http://blog.51cto.com/tryingstuff/2051930
原文:https://www.cnblogs.com/fawaikuangtu123/p/10356418.html