前言
每一个开发工作者无非身处2中开发环境:1.开源环境 2.闭源开发环境,若你身处闭源环境或对自己代码安全性要求较高,搭建和使用自己GitLab服务器是必不可少的环节。
可以通过各种方式搭建自己的GitLab服务器:基于NFS、Git、SSH、GitWeb、GitLab,实现版本控制;
一、搭建GitLab服务器
1.centos7环境安装GitLab依赖软件、设置开机启动

 yum -y install curl policycoreutils openssh-server openssh-clents libsemanage-static libsemanage-devel

yum install curlpolicycoreutils openssh-server openssh-clients

systemctl enablesshd

systemctl enable sshd

systemctl start sshd

yum install postfix

systemctl enable postfix

systemctl start postfix

firewall-cmd --permanent --add-service=http

systemctl reload firewalld
2.下载gitlab安装包,然后安装、启动GitLab
yum install -y gitlab-ce
gitlab-ctl reconfigure
gitlab-ctl restart
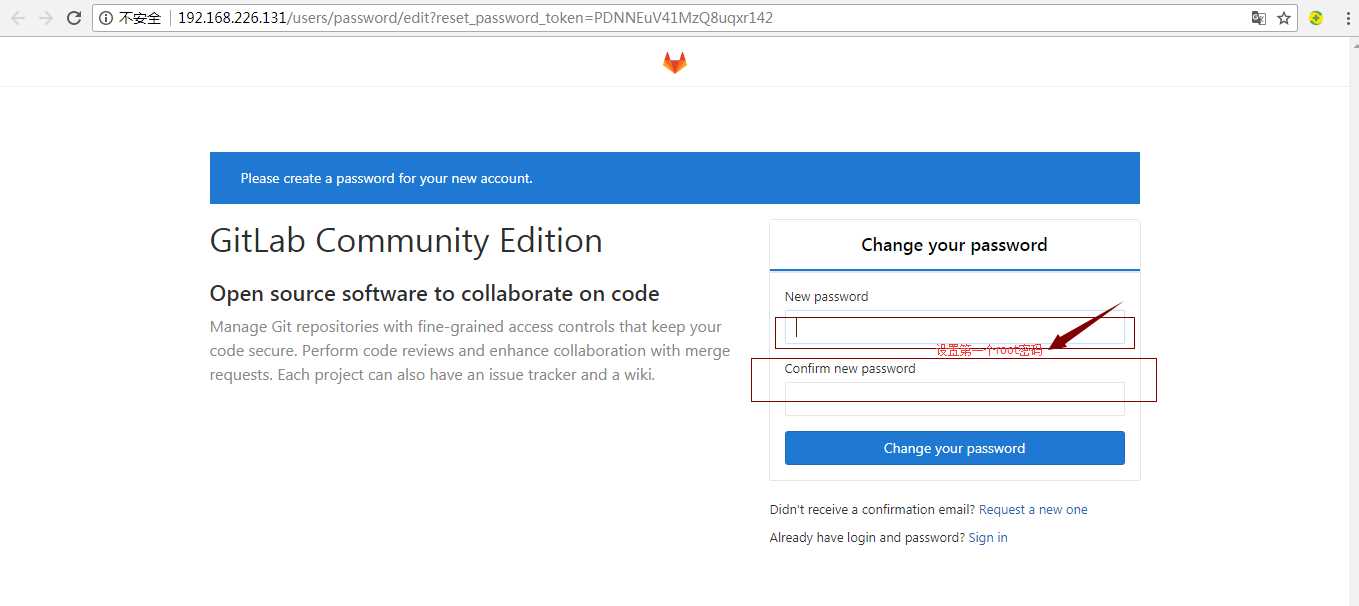
3.访问GitLab并设置第1个用户root的密码
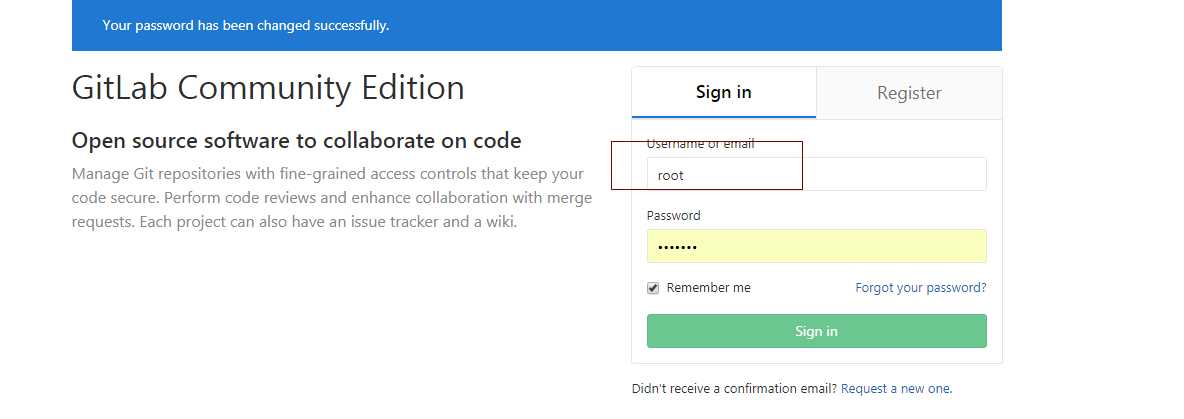
4.root用户登录
5.在gitlab创建一个test项目
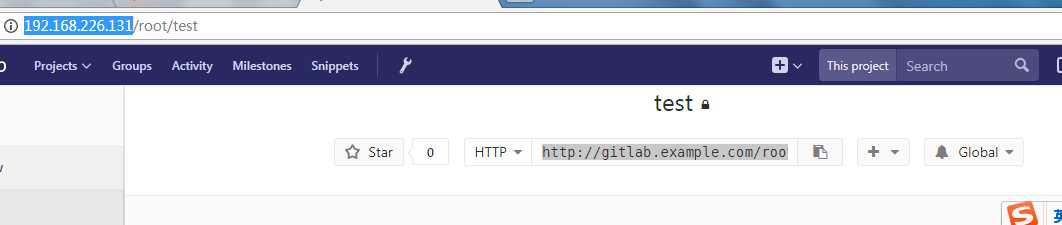
6.克隆gitlab服务器中项目到本地
git clone http://192.168.226.131/root/test.git
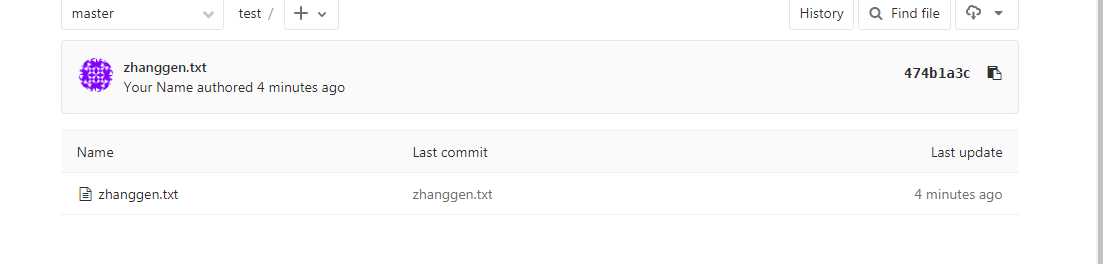
7.推送本地项目到gitlab服务器
cd test
echo hello GitLib > zhanggen.txt
git add .
git commit -m zhanggen.txt
git push origin master
*********转载:http://www.cnblogs.com/sss4/p/8412508.html