GitLab是一个利用 Ruby on Rails 开发的开源应用程序,实现一个自托管的Git项目仓库,可通过Web界面进行访问公开的或者私人项目。
GitLab拥有与Github类似的功能,能够浏览源代码,管理缺陷和注释。可以管理团队对仓库的访问,它非常易于浏览提交过的版本并提供一个文件历史库。它还提供一个代码片段收集功能可以轻松实现代码复用,便于日后有需要的时候进行查找。[root@salt-node4 ~]# yum -y install curl policycoreutils openssh-server openssh-clients postfix
[root@salt-node4 ~]# systemctl start postfix注:由于网络问题,国内用户,建议使用清华大学的镜像源进行安装:
[root@salt-node4 ~]# vim /etc/yum.repos.d/gitlab-ce.repo
[gitlab-ce]
name=gitlab-ce
baseurl=http://mirrors.tuna.tsinghua.edu.cn/gitlab-ce/yum/el7/
repo_gpgcheck=0
gpgcheck=0
enabled=1
gpgkey=https://packages.gitlab.com/gpg.key
[root@salt-node4 ~]# yum makecache
[root@salt-node4 ~]# yum install gitlab-ce
[root@linux-node2 ~]# gitlab-ctl reconfigure可以使用gitlab-ctl管理gitlab,例如查看gitlab状态:
[root@linux-node2 ~]# gitlab-ctl status
run: gitlab-workhorse: (pid 12171) 231s; run: log: (pid 7817) 555s
run: logrotate: (pid 12175) 230s; run: log: (pid 7832) 548s
run: nginx: (pid 12181) 230s; run: log: (pid 7823) 549s
run: postgresql: (pid 12186) 229s; run: log: (pid 7683) 587s
run: redis: (pid 12194) 229s; run: log: (pid 7600) 592s
run: sidekiq: (pid 12198) 229s; run: log: (pid 7806) 558s
run: unicorn: (pid 14967) 6s; run: log: (pid 7774) 560s
关闭gitlab:
[root@salt-node4 ~]# gitlab-ctl stop启动gitlab:
[root@salt-node4 ~]# gitlab-ctl start重启gitlab:
[root@salt-node4 ~]# gitlab-ctl restart默认用户名密码都是root ,登录过后会提示你修改密码。
Admin Area > 右上角齿轮 > settings > sign up 关闭即可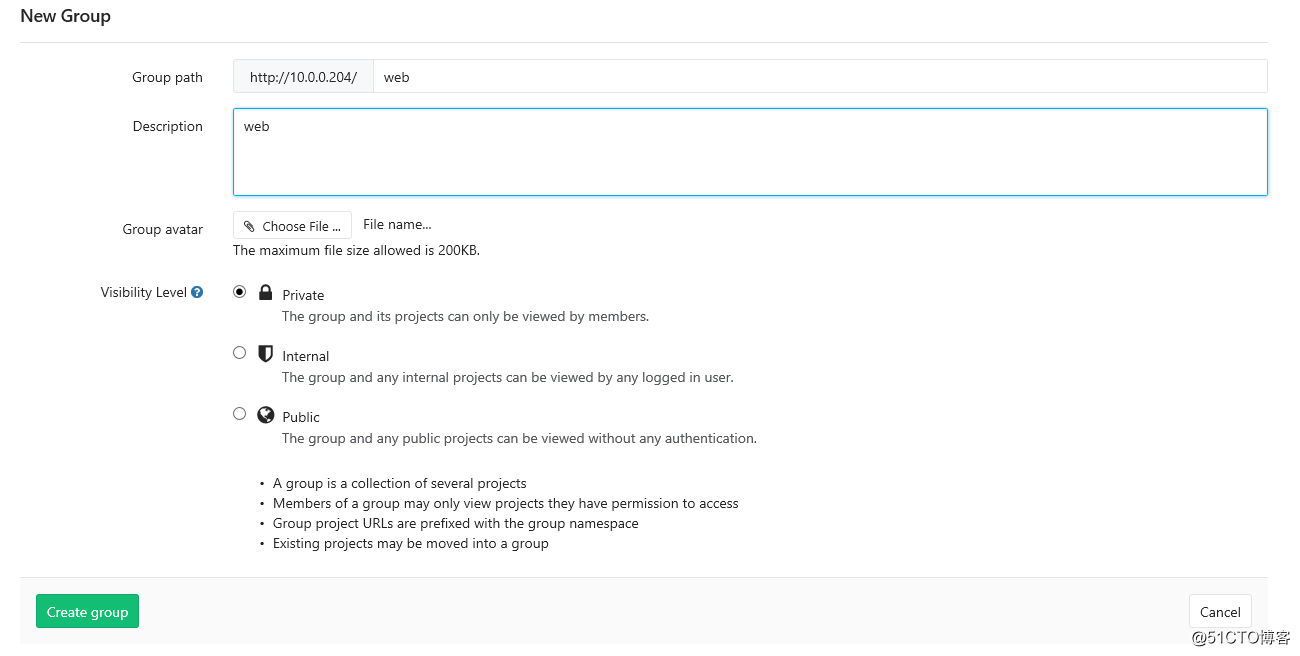
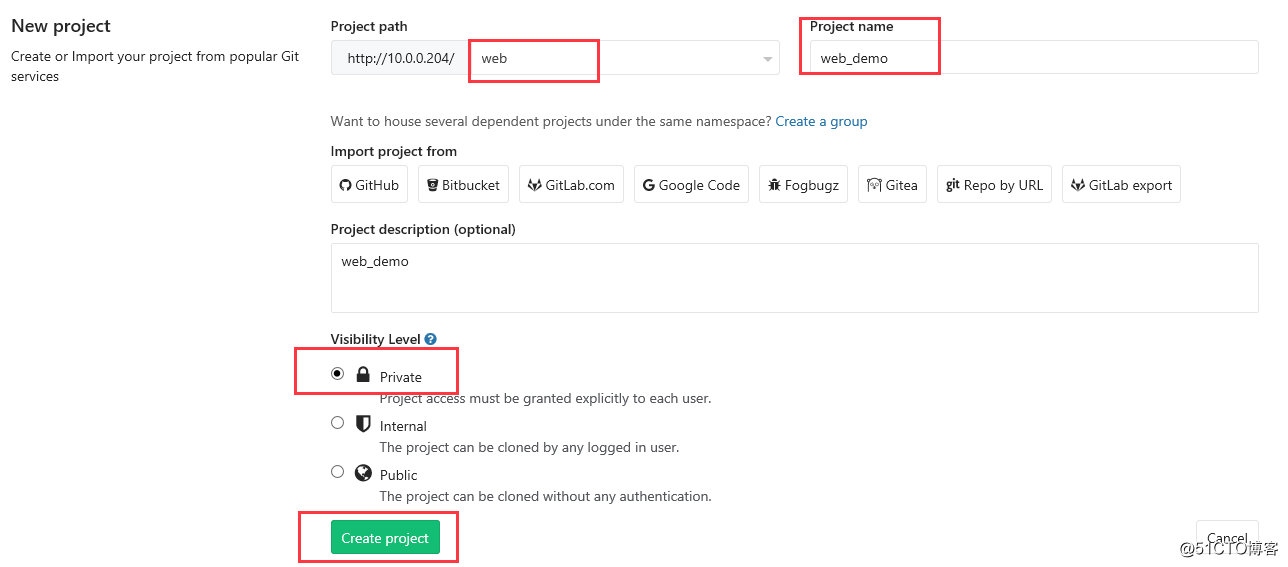
项目建立前必须有组
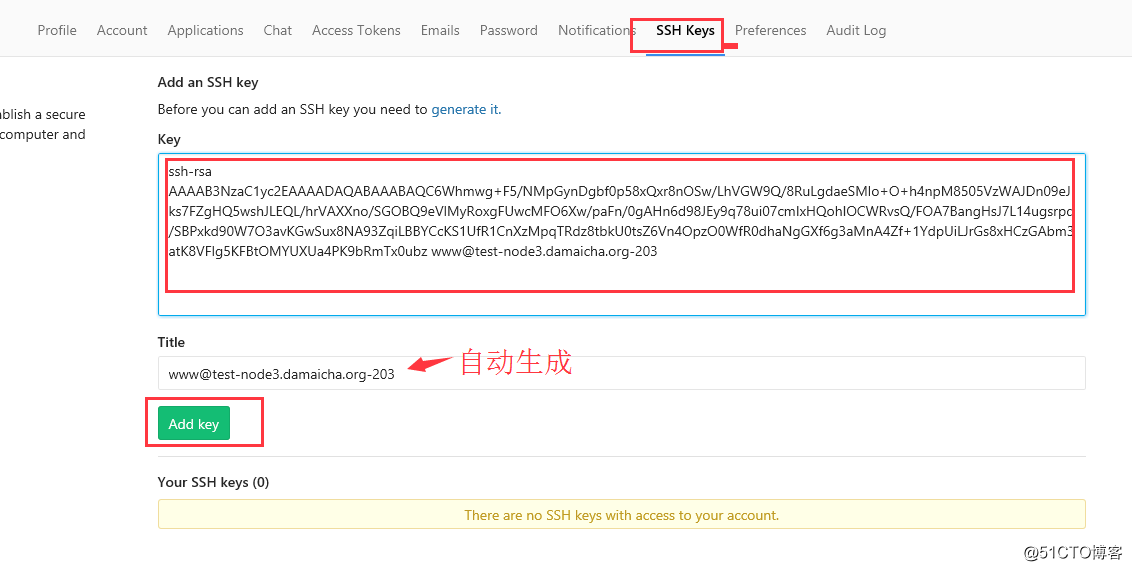
步骤 settings > SSH Keys
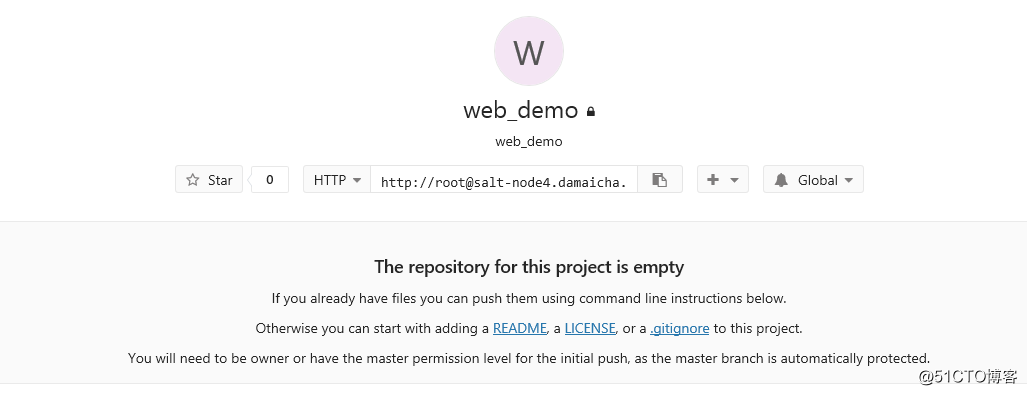
客户端模拟上传代码
[www@salt-node4 ~]$ git clone git@salt-node4.damaicha.org-204:web/web_demo.git   # 选择ssh方式的。
Cloning into ‘web_demo‘...
remote: Counting objects: 6, done.
remote: Compressing objects: 100% (2/2), done.
remote: Total 6 (delta 0), reused 0 (delta 0)
Receiving objects: 100% (6/6), done.

[www@salt-node4 ~]$ cd web_demo/
[www@salt-node4 web_demo]$ touch index.html
[www@salt-node4 web_demo]$ echo wangfei >index.html
[www@salt-node4 web_demo]$ git add index.html
[www@salt-node4 web_demo]$ git commit -m "add index.html"
[master 933b21a] add index.html
 1 file changed, 1 insertion(+)
 create mode 100644 index.html

[www@salt-node4 web_demo]$ git push
Counting objects: 4, done.
Delta compression using up to 4 threads.
Compressing objects: 100% (2/2), done.
Writing objects: 100% (3/3), 280 bytes | 0 bytes/s, done.
Total 3 (delta 0), reused 0 (delta 0)
To git@salt-node4.damaicha.org-204:web/web_demo.git
   8699ef8..933b21a  master -> master
客户端拉代码
[www@salt-node4 code]$ git config --global user.name "wangfei"
[www@salt-node4 code]$ git config --global user.email "wangfei@hrfax.cn"
[www@salt-node4 code]$ git clone git@salt-node4.damaicha.org-204:web/web_demo.git[root@salt-node4 web_demo]# vim /etc/gitlab/gitlab.rb
...
13 external_url ‘http://10.0.0.204‘
...重启gitlab服务
[root@salt-node4 web_demo]# gitlab-ctl reconfigure测试

原文:http://blog.51cto.com/damaicha/2118727