@app.route(‘/comment/‘,methods=[‘POST‘])
@loginFirst
def comment():
    comment=request.form.get(‘new_comment‘)
    ques_id=request.form.get(‘question_id‘)
    auth_id=User.query.filter(User.username==session.get(‘user‘)).first().id
    comm=Comment(author_id=auth_id,question_id=ques_id,detail=comment)
    db.session.add(comm)
    db.session.commit()
    return redirect(url_for(‘detail‘,question_id=ques_id))
 <div class="new-comment">
        <textarea name="new_comment" id="new-comment" cols="85" rows="5" placeholder="评论..."></textarea>
        <input name="question_id" type="hidden" value="{{ ques.id }}">
    </div>
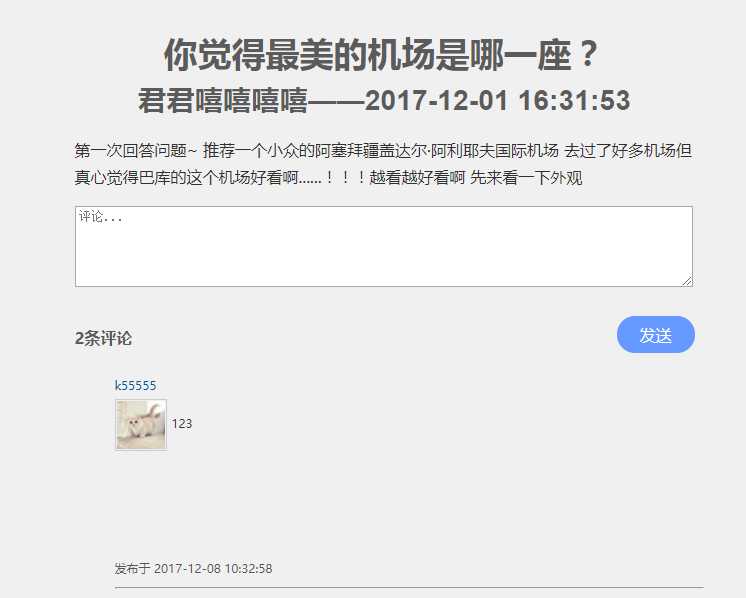
<h4 style="color:#5b5b5b;">{{ ques.comments|length }}条评论</h4>
 <ul class="list">
       {% for foo in ques.comments %}
       <li class="post_item">
           <a href="#" class="light">{{foo.author.username }}</a>
           <br>
           <img width="48" height="48" class="pf" src="https://ss2.bdstatic.com/70cFvnSh_Q1YnxGkpoWK1HF6hhy/it/u=4066191998,32277144&fm=27&gp=0.jpg" alt="">
           <p class="post_item">{{ foo.detail }}</p>
           <span class="foot">发布于  {{ foo.create_time }}</span>
       </li>
       <hr>
{% endfor %}
   </ul>
原文:http://www.cnblogs.com/JUNJUNER/p/8004371.html