github地址:weex-ui
https://github.com/alibaba/weex-ui
官网:
https://alibaba.github.io/weex-ui/#/cn/
import { WxcComponent1, WxcComponent2 } from "weex-ui"
为了不打包所有的组件,你需要使用 babel-plugin-component 来只引入需要的组件打包。
npm i babel-plugin-component -D
// 增加一个plugins的配置到 .babelrc 中
{
  "plugins": [
    [
      "component",
      {
        "libraryName": "weex-ui",
        "libDir": "packages"
      }
    ]
  ]
}
import WxcComponent1 from "weex-ui/packages/wxc-component1"
import WxcComponent2 from "weex-ui/packages/wxc-component2"
如果你使用weex-toolkit来开发你的Weex项目,你需要向 .babelrc 文件中加入 ‘state-0‘ 和 ‘babel-plugin-component‘
npm i babel-preset-stage-0 babel-plugin-component -D
.babelrc
{
  "presets": ["es2015", "stage-0"],
  "plugins": [
    [
      "component",
      {
        "libraryName": "weex-ui",
        "libDir": "packages"
      }
    ]
  ]
}
测试代码:
index.vue
<template>
  <div>
    <wxc-button text="Open Popup"
      @wxcButtonClicked="buttonClicked">
    </wxc-button>

    <wxc-popup width="500"
      pos="left"
      :show="isShow"
      @wxcPopupOverlayClicked="overlayClicked">
    </wxc-popup>
  </div>
</template>

<script>
  import { WxcButton, WxcPopup } from ‘weex-ui‘;

  module.exports = {
    components: { WxcButton, WxcPopup },
    data: () => ({
      isShow: false
    }),
    methods: {
      buttonClicked () {
        this.isShow = true;
      },
      overlayClicked () {
        this.isShow = false;
      }
    }
  };
</script>
效果图:
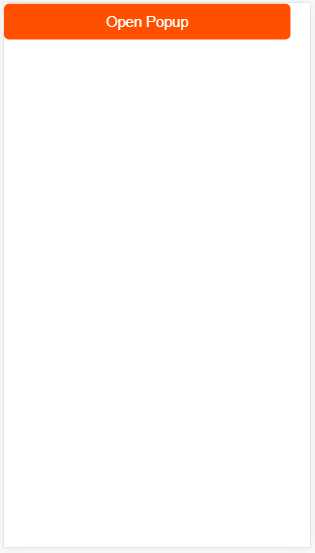
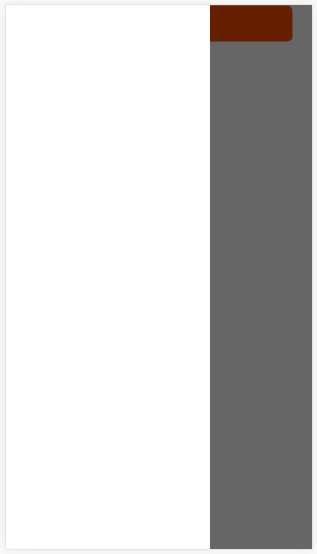
.
原文:http://www.cnblogs.com/crazycode2/p/7985809.html