摘要:
明天就除夕了,闲着也是闲着,特地总结一些关于.net下的权限认证的方法。
一、Forms认证示意图
Forms认证即是表单认证,需提供身份id和密码password的进行认证和授权管理。
应该是大家比较熟悉的一种,刚接触.net可能都会学学这个东西。
下面看看他的工作方式:

二、看图太乏味,我准备了一个demo
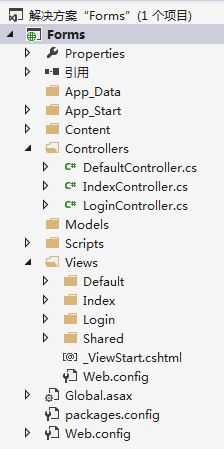
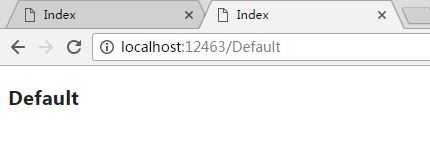
因为默认首页为:IndexController/Index,这个页面只要一行字 “Index”,
效果图:
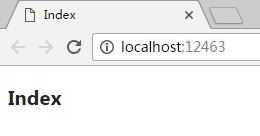
OK,页面没有做任何权限控制,显示正常。
接下来看看DefaultController/Index
using System.Web.Mvc;

namespace Forms.Controllers
{
    public class DefaultController : Controller
    {
        [Authorize]
        public ActionResult Index()
        {
            return View();
        }
    }
}
访问:http://localhost:12463/default
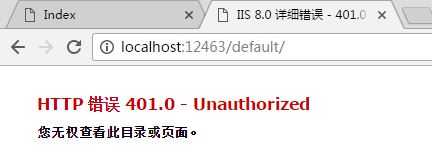
很明显 没有权限查看,因为我们设置了权限认证
[Authorize]
public ActionResult Index()
一般情况下生产环境不会允许直接显示这种401的错误
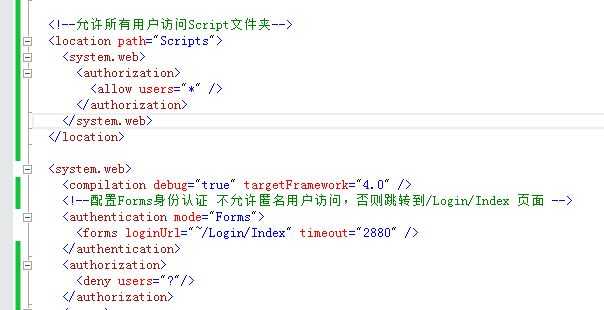
如果用户没有登录凭证,我们会要求用户返回登录页面完成认证操作,
Forms认证支持在web.config里边设置登录地址
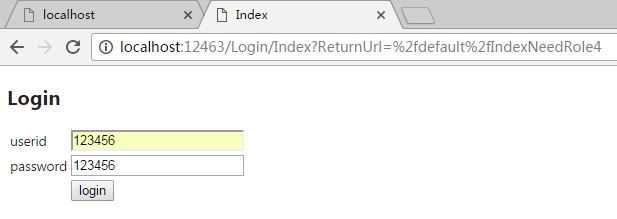
好了,我们再试试:http://localhost:12463/default

如期跳转至认证页面!点击login,认证成功的话会跳回 http://localhost:12463/default
我们看看login对应的后台处理逻辑
        public ActionResult Index()
        {
            var returnUrl = Request["ReturnUrl"];

            if (Request.HttpMethod == "POST")
            {
                var userid = Request["userid"];
                var password = Request["password"];

                if (userid == "123456" && password == "123456")
                {
                    var ticket = new FormsAuthenticationTicket(
                        1,
                        userid,
                        DateTime.Now,
                        DateTime.Now.AddMinutes(20),
                        true,
                        "role1,role2,role3",
                        "/"
                    );

                    var cookie = new HttpCookie(FormsAuthentication.FormsCookieName, FormsAuthentication.Encrypt(ticket));
                    cookie.HttpOnly = true;
                    HttpContext.Response.Cookies.Add(cookie);

                    return Redirect(returnUrl);
                }
            }

            ViewBag.ReturnUrl = returnUrl;

            return View();
        }
好了,如愿显示!至此,简单权限认证完成了。
三、添加角色功能
前边只是做了简单的登录认证,如果项目要求权限的认证粒度比较细的话,就不能满足了。
比如:IndexNeedRole4只对某role4开放
[MyAuthorize(Roles = "role4")]
public ActionResult IndexNeedRole4()
{
    return View();
}
我们需要新建用于验证角色和用户名的Authorize特性:MyAuthorize
    public class MyAuthorizeAttribute : AuthorizeAttribute
    {
        protected override bool AuthorizeCore(System.Web.HttpContextBase httpContext)
        {
            var cookie = HttpContext.Current.Request.Cookies[FormsAuthentication.FormsCookieName];
            var ticket = FormsAuthentication.Decrypt(cookie.Value);
            var roles = ticket.UserData;

            var inRoles = false;
            foreach (var role in roles.Split(‘,‘))
            {
                if (Roles.Contains(role))
                {
                    inRoles = true;
                    break;
                }
            }

            return inRoles;
        }
    }
代码加好了,我们再试试:http://localhost:12463/default/IndexNeedRole4
返回正常,回到了权限认证界面。
点击 login,发现这个页面只是刷新了,所有input都清空了
这是正常的,因为在login/index里边登录逻辑的ticket角色只赋值了"role1,role2,role3"
加上role4
        public ActionResult Index()
        {
            var returnUrl = Request["ReturnUrl"];

            if (Request.HttpMethod == "POST")
            {
                var userid = Request["userid"];
                var password = Request["password"];

                if (userid == "123456" && password == "123456")
                {
                    var ticket = new FormsAuthenticationTicket(
                        1,
                        userid,
                        DateTime.Now,
                        DateTime.Now.AddMinutes(20),
                        true,
                        "role1,role2,role3,role4",
                        "/"
                    );

                    var cookie = new HttpCookie(FormsAuthentication.FormsCookieName, FormsAuthentication.Encrypt(ticket));
                    cookie.HttpOnly = true;
                    HttpContext.Response.Cookies.Add(cookie);

                    return Redirect(returnUrl);
                }
            }

            ViewBag.ReturnUrl = returnUrl;

            return View();
        }
再次点击login
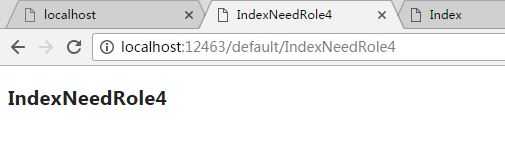
OK, 如期显示正常
原文:http://www.cnblogs.com/lanxiaoke/p/6352062.html