在上篇文章说了如何去安装haproxy,这里就说一下怎么去应用。
1、和上次一样,仍然把haproxy的配置文件放在/srv/salt/package/haproxy/files/目录下。
这里也贴一下配置文件的内容:
global                      #全局配置
maxconn 100000              #最大连接数
chroot /usr/local/haproxy
uid 99
gid 99
daemon                      #以后台形式运行haproxy
nbproc 1                    #启动1个haproxy实例
pidfile /usr/local/haproxy/logs/haproxy.pid     #pid存放路径
log 127.0.0.1 local3 info   #日志输出
#后端设置
defaults                    #默认配置
option http-keep-alive
maxconn 100000
mode http                   #所处理的级别.默认采用http模式
timeout connect 5000ms
timeout client 50000ms
timeout server 50000ms
#开启haproxy Status状态监控,增加验证
listen stats
mode http
bind 0.0.0.0:8888
stats enable
stats uri       /haproxy-status     #监控页面url
stats auth      haproxy:saltstack   #监控页面user:passwd
#前端设置
frontend frontend_www_example_com
bind 192.168.1.100:80
mode http
option httplog
log global
default_backend backend_www_example_com
#后端设置
defaults                    #默认配置
option http-keep-alive
maxconn 100000
mode http                   #所处理的级别.默认采用http模式
timeout connect 5000ms
timeout client 50000ms
timeout server 50000ms
#开启haproxy Status状态监控,增加验证
listen stats
mode http
bind 0.0.0.0:8888
stats enable
stats uri       /haproxy-status     #监控页面url
stats auth      haproxy:saltstack   #监控页面user:passwd
#前端设置
frontend frontend_www_example_com
bind 192.168.1.100:80
mode http
option httplog
log global
default_backend backend_www_example_com
#后端设置
backend backend_www_example_com
option forwardfor header X-REAL-IP  #获得客户端真实ip
option httpchk HEAD / HTTP/1.0
balance roundrobin                  #轮训算法
server web-node1 192.168.1.12:8080 check inter 2000 rise 30 fall 15
server web-node2 192.168.1.13:8080 check inter 2000 rise 30 fall 15
2、编写sls模块文件
在上次的基础上,在后面加上:
haproxy-config:
  file.managed:
    - name: /etc/haproxy/haproxy.cfg
    - source: salt://package/haproxy/files/haproxy.cfg
    - user: root
    - group: root
    - mode: 644
  service.running:
    - name: haproxy
    - enable: True
    - reload: True
    - watch:
      - file: haproxy-config
3、执行命令:
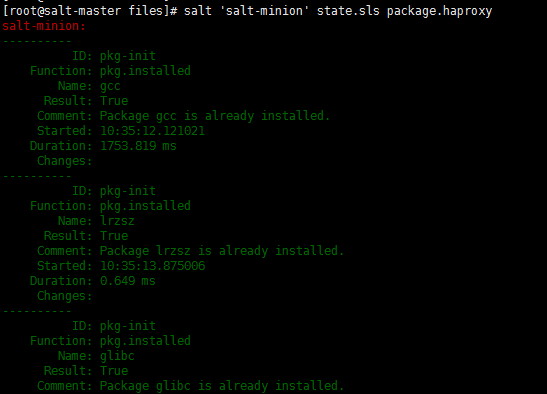
salt ‘salt-minion‘ state.sls package.haproxy

中间可以看到更新的内容:
![K0R@YK$K(CN]%AV0`74B4_V.png 技术分享](http://s4.51cto.com/wyfs02/M01/8D/1C/wKiom1iG1fiD95DWAAALtGdFwZU401.png)
4、验证
本文出自 “Linux” 博客,请务必保留此出处http://syklinux.blog.51cto.com/9631548/1894024
原文:http://syklinux.blog.51cto.com/9631548/1894024