最近的手上一个项目要用到dubbo,顺便研究下zookeeper
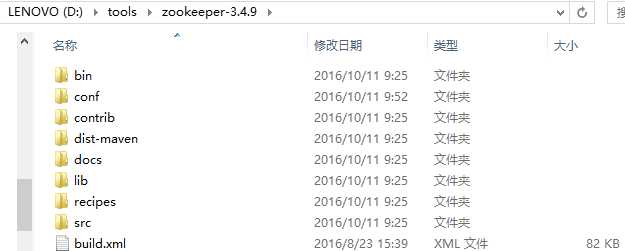
下载地址:http://www.apache.org/dyn/closer.cgi/zookeeper/ ,下载解压到D:\tools 如下图所示:
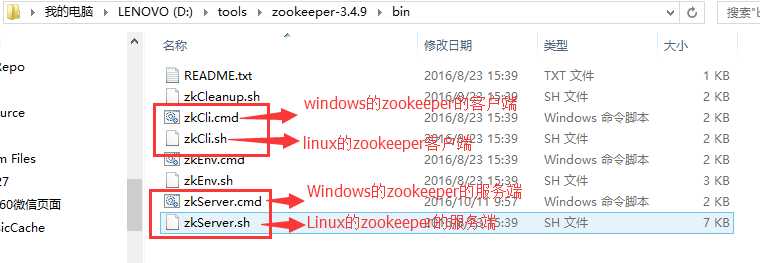
进入bin文件夹下,如下图:
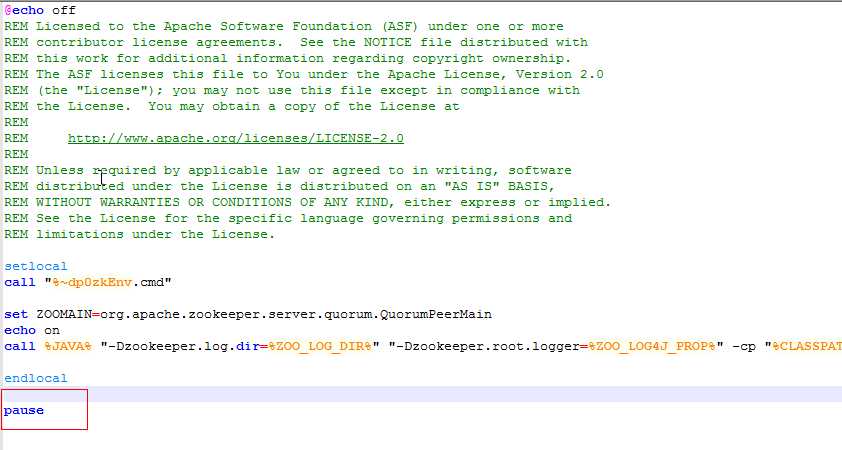
双击zkServer.cmd,发现闪退
打开zkServer.cmd进行编辑,在尾部加pause,如下图:
保存,再次双击,发现找不到zoo.cfg文件,如下图:
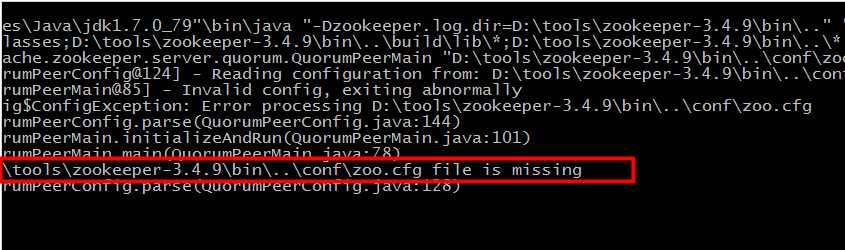
进入conf文件夹下,将zoo_sample.cfg文件复制一份修改为zoo.cfg,如下图:

修改zoo.cfg
# The number of milliseconds of each tick
tickTime=2000
# The number of ticks that the initial
# synchronization phase can take
initLimit=10
# The number of ticks that can pass between
# sending a request and getting an acknowledgement
syncLimit=5
# the directory where the snapshot is stored.
# do not use /tmp for storage, /tmp here is just
# example sakes.
dataDir=D:/tools/zookeeper-3.4.9/data
# the port at which the clients will connect
clientPort=2181
# the maximum number of client connections.
# increase this if you need to handle more clients
#maxClientCnxns=60
#
# Be sure to read the maintenance section of the
# administrator guide before turning on autopurge.
#
# http://zookeeper.apache.org/doc/current/zookeeperAdmin.html#sc_maintenance
#
# The number of snapshots to retain in dataDir
#autopurge.snapRetainCount=3
# Purge task interval in hours
# Set to "0" to disable auto purge feature
#autopurge.purgeInterval=1
至此ZooKeeper在Windows操作系统中安装配置完毕,但需要指出的是ZooKeeper是使用java编写的,因此运行ZooKeeper之前必须安装Java环境——配置JDK,且JDK的版本要大于或等于1.6。
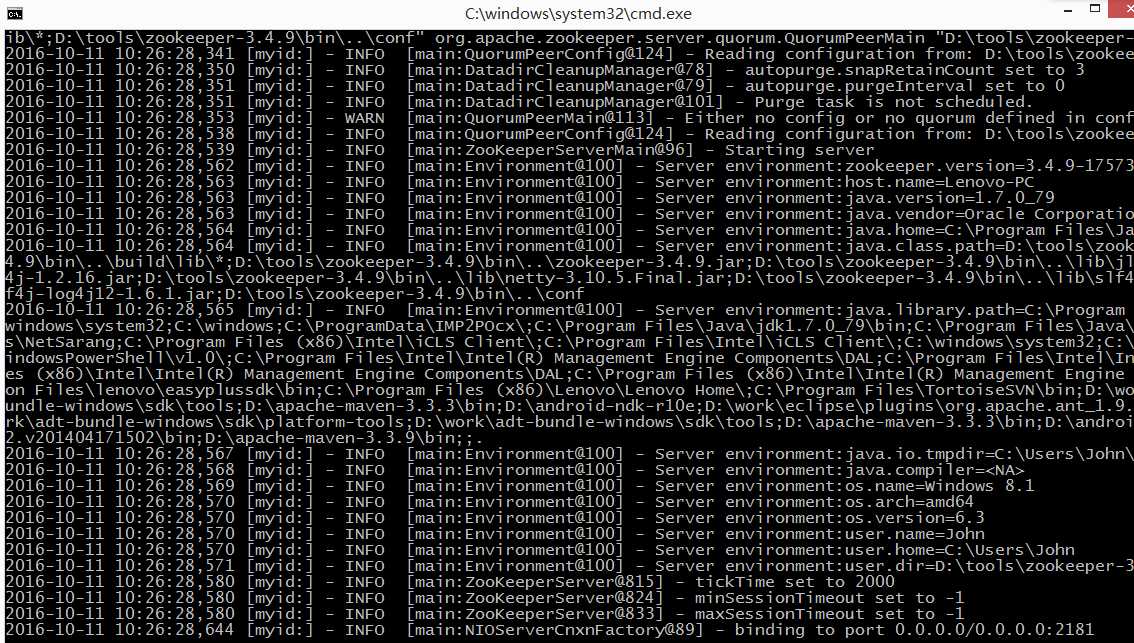
双击zkServer.cmd,出现如下界面,则启动成功
原文:http://www.cnblogs.com/geekdc/p/5948326.html