Leveraging the browser cache is an important part of page load performance. A great way to utilize this cache is by versioning your resources. In this lesson, learn how to use Webpack’s hashing feature so you can take advantage of long term caching of your assets.
Install:
npm install -D html-webpack-plugin
Webpack.config.js
const {resolve} = require(‘path‘)
const HtmlWebpackPlugin = require(‘html-webpack-plugin‘)
const isTest = process.env.NODE_ENV === "test";
module.exports = env => {
  return {
    entry: ‘./js/app.js‘,
    output: {
      filename: ‘bundle.[chunkhash].js‘,
      path: resolve(__dirname, ‘dist‘),
      pathinfo: true,
    },
    context: resolve(__dirname, ‘src‘),
    devtool: env.prod ? ‘source-map‘ : ‘eval‘,
    module: {
      loaders: [
        {test: /\.js$/, loader: ‘babel!eslint‘, exclude: /node_modules/},
        {test: /\.css$/, loader: ‘style!css‘},
      ],
    },
    plugins:[
      new HtmlWebpackPlugin(
            {
              template: ‘./index.html‘
            }
        )
    ]
  }
}
Remove bundle.js in index.html
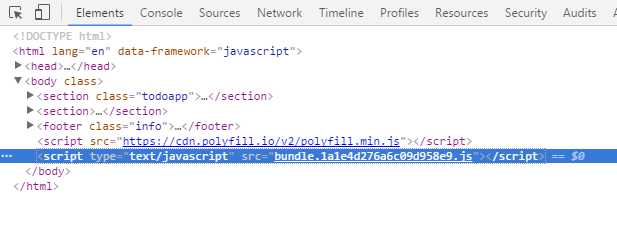
Then in the browser you can see the bundle file has hash name. So everytime, you change the source code, it will update automatically
[Webpack 2] Hashing with Webpack for long term caching
原文:http://www.cnblogs.com/Answer1215/p/5608706.html