看了无数资料,总结一下自定义View
先明白一个自定义View的三大流程
这三个方法都存在于View类中,我们自定义View需要针对这三个方法做出修改来达到我们需要的目标或功能
先来一个最基本的例子,我们单纯的画一个圆,我们只需修改onDraw()方法即可
MyCustomVew.java
- public class MyCustomView extends View {
-
- public MyCustomView(Context context, AttributeSet attrs, int defStyleAttr) {
- super(context, attrs, defStyleAttr);
-
- }
-
- public MyCustomView(Context context, AttributeSet attrs) {
- super(context, attrs);
-
- }
-
- public MyCustomView(Context context) {
- super(context);
-
- }
-
- @Override
- protected void onDraw(Canvas canvas) {
-
- super.onDraw(canvas);
-
- Paint paint = new Paint(Paint.ANTI_ALIAS_FLAG);
-
- paint.setColor(Color.RED);
- /**
- * 画笔样式分三种:
- * 1.Paint.Style.STROKE:描边
- * 2.Paint.Style.FILL_AND_STROKE:描边并填充
- * 3.Paint.Style.FILL:填充 既然是画圆,那么就选择样式为描边
- */
- paint.setStyle(Paint.Style.STROKE);
-
-
-
- paint.setStrokeWidth(10);
-
- canvas.drawCircle(500, 500, 200, paint);
- }
- }
在Activity的布局文件中引入这个自定义View
- <LinearLayout xmlns:android="http://schemas.android.com/apk/res/android"
- xmlns:app="http://schemas.android.com/apk/res-auto"
- android:id="@+id/main_root_ll"
- android:layout_width="match_parent"
- android:layout_height="match_parent"
- android:orientation="vertical" >
-
- <com.example.testcustomview.MyCustomView
- android:id="@+id/main_cv"
- android:layout_width="match_parent"
- android:layout_height="match_parent" />
-
- </LinearLayout>
运行结果如下
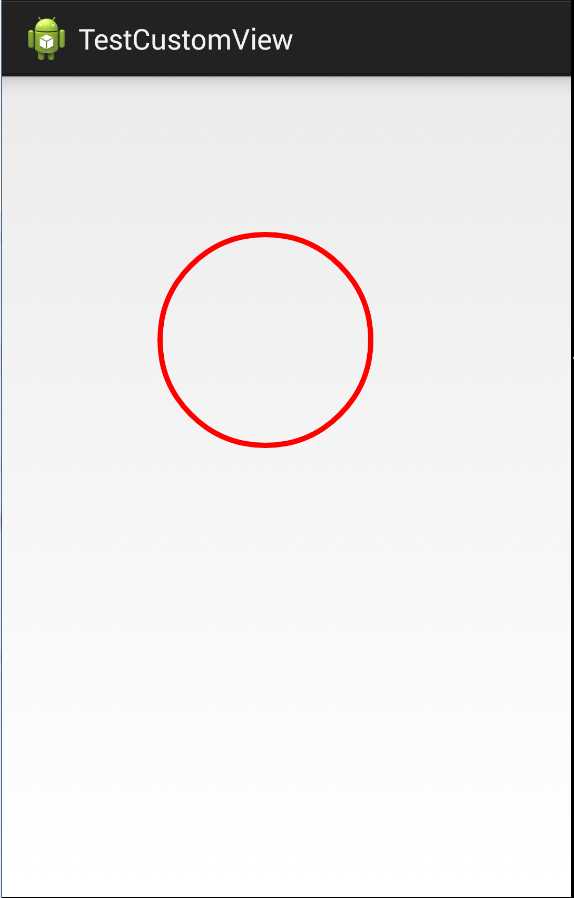
如果我们想要让这个圆动起来呢?我们只要不断的去修改onDraw()不断的绘制就可以了
譬如我们想要画一个由小到大的实心圆,我们需要做的就是不断的改变的半径
MyCustomView
- public class MyCustomView extends View implements Runnable {
-
- private int radiu;
- private Paint paint;
-
- public MyCustomView(Context context, AttributeSet attrs) {
- super(context, attrs);
- initPaint();
- }
-
- public MyCustomView(Context context) {
- this(context, null);
- }
-
- public void initPaint() {
- paint = new Paint(Paint.ANTI_ALIAS_FLAG);
-
- paint.setColor(Color.RED);
- /**
- * 画笔样式分三种: 1.Paint.Style.STROKE:描边 2.Paint.Style.FILL_AND_STROKE:描边并填充
- * 3.Paint.Style.FILL:填充 既然是画圆,那么就选择样式为描边
- */
- paint.setStyle(Paint.Style.FILL_AND_STROKE);
-
-
-
- paint.setStrokeWidth(10);
- }
-
- @Override
- protected void onDraw(Canvas canvas) {
-
- super.onDraw(canvas);
- canvas.drawCircle(500, 500, radiu, paint);
- }
-
- @Override
- public void run() {
- while (radiu <= 200) {
- try {
- radiu += 10;
- Thread.sleep(300);
-
- postInvalidate();
- } catch (InterruptedException e) {
-
- e.printStackTrace();
- }
- }
- }
- }
可以看到我们在run方法中调用了一个postInvalidate(),这个方法还有一个对应的方法Invalidate(),这两个方法的区别在于
-
postInvalidate()
前者是在非UI线程中使,用来刷新界面
-
Invalidate()
在UI线程自身中使用,用来刷新界面
刚才的例子是画了一个圆,canvas还提供了其他一系列方法来供我们调用,用来画各种各样的图形
下篇文章来介绍
