NSLayoutAnchor API是iOS9版本引入,不仅让约束声明更加清晰明了,而且还通过静态类型检查以确保约束能够正常工作,
其实是一个工厂类,类似NSNumber这样的设计思想.
NSLayoutAnchor用来创建NSLayoutConstraint对象,使用这些对象从而实现自动布局.
但是一般不会直接创建NSLayoutConstraint对象,而是用UIView(NSView)或者其子类,或者UILayoutGuide的某个anchor属性(比如centerXAnchor),
这些属性对应Auto Layout中主要的NSLayoutAttribute值(InterfaceBuilder下属性栏可以看到),所以也可以用NSLayoutAnchor子类创建这些NSLayoutAttribute值.
个人使用之后,感觉就是语法更加易于理解和使用了,和Masonry语法一样亲切.
主意:UIView本身并没有提供anchor属性对应Auto Layout的margin属性,但是UILayoutGuide有这样的属性与之对应.
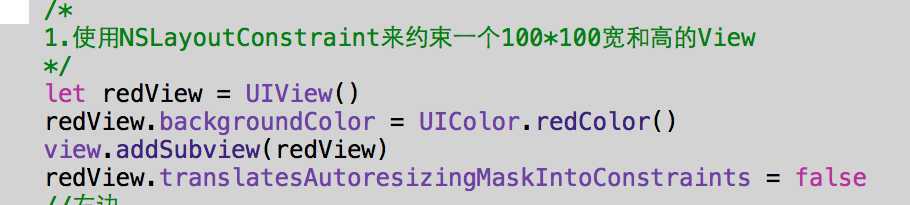
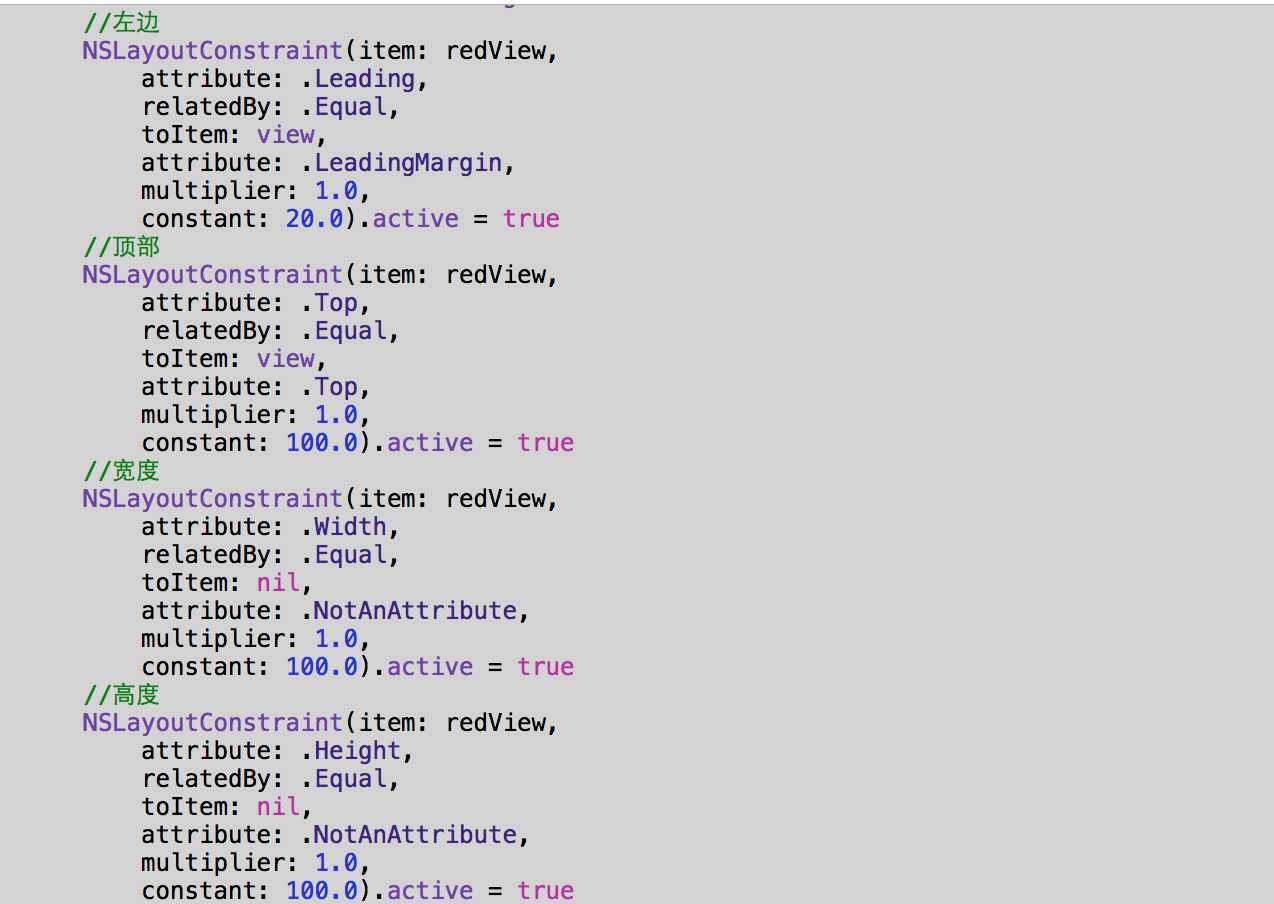
1.使用NSLayoutConstraint创建
constraints,实现一个100*100大小,左边和superView相距20,顶部相距100的View
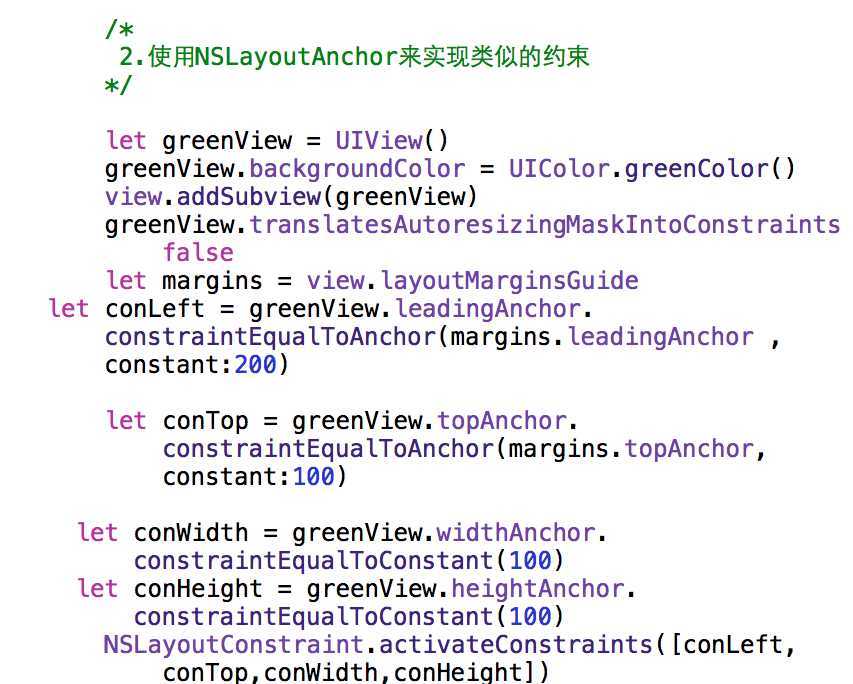
2.使用LayoutAnchor实现类似的约束
对比可以看到NSLayoutAnchor类提供了更有优势的NSLayoutConstaint API
:1.更加整洁,优雅,易读
2.通过NSLayoutAnchor中的方法来约束锚点参数以及作为接收器的相同泛型类型(NSLayoutAttribute),API 便能够使用类型检查以确保能够创建出有效的约束
主意:尽管NSLayoutAnchor类会进行类型检测,但然不能一定确保创建的约束是有效的.比如一个View的leadingAnchor和另外一个View的leftAnchor,进行约束,尽管都是NSLayoutXAnchor的实例,编译也能通过,但是,Auto Layout不允许leading和trailling的属性和left或者right混和约束.会导致在运行时崩溃的结果.
Terminating app due to uncaught exception ‘NSInvalidArgumentException‘, reason: ‘*** +[NSLayoutConstraint constraintWithItem:attribute:relatedBy:toItem:attribute:multiplier:constant:]: A constraint cannot be made between a leading/trailing attribute and a right/left attribute. Use leading/trailing for both or neither.‘
*** First throw call stack:
*/
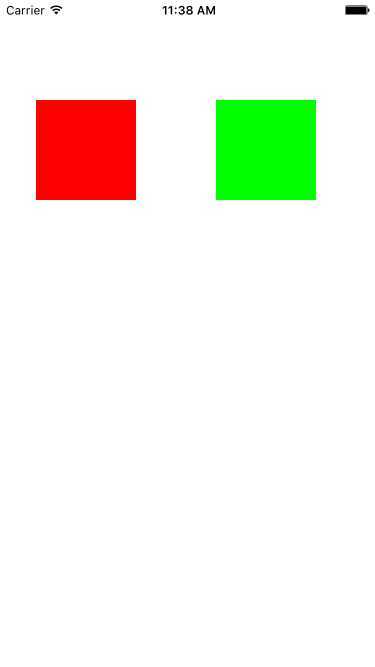
实现的效果
3.NSLayoutAnchor的练习
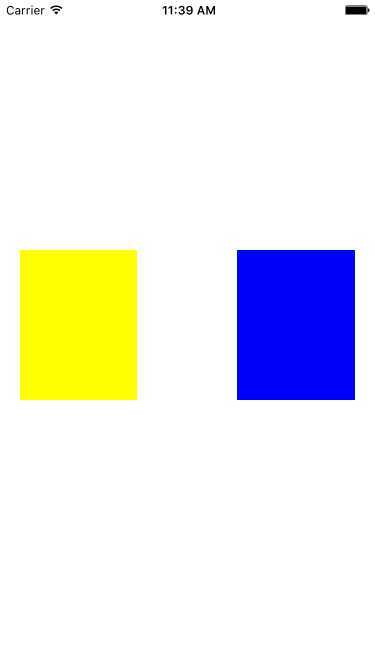
实现2个view大小一样,和屏幕距离为20,
let yellowView = UIView()
        yellowView.backgroundColor = UIColor.yellowColor()
        yellowView.translatesAutoresizingMaskIntoConstraints = false
        view.addSubview(yellowView)

        let blueView = UIView()
        blueView.backgroundColor = UIColor.blueColor()
        blueView.translatesAutoresizingMaskIntoConstraints = false
        view.addSubview(blueView)

        //LayoutAnchor约束

      let yLeftCon = yellowView.leftAnchor.constraintEqualToAnchor(view.leftAnchor, constant: 20)
      let ytopCon = yellowView.topAnchor.constraintEqualToAnchor(view.topAnchor, constant: 250)
      let yHeightCon = yellowView.heightAnchor.constraintEqualToConstant(150)
      let yWidthCon = yellowView.widthAnchor.constraintEqualToAnchor(blueView.widthAnchor)
     let yRightCon = yellowView.rightAnchor.constraintEqualToAnchor(blueView.leftAnchor,constant: -100)

      let bLeftCon = blueView.leftAnchor.constraintEqualToAnchor(yellowView.rightAnchor, constant: 100)
     let bTopCon = blueView.topAnchor.constraintEqualToAnchor(yellowView.topAnchor)
     let bRightCon = blueView.rightAnchor.constraintEqualToAnchor(view.rightAnchor, constant: -20)
     let bWidthCon = blueView.widthAnchor.constraintEqualToAnchor(yellowView.widthAnchor)
    let bHeightCon = blueView.heightAnchor.constraintEqualToAnchor(yellowView.heightAnchor)

        NSLayoutConstraint.activateConstraints([yLeftCon,ytopCon,yHeightCon,yWidthCon,yRightCon,bLeftCon,bTopCon,bRightCon,bWidthCon,bHeightCon])
最终的效果
4.Layout动画的实现
let conX =  iconView.centerXAnchor.constraintEqualToAnchor(view.centerXAnchor)
        conY =  iconView.centerYAnchor.constraintEqualToAnchor(view.centerYAnchor)
      let conW = iconView.widthAnchor.constraintEqualToConstant(100.0)
       let conH = iconView.heightAnchor.constraintEqualToConstant(100.0)

        NSLayoutConstraint.activateConstraints([conX,conY,conW,conH])


override func viewDidAppear(animated: Bool) {
        super.viewDidAppear(animated)
        UIView.animateWithDuration(1.0, delay: 2.0, usingSpringWithDamping: 0.4, initialSpringVelocity: 0.0, options: [], animations: { () -> Void in
            self.conY.constant -= 100
            self.view.layoutIfNeeded()
            }, completion: nil)


    }
会看到进入界面2秒后,iconView在Y方向上有一个位移弹性动画
关于更多的NSLayout Anchor可以查阅文档,更深入了解,实现自己想要的效果
原文:http://www.cnblogs.com/luohome-ios/p/5058917.html